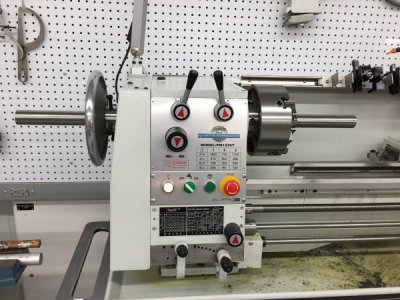
Setting-up the PM 1236-T Lathe

Before I go on to the next section on Aligning Centers I would like to make a comment: If I were to do the cutting tests again, and I probably will, I would suggest that one simply do the standard 6”, two collar test. I thought that using a 12” rod would give me more accuracy but I think just the opposite is true since it requires a follow rest to reduce vibration to get a smooth cut and it increases deflection; both of which introduce unwanted variables.

Lesson: a longer rod is not always better

Thanks Mikey!
 
Shrink fitting the wheel hub to the adapter.

This seemed like a good option to me. It would put the pieces together tightly and permanently without fasteners to loosen or catch onto something while turning. There are some complex formulas for determining the amount an alloy a certain size and configuration will expand on heating and shrink on cooling but I decided to take direct measurements instead. I heated the adapter to 450 F and took multiple measurements and averaged them. The ID of the adapter expanded by 0.005”. I cooled the hub of the hand wheel in dry ice and isopropyl alcohol to the temperature of Milwaukee these days, -107 F. It’s diameter contracted by 0.003”. So there was a difference of 0.008” between their room temperature dimensions and their dimensions when heated and cooled. Most sources that I read gave a rule of thumb of .001” difference in the two parts per inch of diameter so I bored the ID of the adapter to 0.004” smaller than the room temp diameter of the handwheel hub. Remember the OD of the adapter is 2-3/4” so thIs should give me plenty of compression. Too much and I could crack the pieces. I then heated the adapter and cooled the handwheel hub. I dropped the adapter on to the hub and almost instantly they were bound together; no time for repositioning. It was impressive.

View attachment 286660. View attachment 286658

View attachment 286659. View attachment 286661

View attachment 286666

The next and final step was to create a way I could access the set screws to the adapter while the cover was in place. To do this I made a new larger diameter, 5/8”, upper post for the cover with a hole in it and then drilled and tapped a hole in the top of the cover so an Allen wrench would then drop down through the hole, then through the hole in the new post and would be guided to the Allen screws on the adapter. When the hole was not being used it was cover with an Allen screw that uses the same size Allen wrench.

View attachment 286674. View attachment 286675

View attachment 286676. View attachment 286677

That’s it for the headstock handwheel.

Well, I take that back, I guess I am not quite finished with the Headstock Handwheel. Fast forward a few weeks, I am now at the point that I am aligning the lathe and feel that I need a Spider on the outboard side of the spindle to support longer stock that I am using. I am going to post the alignment stuff soon but thought I would post this Spider stuff first.

290954

I am not sure where this post is going to end up in the thread or whether anyone will see it but here it is:

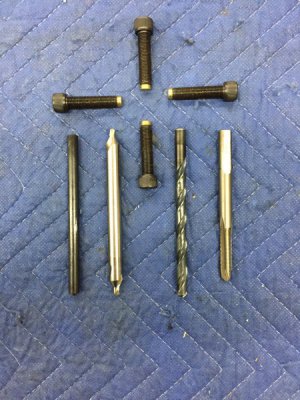
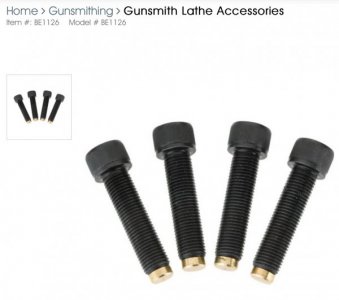
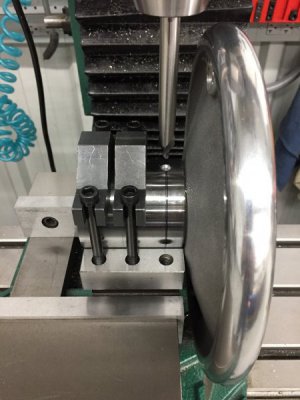
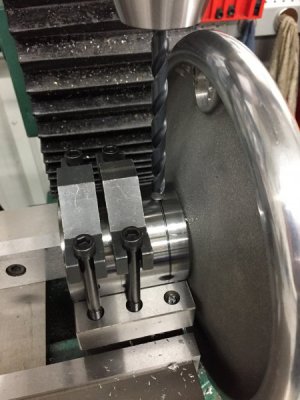
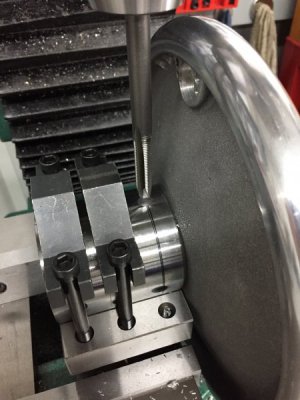
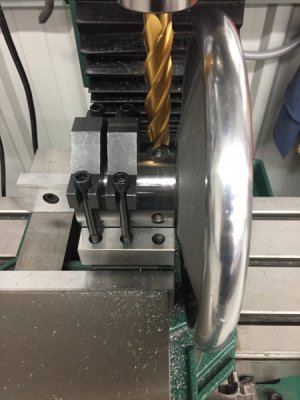
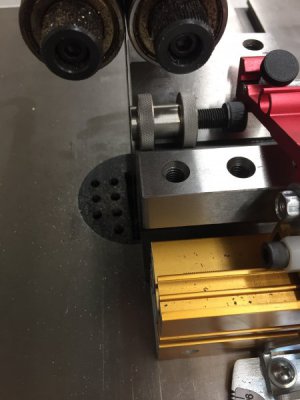
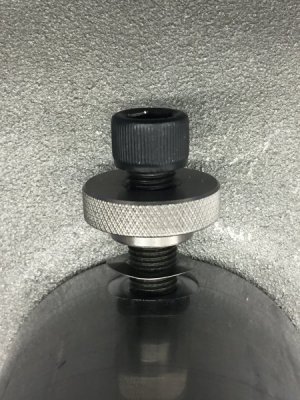
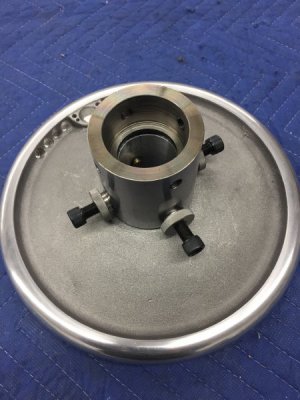
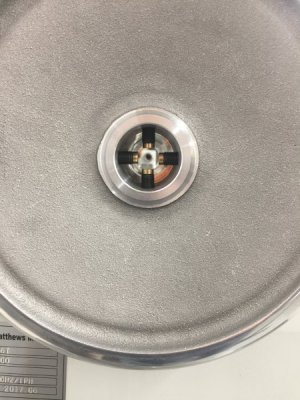
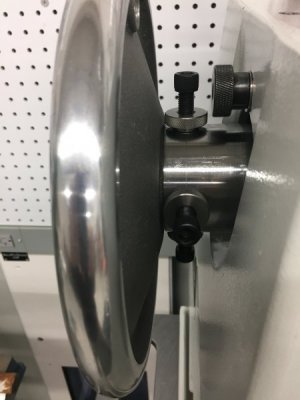
I started with some 3/8-24 brass tipped screws from Grizzly and some knurled thumb nuts and wave washers from McMaster-Carr. I removed the Handwheel from the lathe, secured it to a v-block on the milling machine, then drilled, tapped and milled a flat on the collar and then re-attached the hand wheel. I used shortened thumb nuts and wave washers as a locking mechanism. Pretty straightforward except that I needed a long drill bit, mill, and tap to reach the collar because of the attached wheel. Some pictures:

Supplies:

290955290956

Drilling, tapping milling:

290957290958

290959290960

Shortening the thumb-nuts:

290962290964

Assembled:

290963290961

290966
290965

I have to say that I have really enjoyed having the handwheel, especially when I was centering a piece in the 4JC with the dial indicator and going back-and-forth and back-and-forth trying to get rid of that last tenth before I center drilled; pretty tedious but the Handwheel made it a bit easier Also, I am planning on knurlIng some long 3/8” pieces of titanium soon so the Spider should come in very handy for that too. The Handwheel and Spider have been a good addition for me.

That’s it.
 
Last edited:
I like the thought of the handwheel! Where did you get that from!
 
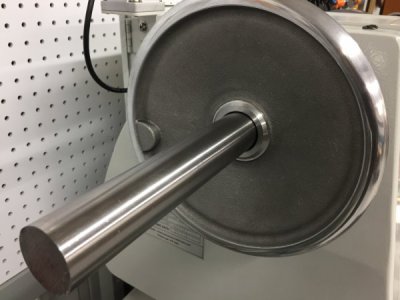
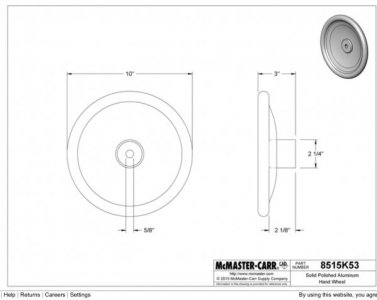
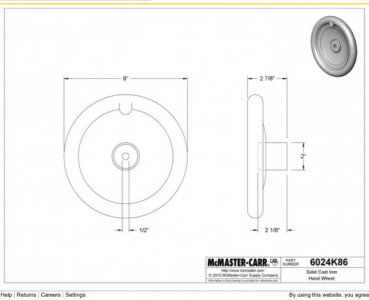
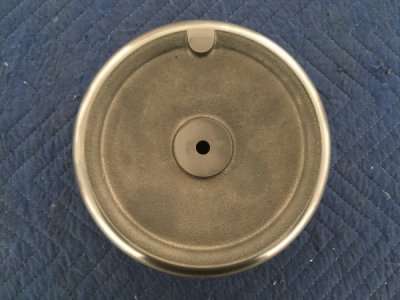
Herb, the handwheel is from McMaster-Carr. I ordered two, a10” aluminum wheel and 9” iron wheel. I used the aluminum one. I still have the iron wheel. You are welcome to have the iron wheel if you like.

I would set aside a fair amount of time to do this project. Reading posts 117-123 might help. Also, it might not be a bad idea to read Mikey’s Primer on boring before you get started, especially if you are new to boring.

If you need help let me know.

Aluminum wheel:

291011

Iron Wheel:
291010291012
 
I looked back at some of your previous postings and saw that you got it from MC. After looking at the wheels I decided to do something crazy and I found an 8” round, 1.13” thick piece of aluminum. I decided that the diameter of my through hole on my lathe being 2” would be too much for an aluminum wheel. The piece I found was $35 shipped.

I thought what I could do, based on getting some more measurements (we are at our place in Maine now) that I could get a 3” or 4” diameter section of aluminum rod and put a hole in the big disc that would allow the 3 or 4” piece to be inserted in the center and welded together. Once I had an uniform piece I could machine it it as an assembly.

I thought I could use a mill tool that puts round corners on a piece, do both sides and I could get the grip in place. Just a matter of running the lathe further to get the center section thinned up.

I will have to look at my lathe as it already has 2” spindle bore along with a spider. I will just need to see how I want to attach things and still be able to remove that end cover.

Thank you for the offer.....but another project for the lathe coupled with putting a digital readout on the tailstock quill travel. I have the pieces to make the mounts, just need the time.


Herb, sounds like you’ve got a plan. Show us some pics when you’re finished!
 
Herb, sounds like you’ve got a plan. Show us some pics when you’re finished!
Well, I have a plan...we’ll see if it turns out or not! I have to get the shelf made for the lathe as well as the mounting for the tool holders. We’re home for a couple days next week then we head to see my 95 year old dad....
 
Well, I take that back, I guess I am not quite finished with the Headstock Handwheel. Fast forward a few weeks, I am now at the point that I am aligning the lathe and feel that I need a Spider on the outboard side of the spindle to support longer stock that I am using. I am going to post the alignment stuff soon but thought I would post this Spider stuff first.

View attachment 290954

I am not sure where this post is going to end up in the thread or whether anyone will see it but here it is:

I started with some 3/8-24 brass tipped screws from Grizzly and some knurled thumb nuts and wave washers from McMaster-Carr. I removed the Handwheel from the lathe, secured it to a v-block on the milling machine, then drilled, tapped and milled a flat on the collar and then re-attached the hand wheel. I used shortened thumb nuts and wave washers as a locking mechanism. Pretty straightforward except that I needed a long drill bit, mill, and tap to reach the collar because of the attached wheel. Some pictures:

Supplies:

View attachment 290955View attachment 290956

Drilling, tapping milling:

View attachment 290957View attachment 290958

View attachment 290959View attachment 290960

Shortening the thumb-nuts:

View attachment 290962View attachment 290964

Assembled:

View attachment 290963View attachment 290961

View attachment 290966
View attachment 290965

I have to say that I have really enjoyed having the handwheel, especially when I was centering a piece in the 4JC with the dial indicator and going back-and-forth and back-and-forth trying to get rid of that last tenth before I center drilled; pretty tedious but the Handwheel made it a bit easier Also, I am planning on knurlIng some long 3/8” pieces of titanium soon so the Spider should come in very handy for that too. The Handwheel and Spider have been a good addition for me.

That’s it.

Nice job! Looks very useful.

I’m not sure how much experience you have with turning, but if you are new to this, please make sure you have a solid understanding of the dangers in turning materials extending through the headstock. The immediate danger is “bar-whip” which you can find many factory surveillance style example videos of both here and elsewhere. This is man killer territory so please research, take the necessary precautions and be careful.


Sent from my iPhone using Tapatalk
 
vtcnc, I am new to lathe work and greatly appreciate the heads-up!
 
Back
Top