Router Build

jbolt

Active User
H-M Supporter Gold Member
Joined
Dec 3, 2013
Messages
1,849
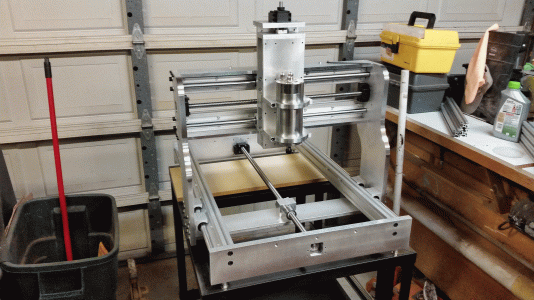
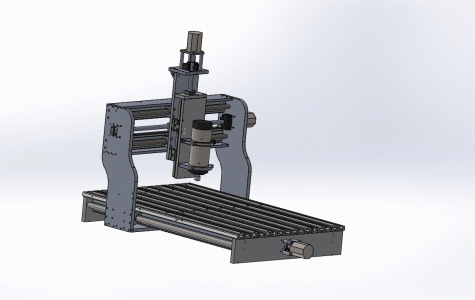
Hopefully this will be the completion of a project I started 14 years ago. I recently dug out the controller/PC I built in 2001. I have gone through the control box and verified all the wiring was correct, updated the PC to a newer MB that can handle Mach3 and also updated to a more current BOB & UC100 motion controller.

The steppers are 214 in oz PowerMax NEMA23 which I think may be too small for the X & Y but I will start with them and make provision for 34 size steppers.

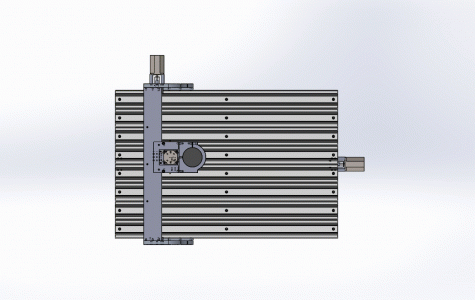
The table area is 24" x 36" with a work piece area of 18" x 27".

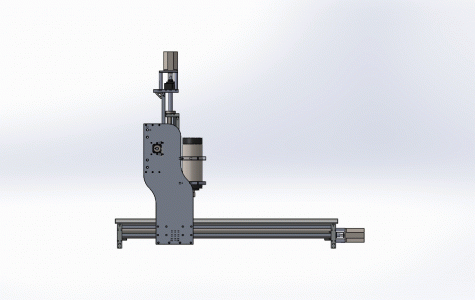
Construction is a mix of 8020 extrusions and aluminum bar stock.

X linear rails and ball screw are 20mm and the Y & Z rails and ball screws are 16mm.

Here are the Solidworks renderings.Router.gif router2.gifrouter3.gif
 
Looks great. My son and I are building one as a summer project. I don't have any cad software yet so I don't have any drawings that are presentable. We are planning on 36x48 with 4-6 of Z travel. We are going to use 425oz NEMA23 motors.
 
Thanks brav65!

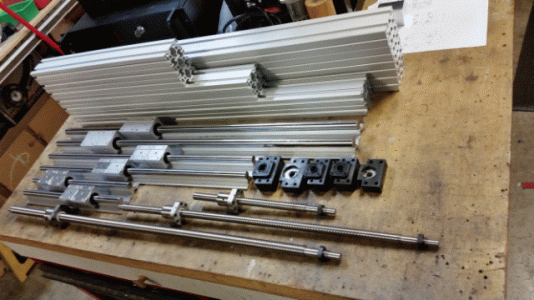
The 8020 and linear components arrived today.

Linear01.gif

The ball screws were supposed to have double ball nuts and they sent singles. I had this happen on another build and Chai took care of it quickly. Hopefully this will be the same. Both of the sets of 16mm rails are 25mm too long so I will need to cut them to length. Way better than being to short! The end cuts are really crude so being able to clean them up is a good thing.

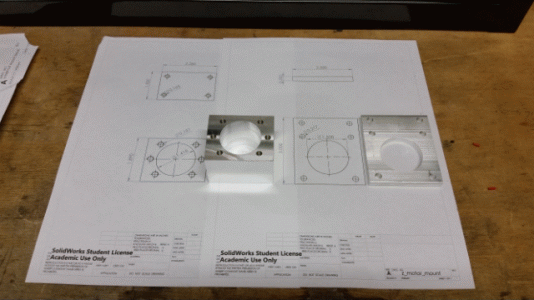
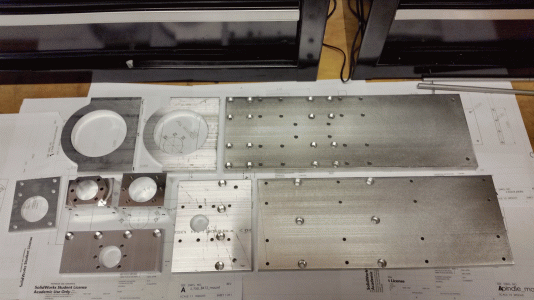
I had enough time tonight to make the first parts. The X axis ball nut mount and the Z motor mount plate. I'm so thrilled to have done the mods to my mill and have the higher speed spindle. Machining at 3x the speed then as before is awesome but still a bit terrifying at the same time.
Parts01.gif

Hopefully my aluminum will be in by the weekend to get going on the rest of the parts.

Jay
 
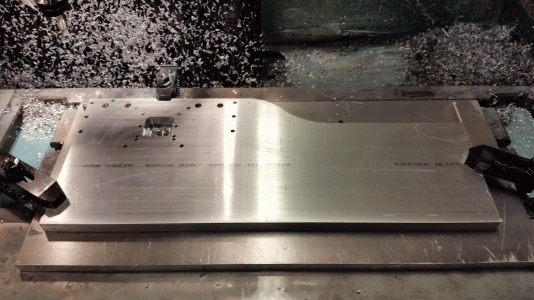
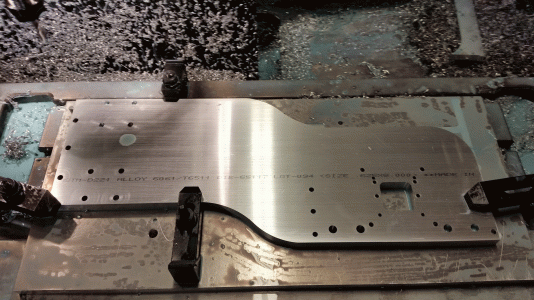
Gantry side plates, 8" x 19.5" x 0.625"

Parts03.gif Parts04.gif


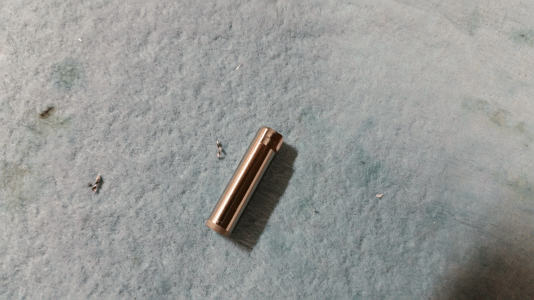
Here is how to ruin a $30 carbide end mill. Forgot to pull the hardened dowel pin before I ran the profile. Pretty exciting to see sparks flying out of the flood coolant!

Parts06.gif
 
Gantry side plates, 8" x 19.5" x 0.625"

View attachment 103764 View attachment 103765


Here is how to ruin a $30 carbide end mill. Forgot to pull the hardened dowel pin before I ran the profile. Pretty exciting to see sparks flying out of the flood coolant!

View attachment 103766

Nice work!
Gantry side plates, 8" x 19.5" x 0.625"

View attachment 103764 View attachment 103765


Here is how to ruin a $30 carbide end mill. Forgot to pull the hardened dowel pin before I ran the profile. Pretty exciting to see sparks flying out of the flood coolant!


View attachment 103766

Nice work on the brackets!
 
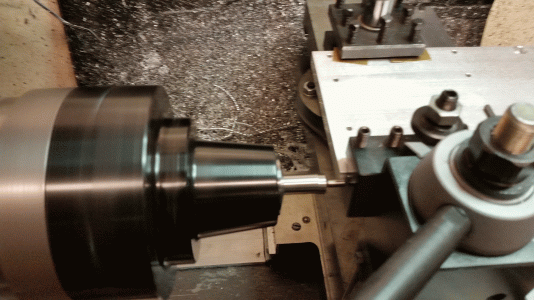
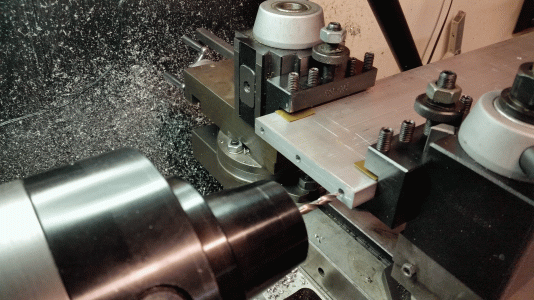
I needed to drill the ends of some of the plates that are too long for my bench top drill press so I used my lathe with the plate held between QCTP holders. Height was set with a digital height gauge.

Jay

Parts07.gif Parts08.gif
 
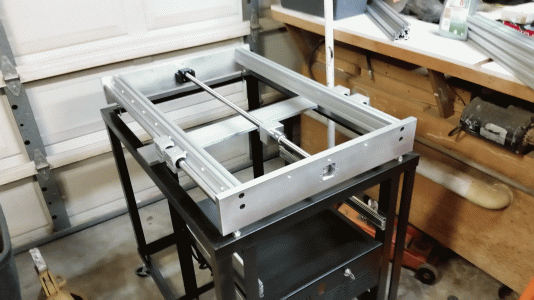
Made a simple stand for the machine out of 1-1/2" x 1/8" angle. Computer/power supply/stepper drives are mounted below on full extension slides. The keyboard and monitor will be on a pullout above.

Frame01.gif
 
Back
Top