-
Welcome back Guest! Did you know you can mentor other members here at H-M? If not, please check out our Relaunch of Hobby Machinist Mentoring Program!
You are using an out of date browser. It may not display this or other websites correctly.
You should upgrade or use an alternative browser.
You should upgrade or use an alternative browser.
Rescuing an abandoned Diesel 12 valve in Europe
- Thread starter GoceKU
- Start date
- Joined
- Jul 14, 2017
- Messages
- 2,448
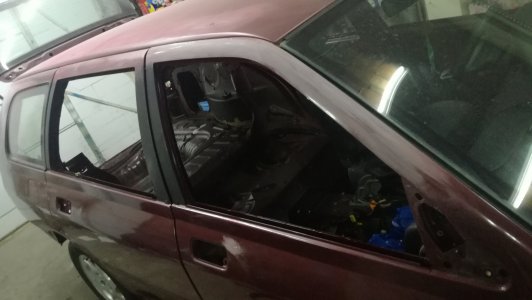
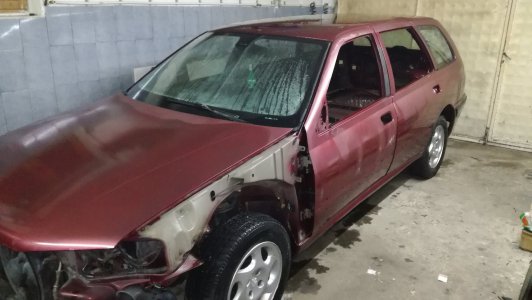
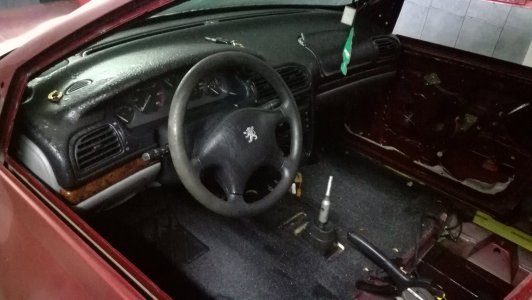
I've been proloning to start the body work on this project. I found a opening in the bad weather and pressure washed all the dirt and grime from all the door opening and wether striping, i did get some water on the dash and carpet , but without any windows it will dry. I use oven degreaser hard brash and my pressure washer, i'll have to wet send all the surfaces so the paint can stik.


- Joined
- Jul 14, 2017
- Messages
- 2,448
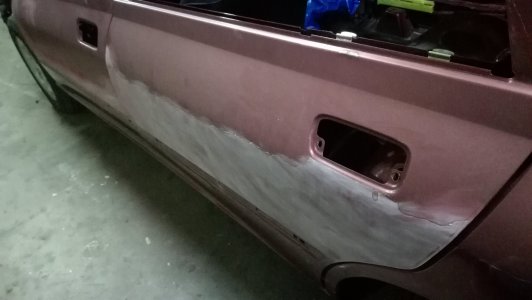
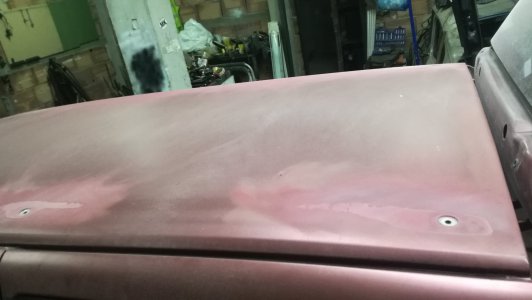
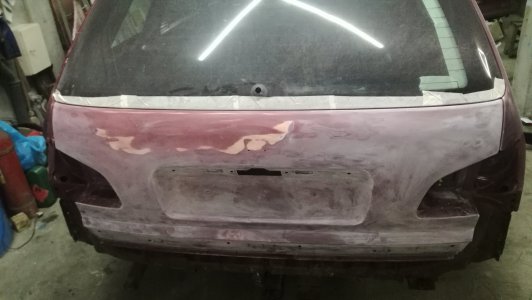
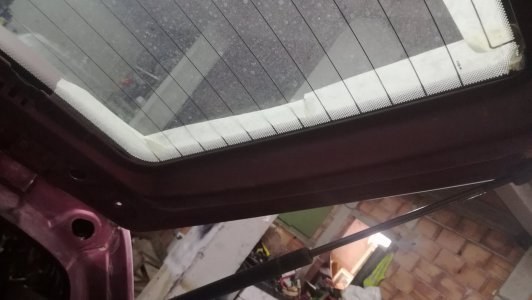
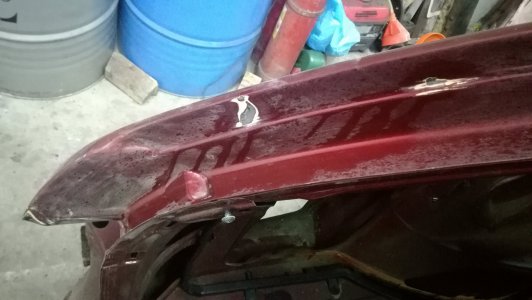
This project has been sitting a bit just because i hate body work, it's my least favorite area in cars. But i did spend some time and come out looking like a ghost from all the dust. Started by driving this car up to the big garage where i can open the door and work on it, the drive was a bit different and difficult no seat wet floor, dirty windows and 255 Nm engine to throw you backwards. When i got it in the garage i took off the rear bumper, i need to take off the black trim pieces and to fix all the damage, it look to have only one small crack but i can see it had a bad repair near the exhust. When i got is off that repair will need some work and there is lots of small cracks. But i focused on the trunk door, scarf all the inner edges, and all the water channels with P 600 pad. Then i used P 240 on the outside, there was a dent on the lower corner, i use my hammer and dolly set and had to hammer hard on it to get it very close. French steel is strange, is very flexible but hard at the same time. I also found some previous repairs on the drivers rear quarter, there was some rust coming thru. I sanded and apply antirust acid to take care of the rest.


- Joined
- Jul 14, 2017
- Messages
- 2,448
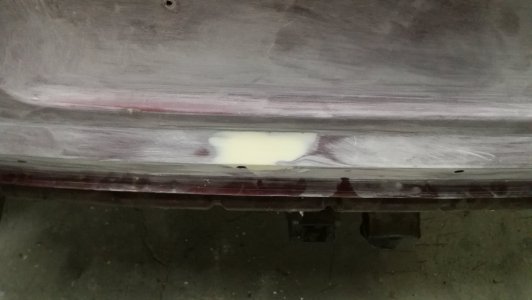
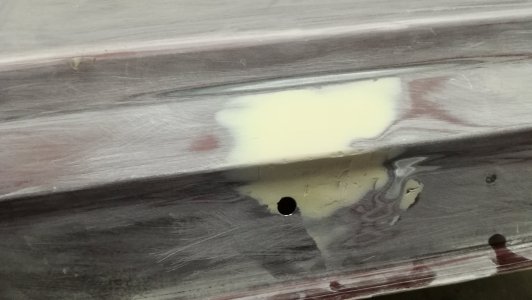
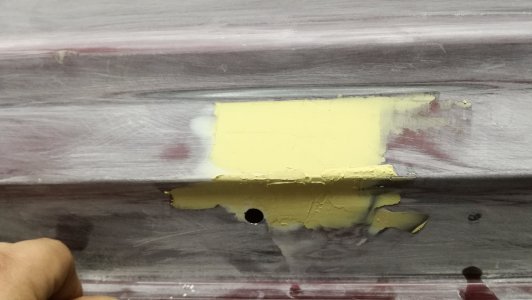
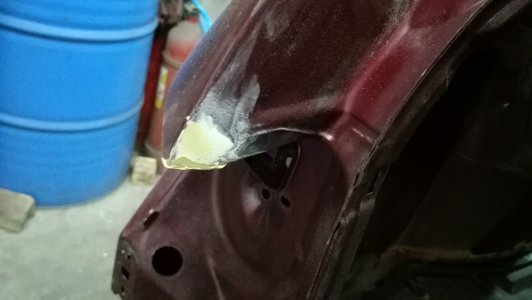
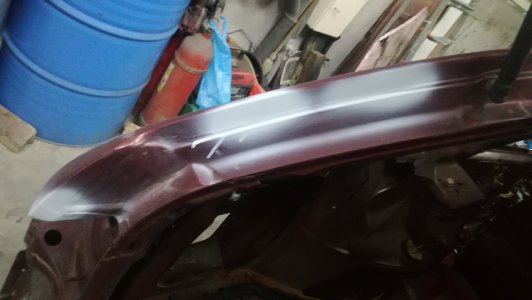
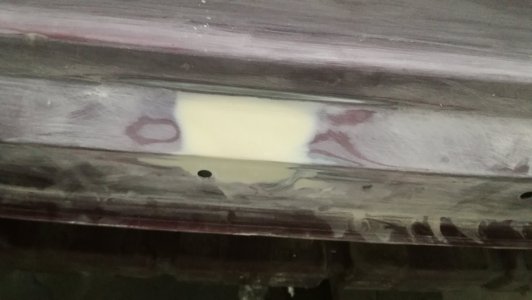
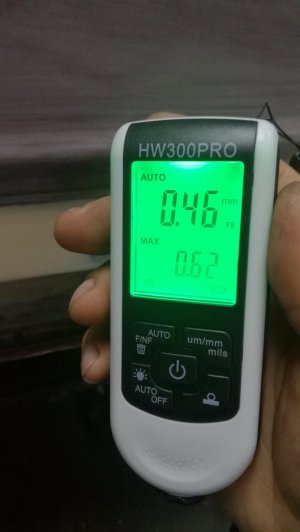
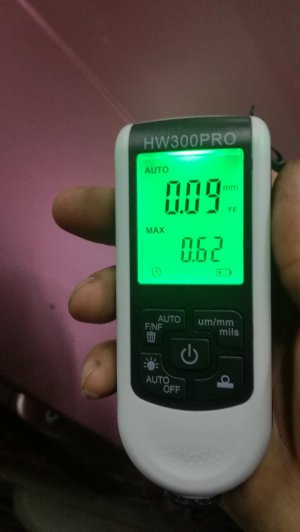
I continued doing body work on this project, i use my hammer and dolly and got the dent very flat, then i used some P80 grit sandpaper to have tooth for the body filler, i did the same on the inner side of the quarter panel. Then i apply body filler, left it to dry sand it then apply one more coat then sand it again and got it flat. I did it on the inner panel also and there i apply primer. For those who are afraid of body filler, i use my thickness tester and on the body filler its les then half a millimeter thick, i also check the hood and its defenetly wering its factory pant and no clear coat.


- Joined
- Aug 29, 2016
- Messages
- 838
Crap, a paint thickness gauge for $25? Yet another toy I have to buy.
- Joined
- Jul 14, 2017
- Messages
- 2,448
- Joined
- Apr 23, 2018
- Messages
- 6,551
What witchcraft is this? Star Trek?
- Joined
- Jul 14, 2017
- Messages
- 2,448
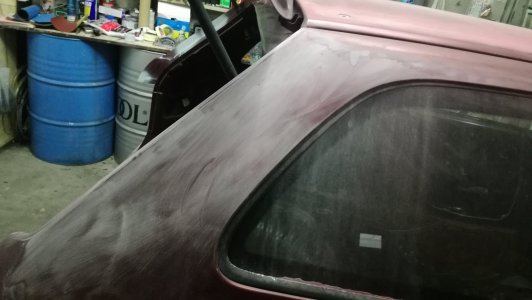
I continue working on the body work on this project, the slides that has clear coat got sended with P240 the spots without clear coat got noting done to them, the roof was a bit difficult. Because where the roof rack mount there is perfect thick paint and everywhere else there is no clear coat and is almost to bare metal. I'm amazed how this car's paint fail only on the side that got the most sun. I need to get some more paint supplies, taff like masking paper, tape, plastic tarps, sand papire.
