POTD- PROJECT OF THE DAY: What Did You Make In Your Shop Today?

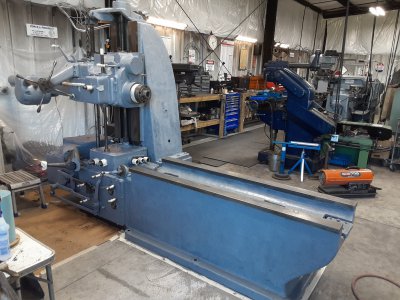
Finally got to a point I can start putting paint on the boring mill. Getting a coat of primer on now. :drink:
View attachment 482650
The HBM is cleaning up nicely Tom. I noticed we have the same air compressor. Couldn't quite zoom in enough to be sure, but it looks like yours is bolted directly to your slab. If you find its on the loud side, a set of these isolation mounts will drop the noise level in half! When I turned mine on for the first time it was deafening, and you could hear it from one end of the house to the other( attached garage ). I was going to return it, it was so bad. Talked to one of the guys in the motor pool at work( they had the same compressor ), and he turned me on to the isolation pads. I got them at Grainger. Now, you can barely hear a hum in the house, and in the shop, it's not bad at all.
IMG_2061.JPG
 
Yeah it is fairly loud. May have to try adding some feet. I did try to use some 3" hockey pucks I had, but they were not big enough.
 
Yeah it is fairly loud. May have to try adding some feet. I did try to use some 3" hockey pucks I had, but they were not big enough.
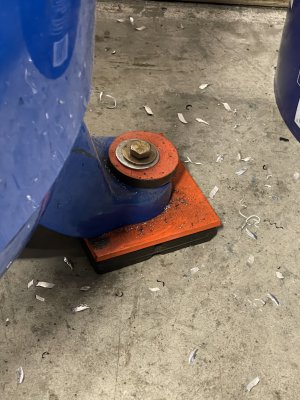
I tried finding the Grainger part number for mine, but no luck. They're 4" square. The important thing( I think ) is breaking direct contact between the compressor and the concrete, as it basically turns the slab into a giant speaker. Mine is rubber pad on slab with steel plate on top. Compressor sits on the plate, and there's a rubber bushing, so the anchor bolt isn't touching the metal foot. Then another rubber pad on top, capped with a steel washer. It made a HUGE sound reduction on mine.
 
I agree; I used these under my compressor:

 
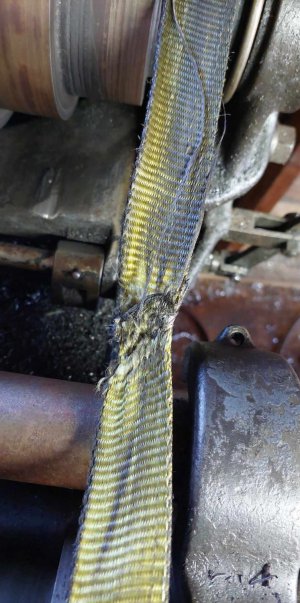
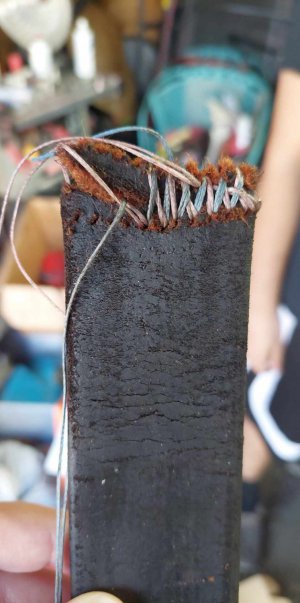
Had a fun little side project dropped on me, my leather belt finally let go in the middle of a rush part, so i tried to stitch that back together but i suspect its rotted, so i was forced to saddle stitch a temporary drive belt from safety strap!!
New drive belt will be on the way soon, but what a fun hour that was trying to find anything to get my lil old lathey spinning again!
 

Attachments

  • 429485181_433576345759464_1590002368300352710_n.jpg
    429485181_433576345759464_1590002368300352710_n.jpg
    236.7 KB · Views: 32
  • 431763685_405744638666692_490196451814834587_n.jpg
    431763685_405744638666692_490196451814834587_n.jpg
    169.3 KB · Views: 33
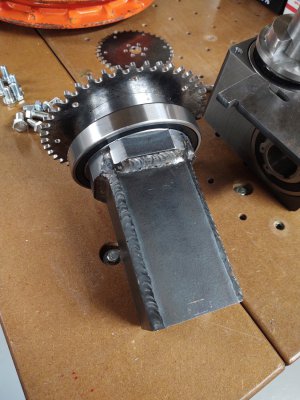
So, I've been dreading this next step. It's stupid little round spacer to sandwich between the sprocket and inner bearing race.
Was dreading it mostly because I didn't have any scrap material around to do the job, and didn't want to use up a huge chunk of soild for a little 80x90x16mm ring.

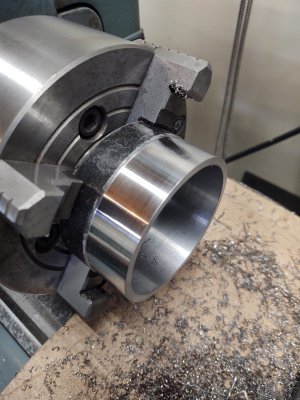
Luckily, I had to stop by somewhere that had a chunk of 3" sch 20 pipe. Absolutely perfect! Had to bore just a bit out of the ID, and just skimmed to OD clean.
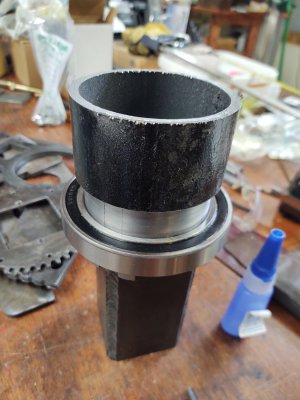
FoundSome.jpg LookingOK.jpg

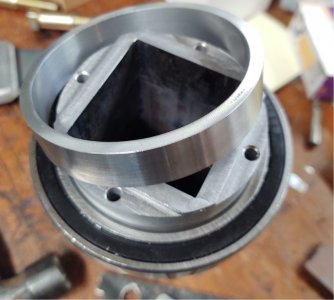
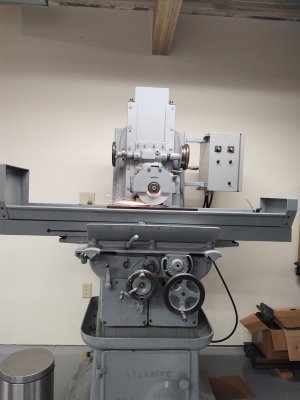
OK, so I did fight it. My HSS cutoff tools on this machine are always a problem! Ran back gear, nice and slow and about 3/4 way through it grabbed spun the spacer, and screwed everything up. Well, I sort of planned for this, the spacer was about .015" long. So, recovered by sawing off the extra, and taking it down to thickness on the surface grinder. It's also nice and parallel. So overall not as bad as I was imagining it to be.
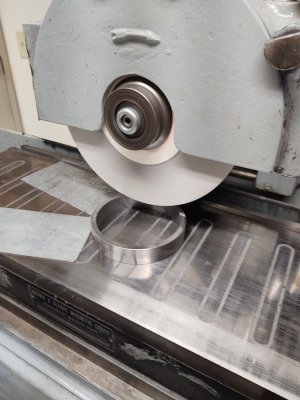
NiceNParallel.jpg NotSoBad.jpg

Next is the clamp ring to clamp the sprocket, spacer, and bearing onto this square drive.

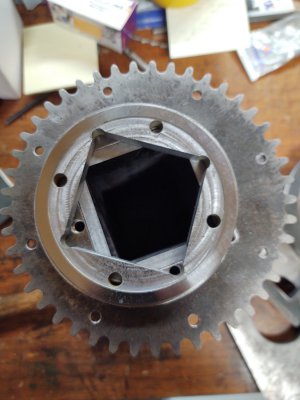
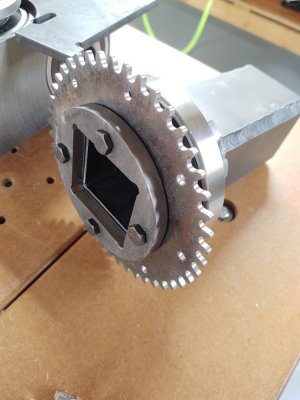
Edit: Probably not worth a new post. Buzzed out a chunk of HR, and set it up in the CNC mill. Made this little clamp. Feeling lazy, so let the surface grinder face off the one 'critical surface. Then assembled everything.
BeingLazy.jpg DoneEnough.jpg InPlace.jpg OutsideRaceNext.jpg

Next will be the hardware to support the outer race, and gearbox and hand wheel.
 
Last edited:
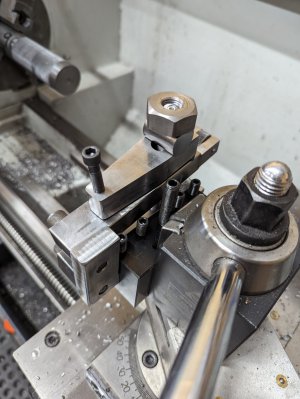
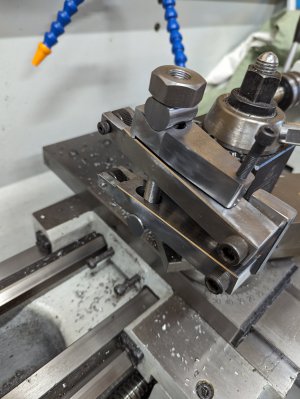
I decided to make a Camjack knurling tool. The process taught me a lot, and of course, it did not come out as nice as I wanted it to. I started into the "My goodness, how much time should I spend on this?" mode.
There is obviously one glaring mistake I made: the axle shafts for the wheels are threaded opposite from one another. Ughhhh. This was my firstPXL_20240316_220512301.jpgPXL_20240316_220516676.jpg internal threading, and it turned out ok. More learning acquired.
 
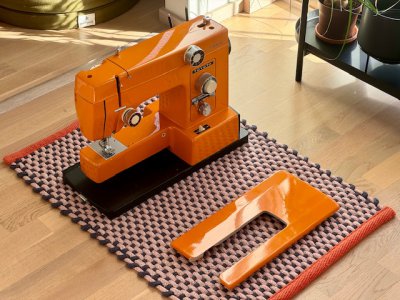
Started cleaning this “poor man’s Sailrite” I got for 20 euros ($22) a while ago. It should be powerful enough for upholstery work, but we’ll see about that.

IMG_3256.jpeg
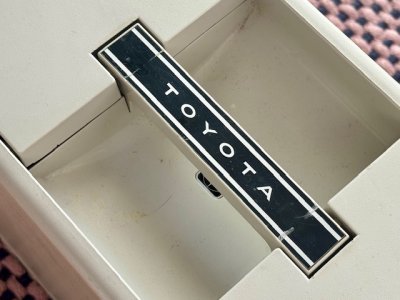
The sewing machine came with manual and all the original accessories.

IMG_3260.jpeg
The orange enamel finish is beautiful, but very brittle. There are a lot of scuffs in the paint.
 
I decided to make a Camjack knurling tool. The process taught me a lot, and of course, it did not come out as nice as I wanted it to. I started into the "My goodness, how much time should I spend on this?" mode.
...
Haven't seen that concept before, I like it. Your own design or from a plan?
 
Back
Top