POTD- PROJECT OF THE DAY: What Did You Make In Your Shop Today?

Nothing complex today—faced off a cast iron 11” fixture plate for the lathe to true it up. It had a .007” wobble, but now it’s within a tenth.

Rick “pic to come” Denney

The fixture plate is 10”, not 11”, and was clearly made for my lathe with the threaded hub cast in and fitting the strange 2-1/4x6 spindle threads. It’s a good 3/4” thick and perfect for things that need to bolted flat for facing or trepanning.

IMG_1385-dsqz.JPG


I first tried to face it with a Chinese CNMG432 turned to the obtuse corner in a tool holder design for facing. But I was not happy with the finish I was getting. Then, I tried a beefy HSS tool with a turning grind, and the facing operation polished it down within a quarter inch.

IMG_1390-dsqz.JPG


This surprised me. I tried a more pointed tool and same thing. The chips were coming off like cast iron, but even the face must have had a really hard layer.

That’s when I switched to a Mitsubishi CNMG432 insert if type VP10RT. It’s bit sharper and I thought maybe it would take off 0.010 without chewing up the surface. I used it in a standard turning holder.

IMG_1387-dsqz.JPG


IMG_1388-dsqz.JPG


IMG_1389-dsqz.JPG


And that did the trick. Speed was 250 rpm, feed was slow to get a smooth finish at about 0.003 per rev. The 0.010 depth of cut (at worst—0.004 at best) just skimmed it.

Finish is excellent:

IMG_1384-dsqz.JPG


And runout is now about 0.0002–probably about the limit of my old lathe. And that has been repeatable in several remove/replace cycles.

IMG_1382-dsqz.JPG


Rick “has some expensive CBN inserts in reserve—didn’t need them” Denney
 
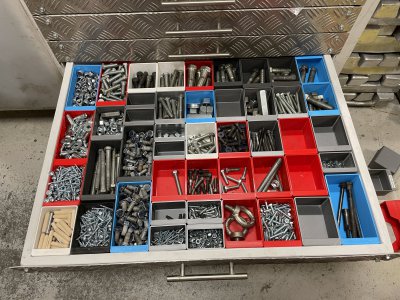
Been spending the last week or so cleaning/organizing the garage... Boring but definitely makes it much more fun to be there once it's done.

This one is a bit of work in progress.
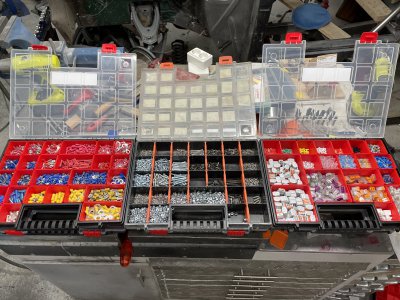
Used to have 5 of these sortiment boxes, that were always stacked ontop of eachother and things randomly thrown in them.
Bought another 6 when I found a good deal on amazon and started properly sorting stuff, more related to type of item and size.
Also gave me a chance to go through several boxes of "misc screws, nuts, bolts, washers" and sort what I wanted to keep and discard what I didn't.
IMG_8622.jpeg

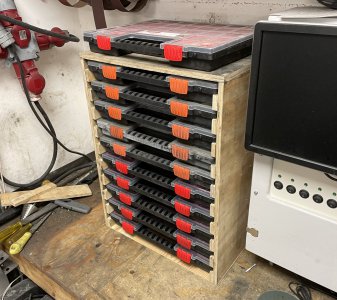
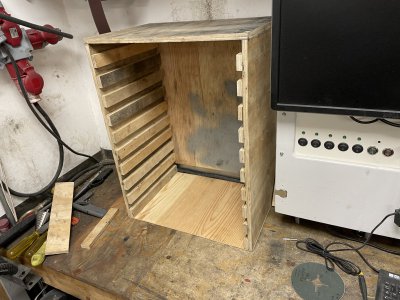
So the next problem is that these always sit ontop of eachother and you always want the box at the bottom ... So I threw together a sorting box cabinet, unfortunately I apparently can't count to 11 but still better than before.
Each box slides in and sits on the siderails so any box can be taken out no matter order.
I need to mark the front of the boxes once I've finalised what contains what.
IMG_8700.jpgIMG_8699.JPG

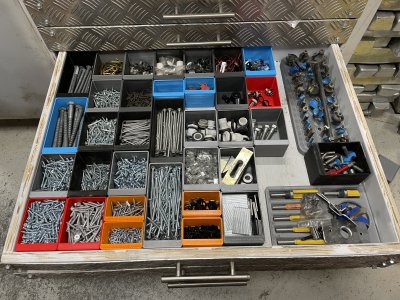
But then there's always the problem of having too many of one item, or too big items.
This is where my workbench came into play with 3D-printed "box system".
Currently there's a "standard unit" of 97.5mm x 74mm , arbitrarily based on how many boxes I thought I wanted to fit.
For longer/shorter items I then scale that 97.5 by 50% or 150% to get a system that will always fully occupy the drawer.
Still a work in progress but this has removed several big boxes of random stuff from my floor. :grin:
IMG_8706.jpegIMG_8705.jpeg
 
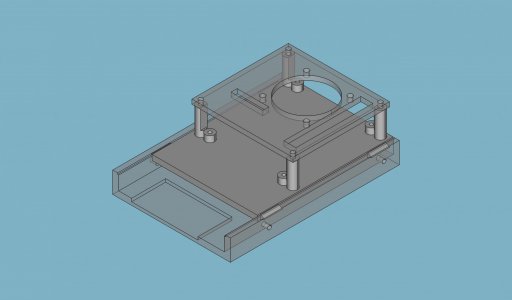
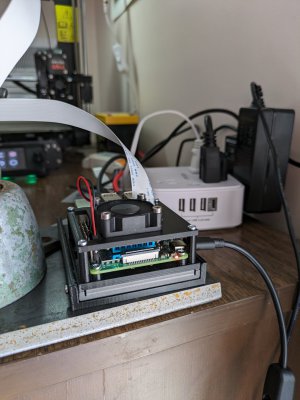
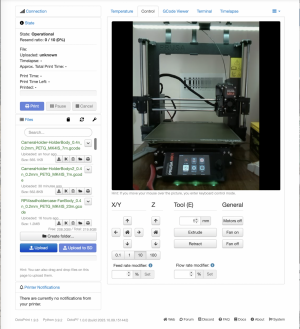
Wasn't in the shop, but made a holder/fixture for my OctoPi yesterday and completed it today. Printed the fixture to hold an SSD in the caddy, with room for the SATA to USB connector, then an RPI4 mounted to a snap fit cover. The cover had additional bosses to hold a plate above it that holds the fan. The cover also has a slot for the camera ribbon cable. Took a couple of tries, but is functional at this point. I did not print the threads, so I had 8 holes to tap in M2.5. I did that on the mill so I could keep the tap straight. Guess that sort of counts being in the shop!

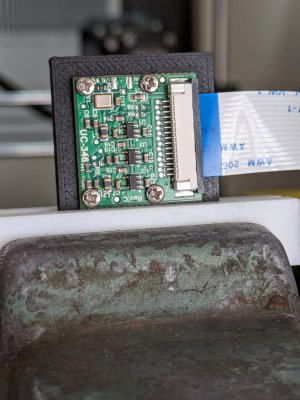
Also made a camera mounting "plate". RPI cameras usually come with no mounting hardware and they are tiny things. I just made something that went over and around the camera with extra flange around it so I could more easily clamp the camera in my Panavise. Now there's about 4mm to clamp onto, rather than only 1mm. Since my Panavise has jaws made of teflon, the camera would tend to slip. No more. Tried to take a picture from the other side, but it was backlit and wasn't worth posting. I can think of maybe a dozen ways to improve this design, but it works.
rpi4ssdfancase.jpgPXL_20240313_173420042.jpg
PXL_20240313_173440232.jpg
It's not much, but at least it's something! Yes, those screw heads are close! Was waiting for a crunch as I tightened the screws. I may turn down the heads slightly. They are small at M2. They sure didn't leave much room for screw head clearance. OctoPi is running again with this new set up. That's the view from the camera. It's depth of focus isn't very good, and after a lot of fiddling this is the best I could get. On the rear wall is a optical resolution chart. Haven't found a good camera that is adjustable AND runs on OctoPi.
Screenshot 2024-03-13 at 1.43.29 PM.png
 
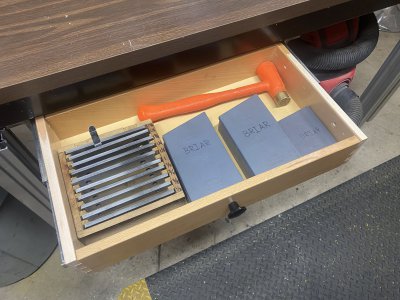
Used a leftover drawer and slides from my 2014 kitchen remodel to add a drawer under the bench by the mill. I moved the drill indexes and parallels from the bottom drawer of my 2 drawer riser box. I was having to constantly clear the bench to open the drawer. Now, I’ll put my rarely used tools in that bottom drawer.
IMG_2505.jpeg
 
well, the euro edge finder is much more accurate than my American straight style. The wiggler and the euro are almost a match for repeated centering tests. I re-ground the shaft to fit a 3/8 collet. ahhhh. I am within .2 to .4 tenths of the wiggler on center repeatedly. It kicks over so much better. I tested both the small and the next larger one.

Before regrind..
View attachment 482550

After a regrind:
View attachment 482551

I did manage to break an arbor on the toolpost grinder on the lathe. On the last pass, I turned the lathe on and I thought it fed into the chuck , but it was the chuck that started coming off the lathe spindle. I grind in reverse. On my old Cushman chuck I had installed a set screw that held the chuck on. The new to me Bison does not have enough room to do that. The boss is just too small. I don't know what I will do about running in reverse now. Someone on here mentioned that they glue the chuck on the threads using CA... I'm not so sure I like that idea. Maybe I'll try medium Loctite and just clean it with acetone each time rather than having to heat the plate and spindle to break free the plate.

Cross posted from : https://www.hobby-machinist.com/thr...r-any-with-imperial-sizes.111078/post-1116381
 
Rick check under that shim.. it looks like there's crud under it. It may not be sitting flat. I had a chinese holder that the inserts would not sit flat on. They didn't use shims because they were not negative rake. But I had to sit there and file the holder to get the proper fit. You want positive contact on the shim to the holder, and the holder to the insert.

This public service announcement came to you free of charge.. which means you are free to ignore it if you want.;)
 
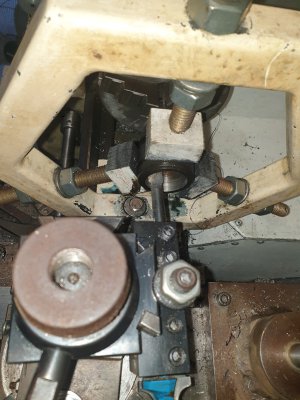
Got totally cheesed off with grinding the ally plate so decided upon a change.
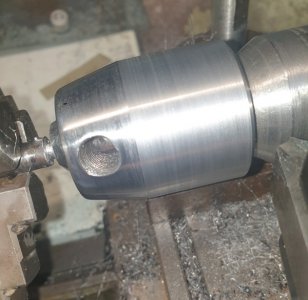
The nut on my QCTP rusts in our liquid weather very quickly even after blackening.
nut1.jpg
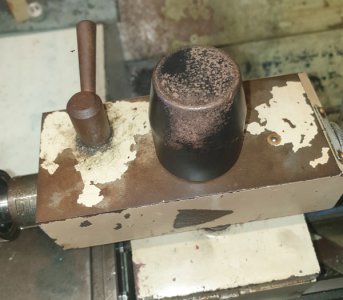
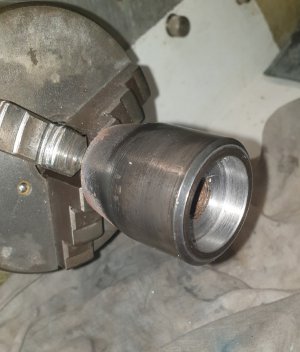
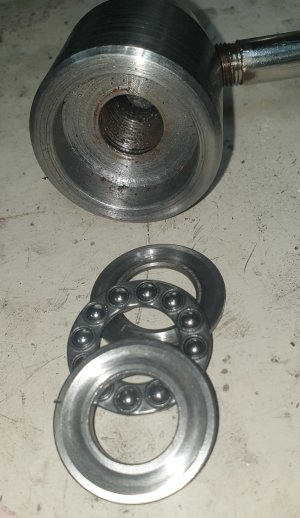
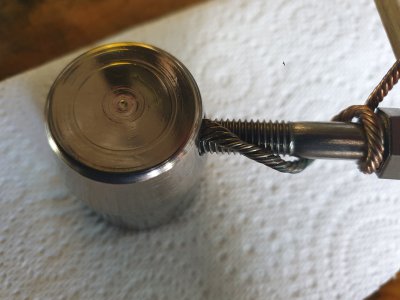
I saw somewhere someone had placed a thrust bearing under the nut and it locked the QCTP in position with very little pressure so I thought I might as well give that a go. It worked so I decided to bore out the nut for the bearing.
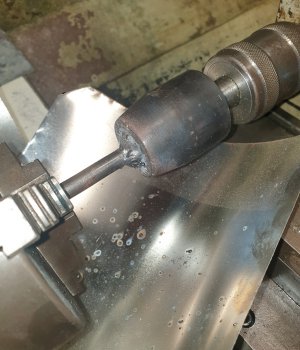
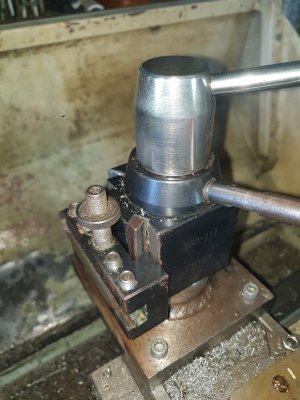
As it was tapered I couldnt find a method of holding it so I welded a rod to the top.
nut2.jpg
supported the outer end with my steady rest
nut3.jpg
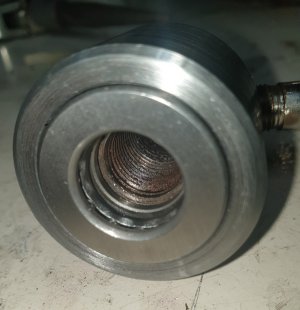
and bored the recess for the thrust bearing
nut4.jpg
recess.jpg
bearing-in.jpg
The outer surface was very pitted and rough from use so I gave it a skim cut with a https://gadgetbuilder.com/VerticalShearBit.html
If youve never used one of these you will be amazed at how smooth the surface is.
shear-cut3.jpg
and the swarf is so very fine.
shear-cut2.jpg
After getting it that smooth I gave it a bit of a polish
polished.jpg
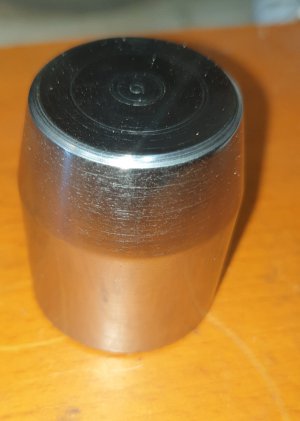
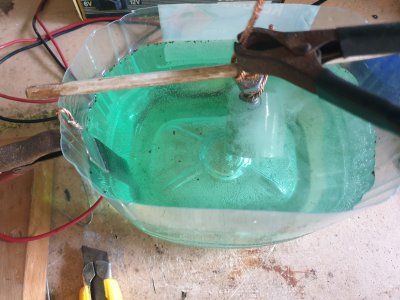
And then thought a bit of nickel plate wont go amiss and hopefully prevent it from rusting again.
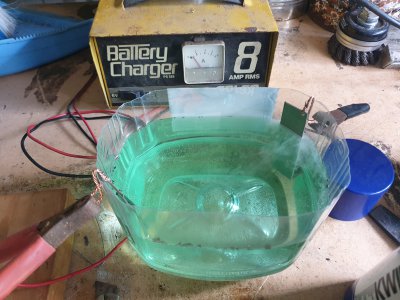
First up make the plating solution, white vinegar and salt, run for about 30 mins at 6V with nickel anode and cathode plate till the clear solution turns green.
nickel-solution.jpg
Then connect the part to be plated to the neg terminal and another nickel plate to the positive and off we go.
fizzing-away.jpg
I had no idea how long to go for so I hoped if the copper wire was coated ok then hopefully the steel will be as well.
plated.jpg
Cleaned up and back in place.
back-on.jpg
How long before it rusts again.
 
Rick check under that shim.. it looks like there's crud under it. It may not be sitting flat. I had a chinese holder that the inserts would not sit flat on. They didn't use shims because they were not negative rake. But I had to sit there and file the holder to get the proper fit. You want positive contact on the shim to the holder, and the holder to the insert.

This public service announcement came to you free of charge.. which means you are free to ignore it if you want.;)
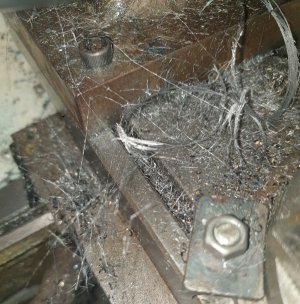
I checked it—the crud is in a chamfer on the tool holder, not under the shim.

But thanks!

Rick “why I’m here” Denney
 
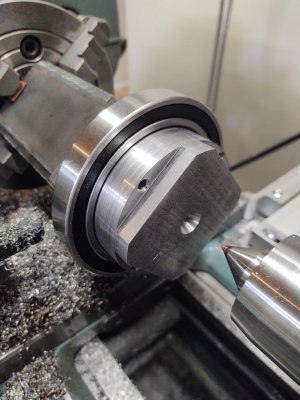
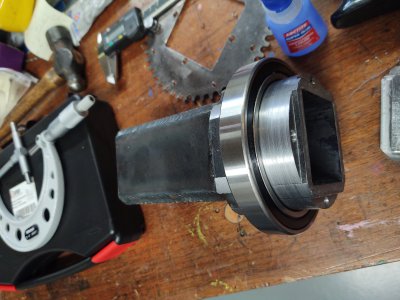
Stuff going on, finally back on the drive shaft 'carrier' bearing. The bearing fits! Surface finish is a little rough. It's hot rolled plate, cut with what's got to be a dull insert at this point.
BearingFits.jpg KindaRoughFinish.jpg

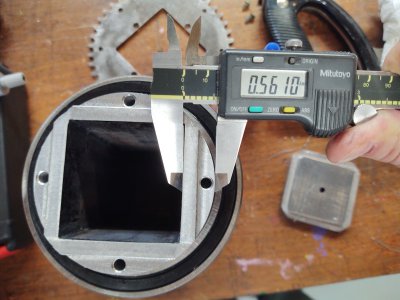
Was worried about the runout. Looking at the top of the tube, it became apparent that would be easy to measure. Basically measured the same .561 distance on all four sides. Maybe a 1/2 thou difference, depending on how I wiggled or squeezed the caliper.
MeasureRunout.jpg

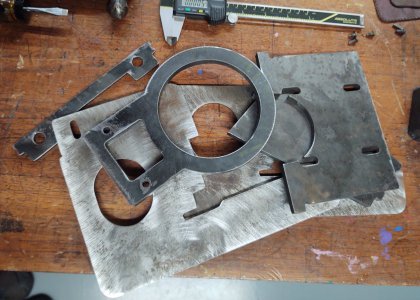
And lastly, had a buddy burn some 1/4" and 3/8" plate. Couple slots were slightly narrow, no big deal. Just widen them with an end mill. The bulk of the material is removed.

ThisPile.jpg

Next up: Double checking the fit of these against the bevel gear box, milling slots to width, boring a few 1/2" holes for roller stub shafts.
 
Last edited:
Back
Top