PM25-MV - From the Beginning

Quick update. I have the table back on and FRO readout mounted. I had to polish my gibs as it looked like a beaver had chewed them. My lead screws were also packed with crud. The table moves like butter now. I did not remove the mill head to get to the z axis lead screw, I will do that later. All I have to do is mount the DRO scales and tram the head and I will be good to go.
 
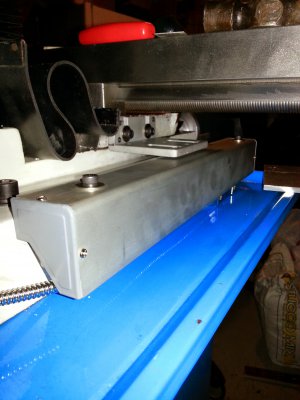
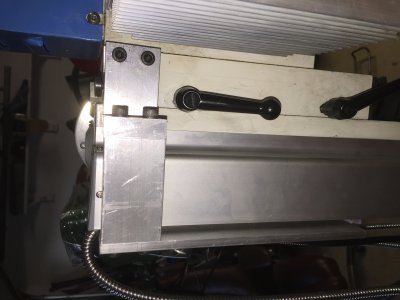
Well I have mounted the Y axis DRO mounted including the cover. Below are some pictures of my install. I have one more bracket to fabricate to complete the installation.


20141018_190400.jpg
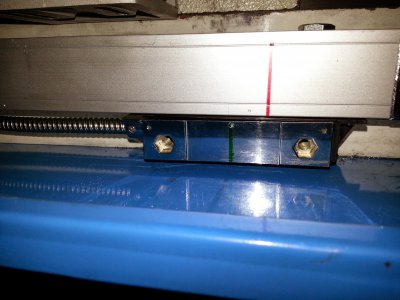
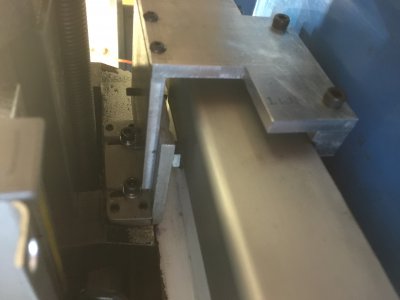
I wanted to mount the DRO in a vertical position to reduce the potential for chips to get in the reader. The bracket is mounted as high on the table as possible. I drilled and taped two 6mm holes and used one of the provided brackets.


20141018_190429.jpg

I also added 4 grub screws to make adjustment easier

20141018_190507.jpg

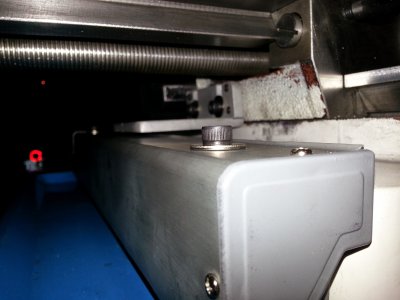
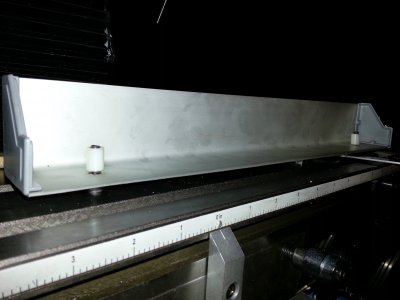
I mounted the cover using the two unthreaded holes in the top of the body of the scale

20141018_190537.jpg

I trimmed off the upturned angle on the cover as it was not needed

20141018_190728.jpg

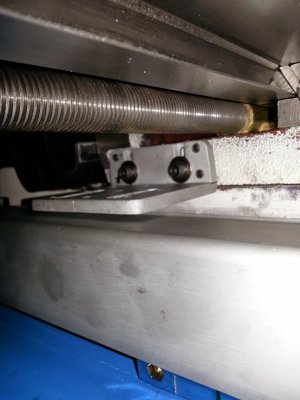
I added two nylon bushings to raise the cover so that the read head was acceseable for the mounting bracket

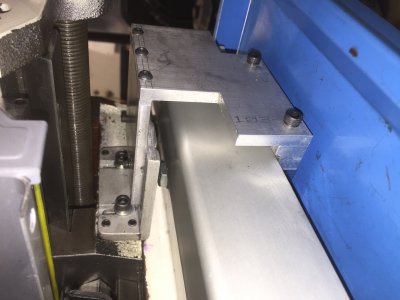
20141018_190816.jpg

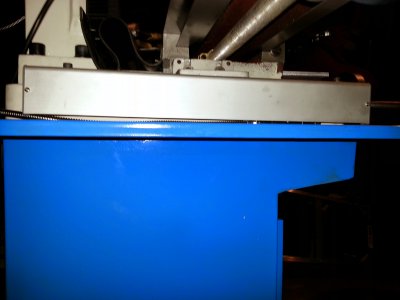
There is minimal clearence for the read head to move along the chip tray. I may have to add something to prevent chips from building up and preventing the head from moving freely. The scale is mounted using one of the backing plates included with the kit. I drilled and taped two holes in the base, mounted the plate and adjusted using the grub screws. My goal was to get everything mounted very securely and make adjusting the scale as simple as possible. I have to fabricate the bracket that attached to the read head to complete the installation of this axis. I will update as I get the others scales mounted. Any suggestions to improve the installation would be greatly appreciated as I have absolutely zero experience with this stuff.

Thanks,

Brooks

20141018_190400.jpg 20141018_190429.jpg 20141018_190507.jpg 20141018_190537.jpg 20141018_190728.jpg 20141018_190816.jpg
 
Hey Brooks -
I've been so busy with work that I haven't been able to do much since the PM25 arrived except take it apart and clean it up. Have some time this weekend - so will be working on my DRO install. Thought I'd check in with you to see how you are doing with yours.

John
 
I have been in the same boat. I need to get some longer screws to finish mounting my Y axis. I have started on the Z axis. I hope to have the DRO up and running this weekend. I will post pics.
 
congrats on your new mill - Take it slow and most of all be safe when performing operations - hopefully, your son will start to enjoy "dad" time - show him and let him do it -
Of course, I let my 21 y/o son take over the lathe and he was power feeding and not watching - got oil can caught up on hand wheel and tore up all the gears in the saddle -
 
Good morning Brooks-
How did you mount the readout arm. I noticed it does not fit on the side of the column.

j


Hey Joun I mounted it to the back of the column. I plan to add an extension to the arm so I can position it within easy reach. I have mounted the Z axis and am finishing up my bracket. All I have left is the X axis which should be straight forward. I am also working out a design for a lower profile way cover. I will try out a prototype this weekend and post some pictures this weekend of what I have complete so far.
 
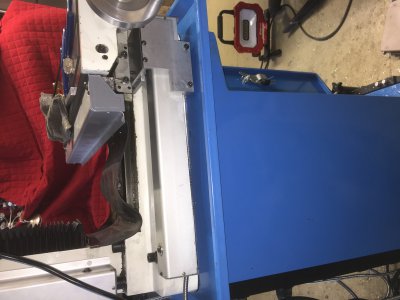
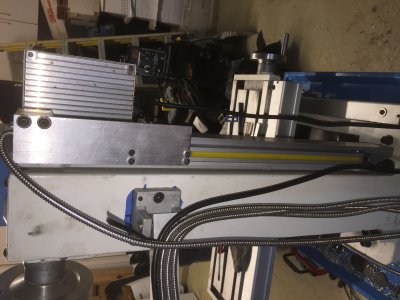
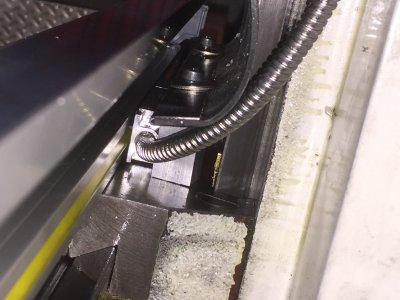
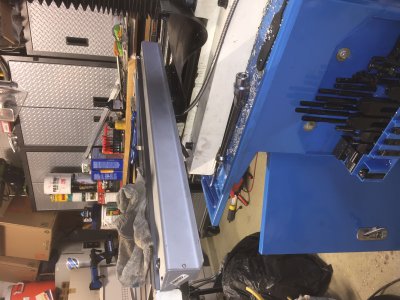
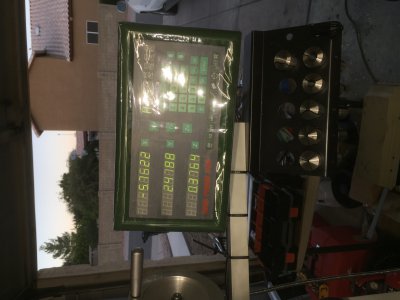
Finally have all three axis installed! Here are some pictures of the install. I plan to re-make some of the brackets now that the mill is at 100%. I still need to secure some of the cables set the display up, but all the scales are producing readings. I have not checked the accuracy yet. I plan to get everything dialed in this weekend.

Y axis bracket
IMG_0002.JPG

IMG_0003.JPG

Z axis bracket

IMG_0004.JPGIMG_0005.JPG

X axis

IMG_0007.JPG

IMG_0008.JPG

Display Head

IMG_0009.JPG

I plan on added an 8" or 10" extension to the mounting arm for the display. I mounted it as high as possible to that it was easy to see and input on the screen, but it is very close to the Z axis hand wheel. I am sure that I will have to tweak some things as I learn to use the mill, but it is done for now. I am not sure why all the pictures are rotated. When I open them on my computer they are the correct orientation. Sorry for any neck pain.

IMG_0001.JPG IMG_0002.JPG IMG_0003.JPG IMG_0004.JPG IMG_0005.JPG IMG_0007.JPG IMG_0008.JPG IMG_0009.JPG
 
Looks good Brooks!
I checked the head (it was fine) and mounted vise on mine last night.
I started my PM25MV thread two nights ago and the forum did some king of refresh and every thing I typed was lost. I'll do it again when I have a few minutes.
John
 
Back
Top