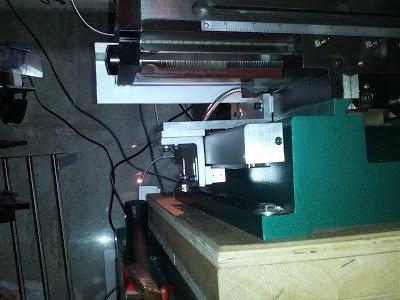
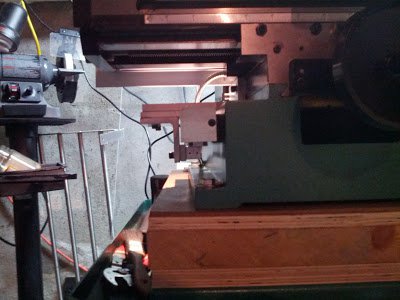
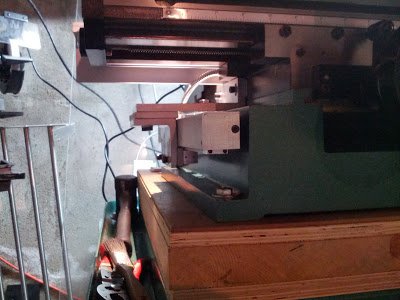
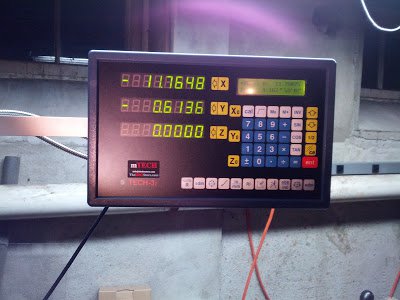
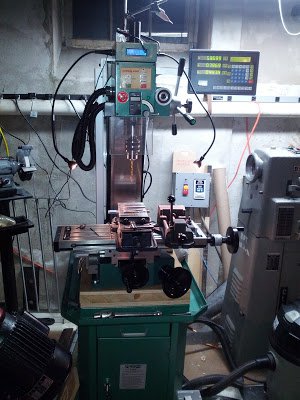
New DRO Install on a G0619/SX3

<ST1:pI just received the DRO today. It was delayed several days because one of the scales that I had requested was out of stock and It took an additional 7 days to reach my hose from <st1:country-region w:st="on"><ST1:pSingapore</ST1:p</st1:country-region>. Pretty good time considering these were the places it visited.<O:p</O:p
<st1:country-region w:st="on"><ST1:pSingapore</ST1:p</st1:country-region><O:p</O:p
Sennan <st1:country-region w:st="on"><ST1:pJapan</ST1:p</st1:country-region><O:p</O:p
Beijiang <st1:country-region w:st="on"><ST1:pChina</ST1:p</st1:country-region><O:p</O:p
Incheon South <st1:country-region w:st="on"><ST1:pKorea</ST1:p</st1:country-region><O:p</O:p
<ST1:p<st1:City w:st="on">Anchorage</st1:City> <st1:State w:st="on">Alaska</st1:State></ST1:p<O:p</O:p
<ST1:p<st1:City w:st="on">Memphis</st1:City> <st1:State w:st="on">Tennessee</st1:State></ST1:p<O:p</O:p
<ST1:p<st1:City w:st="on">Norfolk</st1:City> <st1:State w:st="on">Virginia</st1:State></ST1:p<O:p</O:p
It was well packed, had no damage and I never received a call from customs.<O:p</O:p
I am very impressed with the quality of scales and readout so far and neither look cheaply made.

I look forward to your write up of the installation and operation. Chuck

 
sounds good.

haven't had much time to devote to this these past couple of weeks, but I did manage to install the Y-axis scale while waiting for the 4mm tap (which already arrived). just didn't get a chance to take pictures, but will post soon.

On another note- I just bot a bill from Fed-Ex this week with a charge for customs. Not too bad, but I wish I would know about this ahead of time to calculate this into the total (along with additional taps, etc).

Will hopefully continue the install this or next week... stay tuned if you wish, or go ahead and start on your end!

Cheers
 
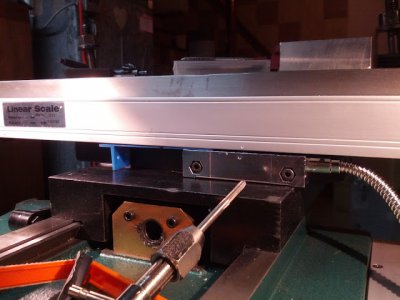
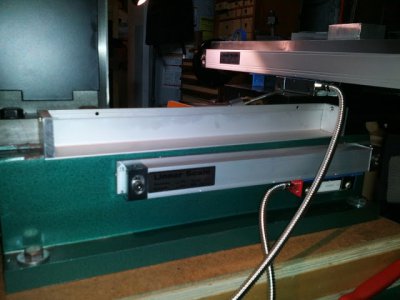
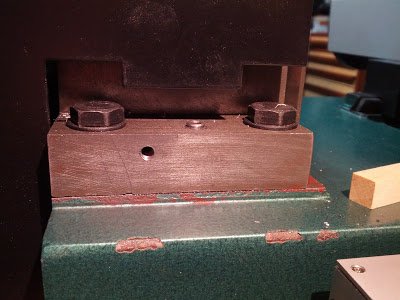
it's quite amazing the difference between using a good decent tap as opposed to a crappy low quality one. With the new HSS taps I was able to easily tap away deep and clean and was able to mount the X reader directly on the side of the base of the mill as originally planned. I did scuff the black finish on the base a bit, but I'm ok with it as the installation of the X axis is complete- and with ample space between reader and scale, and between scale and cover - all good to go!

IMG_20130626_205335.jpg

On the same note- I am glad I ordered a few extra 4mm taps from Enco, as the original HSS taps I ordered through Amazon just arrived - but they somehow grew during shipping, and the M4 became M6 taps :/ - I contacted the seller and awaiting response with what can be done about it. luckily I am not hindered by it at the moment, and for $2.50 I might as well keep the 2 x M6 taps just in case... but we'll see where this will go.

I started mounting the Y axis, and unlike the X parts, the Y cover is 2 fold - it has a backer block, and a cover that bolts to it. this setup also creates a mount for the Y scale:
IMG_20130626_205541.jpg

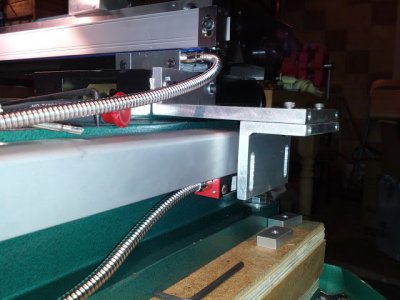
I am not sure if it's necessary or adds any value, but it's an interesting setup nonetheless. I drilled and tapped the base to accept this backer block that will house the Y scale and the cover and mounted the scale to it. I also drilled and tapped the Y carriage and bolted an L bracket to it to eventually hold the reader - It seems like I WILL need to machine some sort of spacer block to be able to mount the reader to the L brackets and overshoot the cover at the same time:

IMG_20130626_212209.jpg

All in all, decent progress. the X axis is fully operational and I put back my vise on the table as I no longer need access to the back of the X axis and table top. The Y axis is half way done, and I may install the Z axis before finalizing the Y axis just so that I can see which of the provided brackets I will have left that I may end up using for the spacer block between bracket and Y-reader.

so far so good...

IMG_20130626_205335.jpg IMG_20130626_205541.jpg IMG_20130626_212209.jpg
 
Looking good!
I had that same problem with cheap metric taps when I mounted my scales too.
Local Ace hardware had good ones so I got lucky and didn't have to order.
A set of good metric taps is on my wish list but not as high on it as other things. :LOL:
 
Had some progress a few days back, but didn't get a chance to post it so here goes:

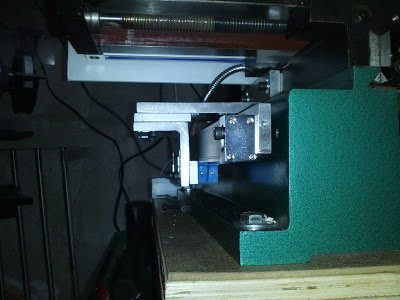
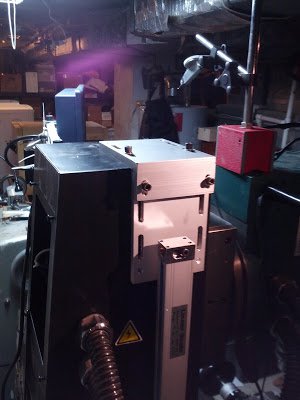
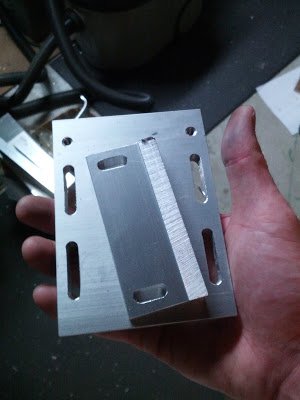
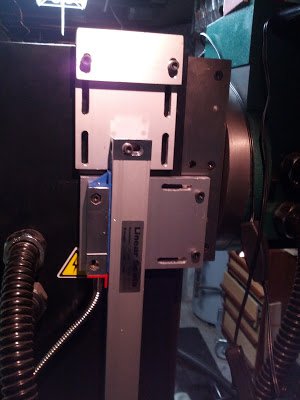
I was able to mount the Y instrumentations without the need to machine any additional blocks but cutting down one of the supplied mounting blocks into 2 and used one to space one L-bracket from the other, and the other half to space the reader from the mounting angles bracket. this setup worked perfect and I just needed to machine some slots in the L and straight brackets to align with the reader holes, and with one another for a precise fit. after all - this is done on a Mill for crying out loud. I should be ashamed if I couldn't machine some mounting hardware :)

here you can see the spacers, and the spacing between reader/scale/brackets/ and all:
IMG_20130703_220018.jpg

and here it is with the scale cover which breaks into sub parts and is easily slid into place without having to take any of the mounting hardware apart:
IMG_20130703_221026.jpg

space from cover and all:
IMG_20130703_221057.jpg

And another view for good measure:
IMG_20130703_221110.jpg

And we are officially in business with X-Y axis working great!
IMG_20130703_221229.jpg

Next ... the Zzzzzzzz axis...

IMG_20130703_220018.jpg IMG_20130703_221026.jpg IMG_20130703_221057.jpg IMG_20130703_221110.jpg IMG_20130703_221229.jpg
 
OK, I must be on a roll, cause I've been able to attend and focus on several projects this past week or so, and here I'm practically done with the DRO install!

To start with the Z axis installation, I made a mock up or the arrangement of brackets I will be using to get an idea of what goes where and how it would all fit (and whether I have enough brackets and hardware to make it happen). once I figured out what will work, I started by drilling and tapping the mounting hole for the Z scale on the bottom of the mill column. I made sure I don't drill into any of the existing bolts, and that I will leave good spacing for the remaining installation parts that will follow:

IMG_20130705_213636.jpg

The top part followed, and I used an L bracket and a flat bracket that came with the DRO package and positioned it so that I will use one of the exiting M5 bolts that attach the black cover to the column - less drilling and tapping for me is always a good thing, and recycling existing infrastructure is also a plus:

IMG_20130705_220322.jpg

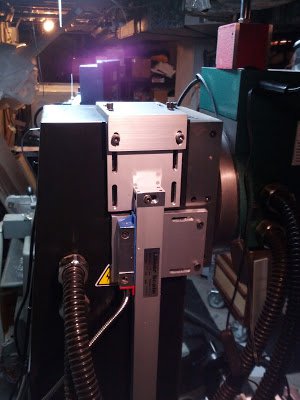
to attach the reader to the mill head, I sliced off the remaining angle bracket and made a flat extension that with some shop made spacers made for a good solid hold:

IMG_20130705_221039.jpg

IMG_20130705_231502.jpg

the only thing you might notice is that I'm missing 1 x long M4 bolt to attach the reader to the extension arm. package includes lots and lots of shorted ones, but just 1 short of long one for me... need to go to hardware store and get me one to finalize this install.

Other than missing bolt, everything is installed, and properly spaced, and seem to be working great:
IMG_20130705_231506.jpg

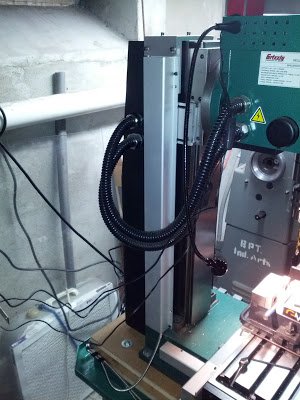
2 more tapped holes (and redrilling the mounting holes in the cover as the original locations didn't work out for me), and the Z cover is up in it's place:

IMG_20130705_235315.jpg

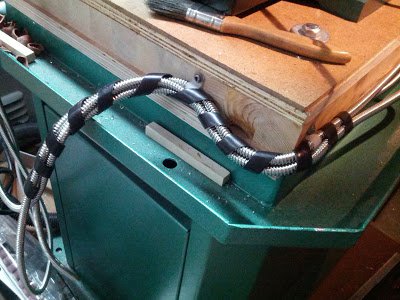
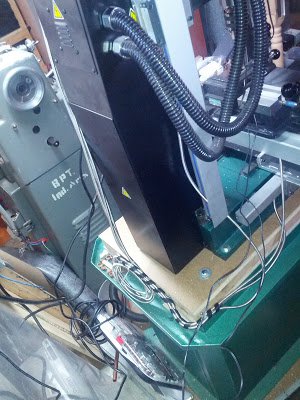
To route the cables, I used supplied plastic hangers to secure 1 cable to the table, and then used a spiral cable organizer to group and stick all 3 cables together into a single bunch:

IMG_20130705_234422.jpg

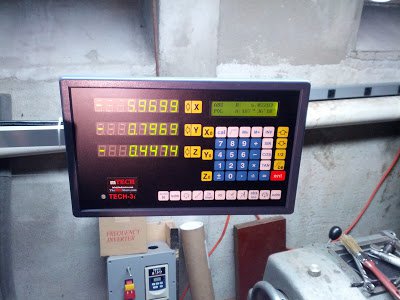
...And... It's official - X,Y,Z axis all functional:
IMG_20130705_235122.jpg

Voila, the new setup:
IMG_20130705_235227.jpg

feels good to be done with this and being able to use the setup as opposed to working on setting it up.

Thanks for reading.
Peace.

IMG_20130705_213636.jpg IMG_20130705_220322.jpg IMG_20130705_221039.jpg IMG_20130705_231502.jpg IMG_20130705_231506.jpg IMG_20130705_234422.jpg IMG_20130705_235122.jpg IMG_20130705_235227.jpg IMG_20130705_235315.jpg
 
OK, It's official. I stopped at the local BORG and got a M4 25mm long cap screw and finalized the install. also cleaned up the cables in the back for a cleaner look and mess free back (at least in regard to the DRO cables):
IMG_20130706_181345.jpg

SO.... all done, and time to move on the some real projects :)

Cheers!
:phew:

IMG_20130706_181345.jpg
 
Thank you for this thread Sharon! I just ordered the same kit for my Mill.
 
Sharon, so now that you've had it for a good while how's it going with that DRO? Have you had any problems with the head unit? I was just checking out drostore.com for a lathe DRO. Thanks.
 
I've been procrastinating over going DRO or holding out and converting to CNC too. I'm jumping on the DRO bandwagon too as I just don't need the CNC complexities. This is a great thread and my similar mill will be getting this treatment. Some good tips here thanks for posting your installation.

cheers,

Si...
 
Back
Top