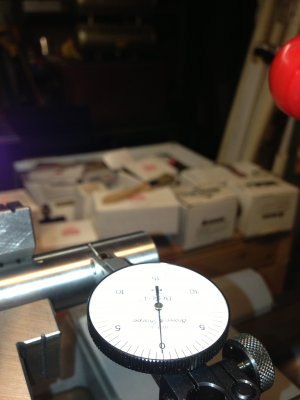
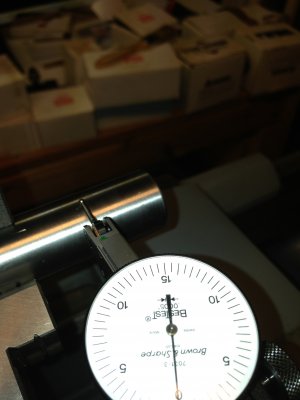
New B & S test dial indicator to finalise the buck chuck adjustments

The B&S is not a plunger type gage. Your position needs to be moved 90 degrees so that the stylus can move up and down, not in and out. Look at the setup Scrapmetal gave you in his post, that is the correct way. Yes, they are sensitive. That is why we use them to do what you are doing. You will quickly learn that the slightest turn will show up on the dial. It takes practice but is very rewarding in the end. Good luck and have fun. We will be here to guide you further if need be.

"Billy G"
Thanks Bill,
I will adjust like scrapmetal shows in pic. Am i better off mounting it with the rect bar it came with and the swivel mount in the tool holder of my QC
thanks,
jon
 
Thanks Bill,
I will adjust like scrapmetal shows in pic. Am i better off mounting it with the rect bar it came with and the swivel mount in the tool holder of my QC
thanks,
jon


That is a matter of personal preference. Try both ways and choose which is best for you. I use a smaller Mag base.

"Billy G"
 
That is a matter of personal preference. Try both ways and choose which is best for you. I use a smaller Mag base.

"Billy G"
Hi Bill and everyone,
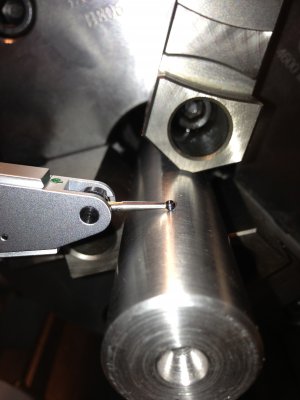
I spent some time setting up, that dovetail on the best test indicator, is a very tight fit on the adapter that it came with. Could you please tell me if I am in the correct set up to tru up this buck adjust tru chuck. It shows 3 lines to left of zero and 1 line to the rt. of the zero. Originally with last word .001 indicator showed only one thousandth off.
Here are some pics:

IMG_6625.jpgIMG_6626.jpgIMG_6627.jpg

Thanks,
Jon

IMG_6625.jpg IMG_6626.jpg IMG_6627.jpg
 
You are correct. You need to zero the movement of the indicator (turn the dial) till it reads equal on both sides off zero. Then start to bring it in to zero. If I understand you correctly you are nor at +/- .001. Each line is .0005 .

"Billy G"
 
Last edited by a moderator:
You are correct. You need to zero the movement of the indicator (turn the dial) till it reads equal on both sides off zero. Then start to bring it in to zero. If I understand you correctly you are nor at +/- .001. Each line is .0005 .

"Billy G"
Thanks , but still not cleAr so i. Am going to:


using the diaal on the indicator to zero out at low and high point

then i can try to adjust the screWs on chuck and turn in one direction till needle stays at zero.

Then tighten bolts on chuck.
thNks
jon
 
OK -- You say you are 3 lines to the plus side and one line to the minus. You need to turn the dial till you get 2 lines on either side of the zero. This will give you absolute zero. Now adjust the chuck till "0" is achieved.

"Billy G"
 
He is trying to zero the 3 jaw chuck to the spindle, not the work to the chuck Richard.

"Billy G"
 
OK -- You say you are 3 lines to the plus side and one line to the minus. You need to turn the dial till you get 2 lines on either side of the zero. This will give you absolute zero. Now adjust the chuck till "0" is achieved.

"Billy G"
Thank you Bill, now i understand
i dont know why i thought to turn the dial to zero?
i do appreciate that tip, also it is much easier when indicator is set up in the QC tool holder.
Jon
 
It's a learning curve and you are making it smaller. Kudos to you. Your ability to wade thru the problem is commendable. Everything takes time.

"Billy G"
 
Back
Top