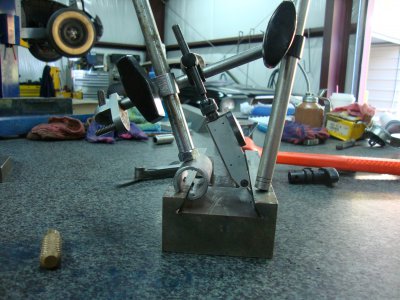
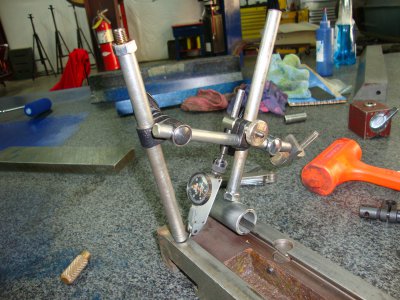
New B & S test dial indicator to finalise the buck chuck adjustments

O

ome

Forum Guest
Register Today
Hi Guys,
I have some pics of what the indicator came with and what i bought as extras; one mag base with dovetail female and a small mag that i am not going to use at this time..
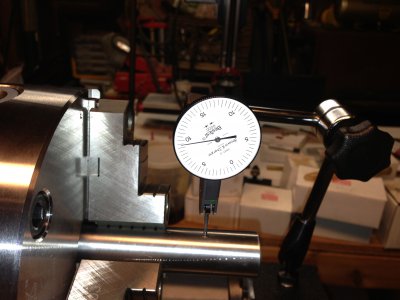
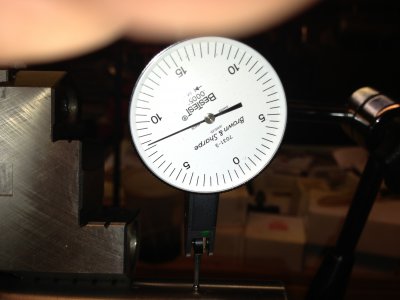
VERY SENSITIVE, even when i turn the chuck, it moves the needle 2-4 lines
the low end is about 13 lines past the o
i put about 12-16 lines as a load and then i zeroed it out
do I have the indicator set up correctly so i can adjust this 3 jaw " adjust tru" buck chuck. How much of a load do i need for an operation like this. Here are the pics:IMG_6615.jpgIMG_6614.JPGIMG_6608.jpgIMG_6616.JPG
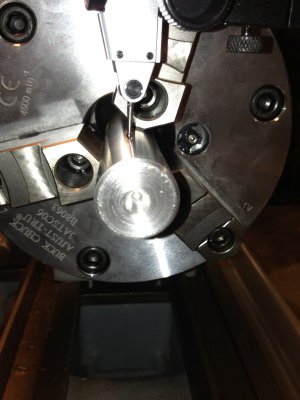
Thanks for any help, and I really need some guidance. jon
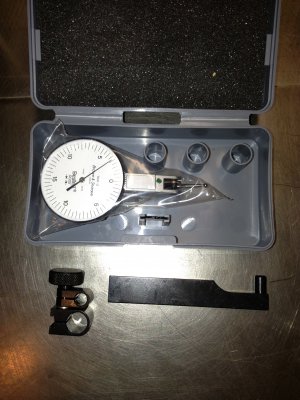
IMG_6608.jpg IMG_6614.JPG IMG_6615.jpg IMG_6616.JPG
 
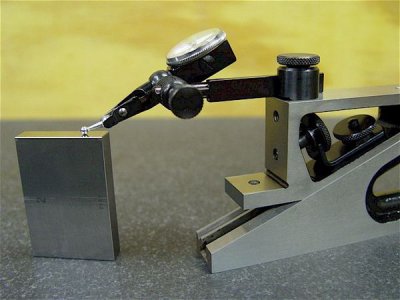
When you are using a test indicator, the little "arm" should be placed so that it is as close to parallel with the surface being tested as possible. Like this:

Starrett_995_%20Planer_Gage_11.jpg


This is to avoid something called "cosine error". Here's a little write-up on what that is all about: http://www.cncexpo.com/IndCosine.aspx

-Ron

Starrett_995_%20Planer_Gage_11.jpg
 
I have 2 of those and i love em. I had a last word and gave it away. They make a round rod with a swivel on the end that fits them. I use it almost exclusively with mine, more than any other accessory, i suggest you get one.
 
I am a little confused as to the values of each line on this indicator, can anyone clear that up for me?
I am going to try and setup the indicator on the tool post area
thanks
jon
 
Nice indicator. Each hash mark is .0005. Very touchy. I use a cheap .001 indicator to get close and then finish with one like yours.

Chuck
 
Nice indicator. Each hash mark is .0005. Very touchy. I use a cheap .001 indicator to get close and then finish with one like yours.

Chuck
Thanks, yes very touchy, when on magnetic base setup if i put pressure on chuck while indicator is on test bar, it will move the needle 5-8 lines
so each line is one half a thousandth of an inch?

thanks
jon
 
Thanks, yes very touchy, when on magnetic base setup if i put pressure on chuck while indicator is on test bar, it will move the needle 5-8 lines
so each line is one half a thousandth of an inch?

thanks
jon

Yes, each line is 1/2 of 1 thousandth, or 0.0005. The numbers read in thousandths, so 15 thousandths for a full dial revolution.
 
Like the guys said only use it on a side ways set up on the top and bottom of the ball. It does not measure or move up or down like you have it set up. It won't work on the side of the ball either. If you have not noticed yet the stem will move toward the dial and away from it. They say 12 deg for reference to a know standard gage. If I was you, use a .001" plunger type indicator ith at least 1/4 " travel when dialing in the part in the lathe. Less headache. That indicator is not designed to be used that way you have it mounted in your picture.. I have a Best Test indicator .0005" too, I use to check with and will have the stem off set from 12 deg as I am using it as a compariter. To measure one spot to another on ways and not to a blue print specific size. Rich
PS: can someone show him a better picture of a plunger type indicator please as I can't for a few days.

DSC00455.JPG DSC01271.JPG DSC01270.JPG
 
The B&S is not a plunger type gage. Your position needs to be moved 90 degrees so that the stylus can move up and down, not in and out. Look at the setup Scrapmetal gave you in his post, that is the correct way. Yes, they are sensitive. That is why we use them to do what you are doing. You will quickly learn that the slightest turn will show up on the dial. It takes practice but is very rewarding in the end. Good luck and have fun. We will be here to guide you further if need be.

"Billy G"
 
Back
Top