First make sure the cutter is on center.
Then put a piece of 1" diameter stock in a collet, or turn something down to 1" diameter for at least 1" + the cutter diameter at the end. 1" for the ball, the cutter diameter so you can form a "neck". (Sorry, just realized you wrote 1/2" radius, not ball diameter)
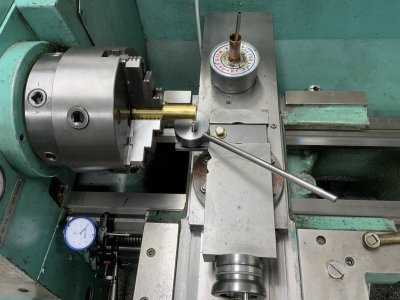
Position the cutter toward the tailstock (handle away from you) and bump it up against the end of the stock lightly (power off).
Retract the cross slide, and move the carriage a little further left, then LOCK the carriage. You want to take off a bitt of metal all the way around the ball.
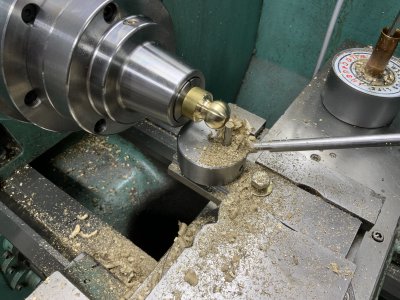
Now turn on the lathe and start feeding the cross-slide in as you swing the handle left and right, nibbling away the "corners" of the ball.
Toward the end, you'll end up with a mostly formed sphere with a stripe down the side (the original 1" OD of the stock). Your ball is formed when that stripe disappears completely.