- Joined
- Sep 1, 2020
- Messages
- 549
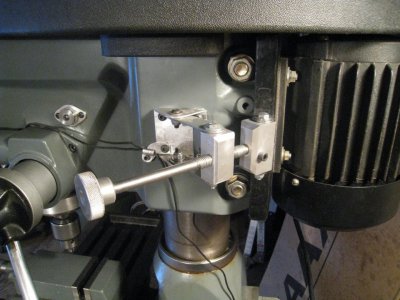
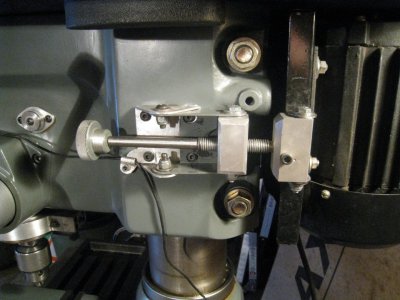
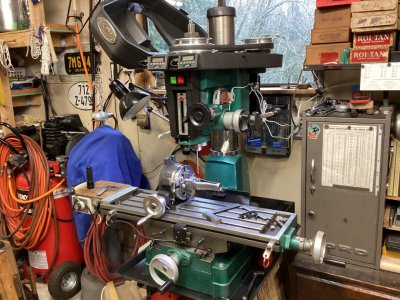
I had a request to do a full review and overview of my Jet Mill Drill. Figured many on this forum may like it as well. I check the tram on the head, tram a vise and I also cover some basic milling operations during the review. Discuss round column vs. Square column. My issue with the feed levers disengaging and my hack to fix it. I also demo how to program and drill a bolt circle with the Newall DP700 DRO. Overall this has been a good machine for me. If I had it to do over again, I would buy a Precision Matthews mill with a square column but this one still serves me well for now.