- Joined
- Aug 3, 2017
- Messages
- 2,437
Huh, looks like Keith Rucker just released this video this morning!
Watching now, but maybe it'll tell me the secret
Watching now, but maybe it'll tell me the secret

The Tom Lipton video I linked to talks about determining square from a block that is close to square. The sides do need to be parallel but that is relatively easy to do with a surface grinder. He uses a tenths indicator to check for parallel and then by flipping the block you can measure the amount that it is non-square. And thus splitting the difference shows the amount it is out of square. Kind of an 'Aha' moment if you watch the video. At least, it was for me.You need a trusted square, cube,or block to do this without a lot of indicating and trial/error. Also need a cylinder square to set your indicator to check for squareness after being ground. ...
It is an interesting problem. There used to be a game show, if you can call it that, where contestants were on an island and teams of two were given various tasks to complete, using whatever resources they found on the island.. Tasks were like make an accurate map of the island. etc. The contestants did surprisingly well, considering their makeshift tools.I always love listening to these true/flat/square conversations. There are so many nuances. Almost all start with "find a true flat surface you can trust", and work from there. I pity the poor fellah, back over a hundred years ago, who had to achieve this without the benefit of modern tools (and ultra-high quality references). What shop tools he used, had far less precise bearings in the head of his equipment. I suspect there was a lot of hand working of the metal after the last machine tool took it's final pass.
That is really sweet!So I've decided that grinding/indicating in these two is much harder than just doing a cube, so I'm going to make one of those fancy reference squares.
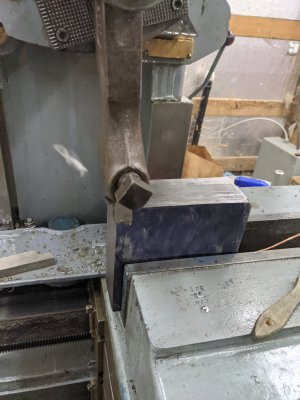
I have this big scrap block of A36 that I'm going to rough out on my shaper and try to do about a 5.75*5.75*2 setup block I can use to do this.
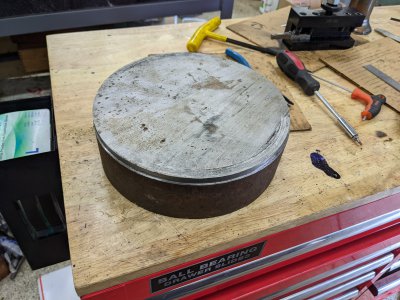
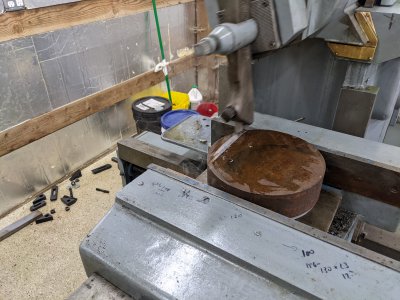
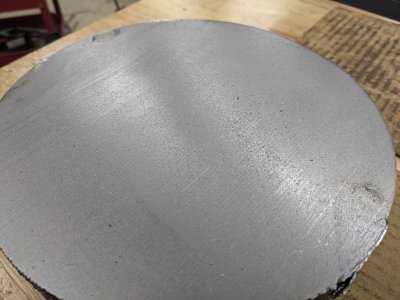
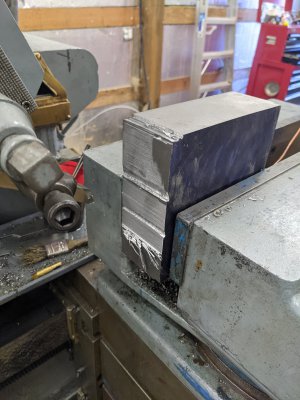
This is a big round I used for a lathe chuck adapter plate at one point but never used the rest. It's a touch over 8" round and 2.5 thick.I probably should have started by squaring up one side on the lathe, but instead did it on the shaper in a pretty error prone setup. I didn't hold it tight enough the 1st time (despite flatting the copper wire a ton!), and had some troubles with the step over, but on the last pass with the 1st side right now!
I wasn't able to get a good grind on the tool considering the angle to the holder (it's just a lathe tool), so it kept digging in..