Erich's Steam Plant Build

Progress has slowed, I started umpiring a few nights a week which costs shop time!

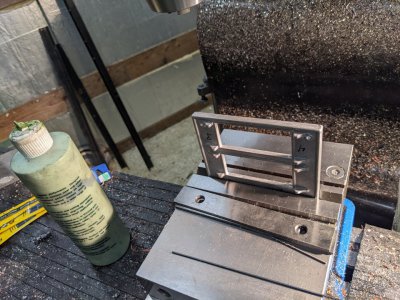
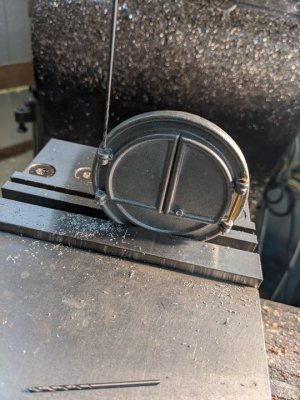
I decided to get the doors on the castings, which just requires a 1/16" drill bit long enough to do it.

Here is 1/2 way through the round part.
PXL_20220509_211033896.jpg

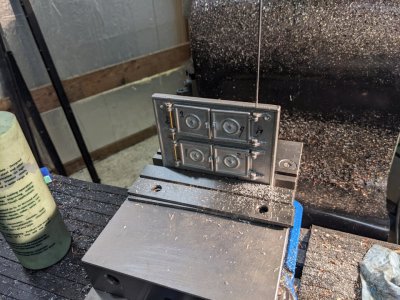
And my setup for the square doors:
PXL_20220509_213021154.jpg
And almost done with that part:
PXL_20220509_213710690.jpg

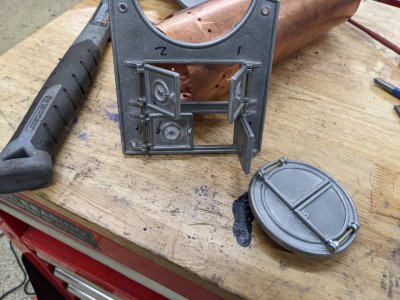
And both done with the pins!
PXL_20220509_213805430.jpg

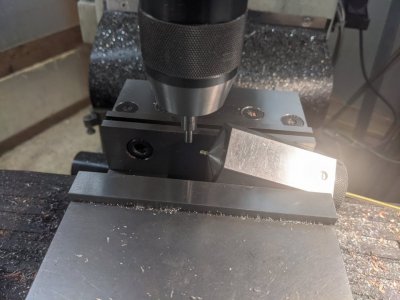
I worked a bit on the handle for the round door, but ran outa time before I could finish.
 

Attachments

  • PXL_20220509_230028075.jpg
    PXL_20220509_230028075.jpg
    103.8 KB · Views: 9
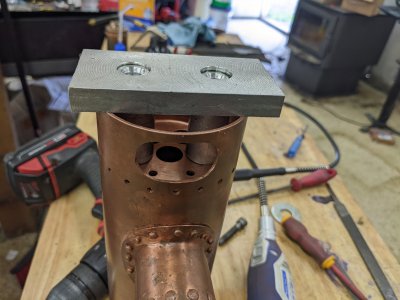
So I have been pretty busy of late doing umpiring, so this project has sat by the wayside. I DID get one of the end plates rivetted on as well, but when going to line up the other end plate, found I couldn't hold it in place! The access to the back of the other one mixed with it being close enough to the edge to clamp easily made that possible, but this one needs a jig!

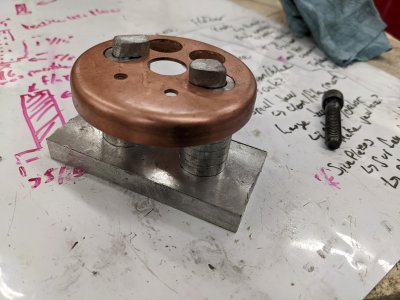
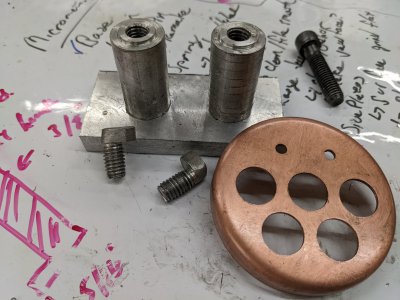
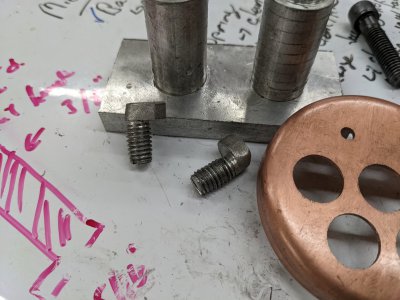
So here it is. I took a plate and drilled some holes then made some standoffs to loctite into the plate of the correct length. After that, I made some special "shoe" shaped bolts to hold the endcap in a way I can remove them later. The bolts have a flat for a screwdriver in the other side for easy removal. The idea is I clamp the plate against the top to hold in place and fix rotation, then drill 3-4 rivet holes. After that, I shouldn't need it any more.
 

Attachments

  • PXL_20220525_231432280.jpg
    PXL_20220525_231432280.jpg
    354 KB · Views: 9
  • PXL_20220525_231358025.jpg
    PXL_20220525_231358025.jpg
    354.4 KB · Views: 9
  • PXL_20220525_231254828.jpg
    PXL_20220525_231254828.jpg
    393.5 KB · Views: 9
  • PXL_20220525_231253853.jpg
    PXL_20220525_231253853.jpg
    365.8 KB · Views: 9
Welp, I realized I'm a fool! That jig is useful, but the little 'feet bolts' were a waste of time. This is just a drilling jig, after which I will remove the part, clean it, and then rivet it without having to hold it in place. In my mind, I was permanently affixing it, but in reality, I will have time to remove the bolts!

If i wasn't a goof like this, I would have probably just used a larger thread for the bolts (I chose 3/8-16 so there was room to 'slip' it out with it attached) so that the heads just held it to the jig. I also would have just used off-the-shelf bolts (probably 1/2-13) from my bolt pile.

Oh well, worthless machine-tool time is still machine tool time :D
 
It worked, didn't it? Call that a win!!!
Well, not yet, but I think it will :D
I spent two days designing and building that jig, and 1/2 the design work and 1/3 of the build was wasted on something that wasn't a design requirement!

But oh well, the job will get done
 
If I never wasted any of my time, I'd be very wealthy by now! Like many of the people on here, I grew up pre-internet and learned by trial and error, I consider those mistakes experience!
 
Stuff has got in the way lately, plus it being too hot to get into the shop, but I've been slowly making progress. I got the tank riveted together, though they aren't pretty. I also did the soldering, which is ugly in spots, but most I can fix with a file and paint and grinding.

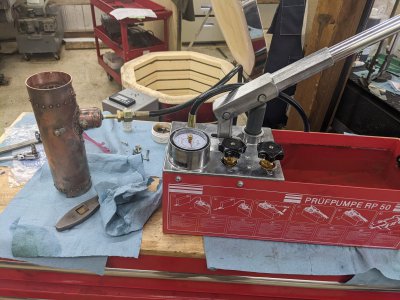
Today I got around to pressure testing. For some reason, no matter how much pressure I put into it, it would quickly lose a bit of pressure, which I suspect might be the cheap pump. Once it "settled" it held pressure fine. The boiler itself stayed perfectly dry.

I pumped it over 200 psi (intend to run it at 100psi), and it dropped to 160 psi almost right away, and held that for 3 1/2 hrs. Tank itself was perfectly dry.

PXL_20220823_214427637.jpg
 
Back
Top