Erich's Steam Plant Build

ErichKeane

Making scrap at ludicrous speed.
H-M Lifetime Diamond Member
Joined
Aug 3, 2017
Messages
2,437
About a year ago, I built a PM #3, and ran it on compressed air a little. I've decided I want a whole steam plant, so I'm going to try to build one! I also might try to set it up with 3 steam engines by the time I'm done, but I'm not sure yet.

I ordered PMs water tank and hand pump to start this off.

Both came today, and the castings are beautiful!
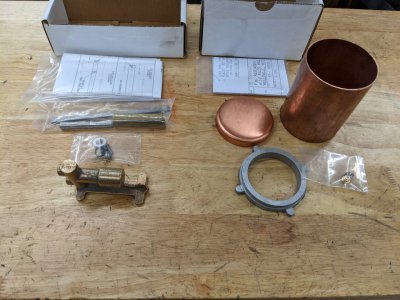
PXL_20220310_224848726.jpg

I decided to start on the water tank, starting with the base. I popped it in the lathe and faced the bottom. Additional, I turned the inside diameter to about 2.5", which meant I could use the outside of my 6 jaw to hold it for the register.
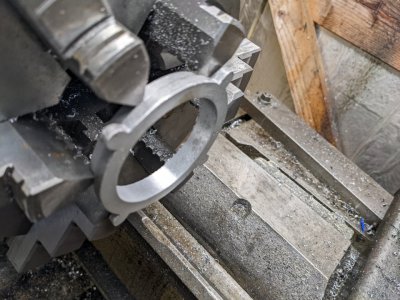
PXL_20220310_233611850.jpg

I didn't get pictures, but I flipped it over and cut the register that goes inside the "cap". That is all I got done today!

Next time I'm going to need to drill the base screw down holes, then move onto prepping the tank for soldering.
 
Alright, got some shop time today! First, drilled the mounting holes, #25 for a #6 bolt.

PXL_20220315_210107498.jpg

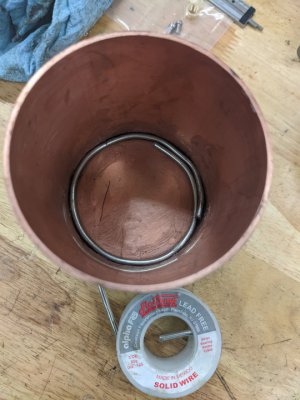
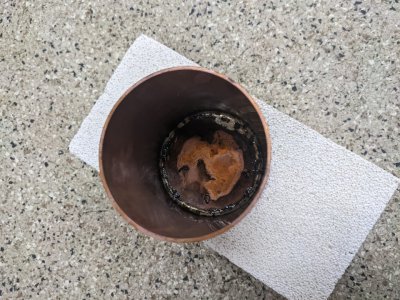
Then I scrubbed the cobber bits with scotch Brite and put some plumbing flux and a piece of silver plumbing solder in it:
PXL_20220315_210845691.jpg

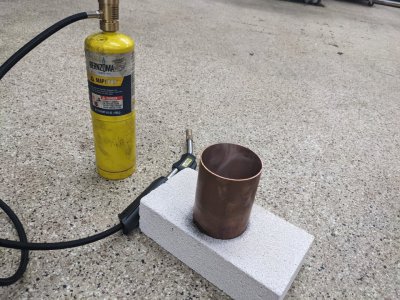
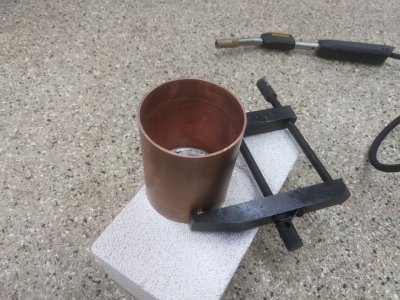
Popped it on a fire brick and hit it with the torch! Turned out shockingly well, though I used too much solder I think.
PXL_20220315_211225729.jpgPXL_20220315_220023606.jpg

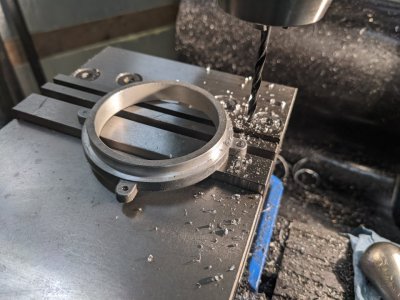
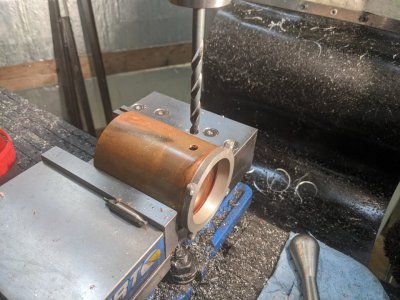
Then onto the mill for the drilling of the drain hole and base screws:
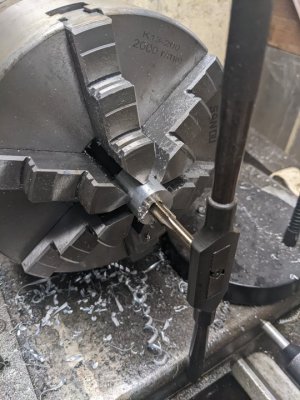
PXL_20220315_214028984.jpgTapped the holes in the base and widened the ones in the copper:
PXL_20220315_215319365.jpg

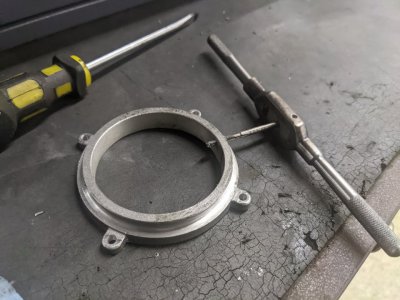
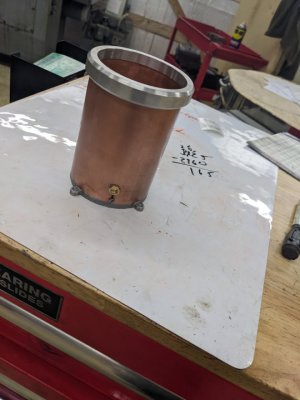
That was all there was to it! I thought the top looked a little plain, so I used some scrap aluminum pipe I had and made a ring for it. Then, put it together!
PXL_20220315_225021536.jpg

That's all I got done! I need to prime and paint it, probably mat black, but probably won't until I can do the boiler at the same time.

So, looks like the tank is done! Next I'll work on the hand pump, but thatll have to wait until another day.
 
Another pic that shows my soldering job :)

PXL_20220315_211906979.jpg

Scotch Brite made it not as bad.

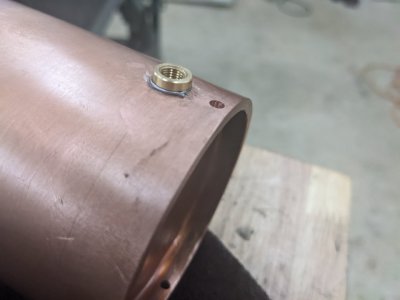
I soldered the bushing with .032 electric solder so I wouldn't have to worry about melting the silver solder, and that went easy enough. If I was smarter I would have used gravity to my advantage.PXL_20220315_215826132.jpg
 
So today I opted to start with the hand pump! There are not many pricision parts on this, though the casting is quite important.

I started with milling the bottom flat. The plans instruct you to take as little off as possible, so I went until it cleaned up. I indexed off the "top" of the feet which seemed to be square to the rest of the casting. I held it a bit high so that I could drill the mounting holes as well. I drilled the holes at exactly a grid, despite that being slightly worse for the centering in the casting so I can use these holes as references later.

PXL_20220317_204805247.jpg

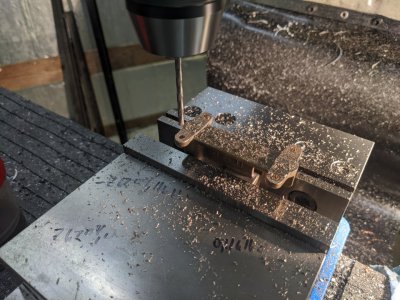
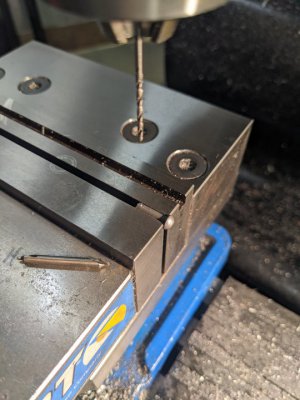
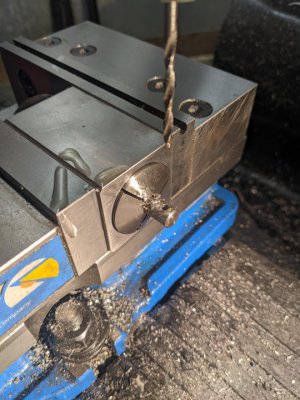
Next I had to drill a pivot hole in the casting from the side. This is the first time I used the drilled holes by putting gauge pins in them and putting it on my vise jaws. The hole otherwise was to be centered on the casting.

PXL_20220317_205454340.jpg

Next was the hard part: drilling the main chamber from the top. There are 3 sizes and 4 features with pretty precise depths. I held down on the table and used my knee dials to get depths right. I also faced the top to height and used my depth gauge to get it right.

PXL_20220317_214226463.jpgPXL_20220317_225912482.jpg

The top is tapped for a plug, so I did that and was done!

Next I need to do both of the sides, which I intend to setup on an angle plate. BUT I ran out of time tonight, so it bought me time to order a tap I'll need!
 
Busy day today! I didn't have the tap I need for either of the remaining casting sides, so I put that aside.

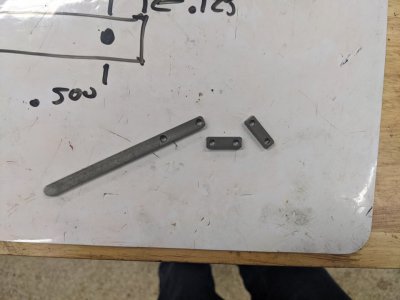
First I worked on the handle and a pair of linkages they call a clevis. I didn't take good pictures since the only thing to do was cut, drill, and clean up the shapes. They were quick to knock out, the DRO came in handy for setting the centers and location of the holes accurately.
PXL_20220318_213324643.jpg

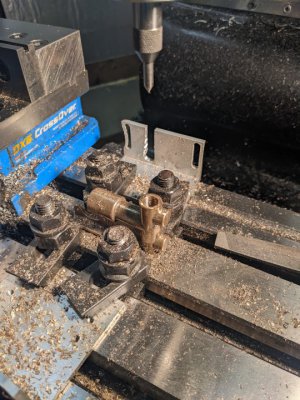
In those holes (and 1 other place... You'll see) fit three rivets used as pins. These come as rivets the right side and length, however without a hole for the cotter pin.

I used the edge of the vise jaws as a stop and just held them in 1 place and used the DRO to find a good spot for the hole:
PXL_20220318_214507046.jpg

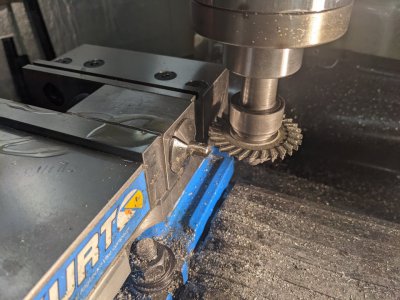
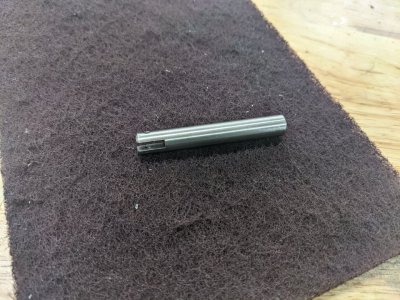
Next I started on the piston. The handle pins into this and it rides inside the cast body. The material comes at final length, diameter, finish, and even chamfer! All you have to do is drill a hole and a slot!

I used the collet block thinking I'd use an endmill for the slot, but I ended up using an 1/8" slitting saw. Still, it held it nicely.

PXL_20220318_221052921.jpgPXL_20220318_222316986.jpgPXL_20220318_222926992.jpg

I also have to do the packing nut and block off cap. I already cut the threads in the casting for the block off cap, so I figured I'd start with that. First though, I made a "go" gauge with the tap out of some scrap aluminum:

PXL_20220318_223838987.jpg

I ran out of time before I could make the cap, so that's all I have for today!
 
UGH. I made the 'cap' part to cap off the main bit (just a plug with some single pointed threads on it), got the inlet and outlet of the casting done, AND got the piston slot all but done. The 2nd to last step (drilling a 33/64 spot right before tapping it, but I used a 1/2"), the drill bit tore the casting out of my setup and tossed it across the room (AND tore my chuck off the Jacobs Taper, AND folded some 1/4-20" bolts over pretty good!). Fortunately nothing hurt but the part and my pride!

The piston bore is pretty messed up, and twisted at a funny angle from its trip up the drill bit then across the room. Next time I'll just use an end mill for this part :/

Looks like I'm out of commission for a little bit while I wait to see if PM Research will sell me just the casting! I have the packing nut I can still make though, so perhaps I'll work on that.
 
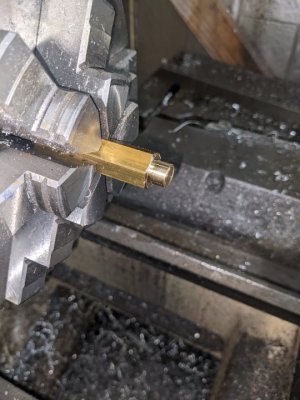
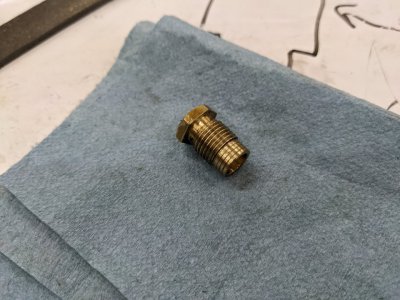
So the work from today, first the plug out of some brass hex stock.

I started by making a thread checker:
PXL_20220318_223838987.jpg

Then turned the brass down to dimension:
PXL_20220318_232723198.jpg

A bit of single point threading, then parting off:
PXL_20220319_205131196.jpg

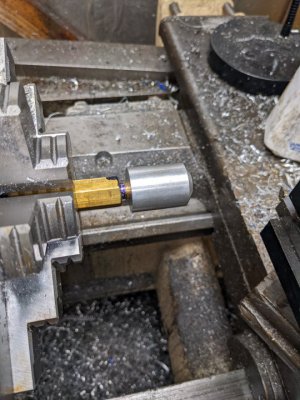
I used my thread gauge to hold the part to face off the other side;

PXL_20220319_210145002.jpg

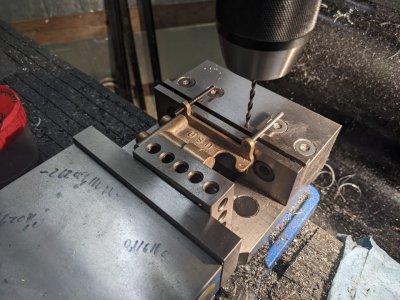
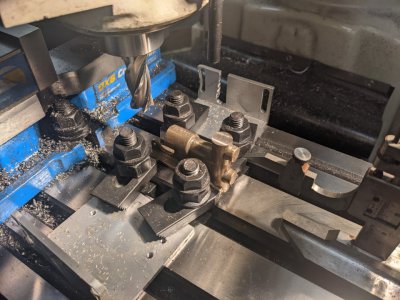
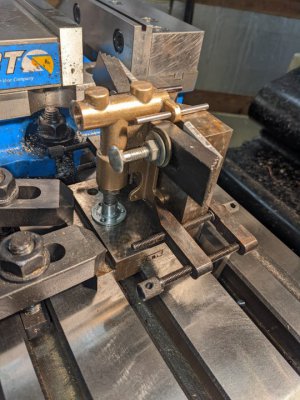
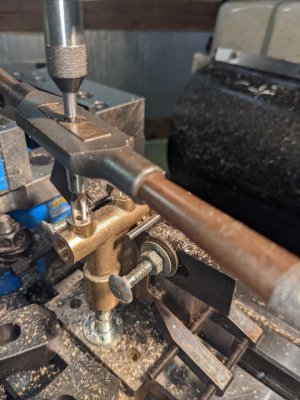
And that was it! I then started on the last setups for the casting. I did the inlet and outlet like this:

PXL_20220319_211747105.jpgPXL_20220319_214043758.jpg

I flipped it over to do the other side. I drilled 2 of the 3 diameters without incident, but as mentioned before, the 1/2" drill went poorly! So, I'll be starting the casting again.

I was somewhat unhappy with the inlet/outlet centering, so I am at least somewhat glad I get to do that again :/
 
Some good news at least: PM Research has a replacement casting in stock for a reasonable price, so I have one on the way. So I guess I get to try again :)
 
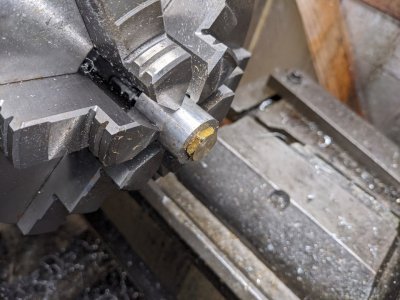
A little more work today on 2 different things. First, I made the packing nut, including single pointing the threads. It is reamed down the center:
PXL_20220322_222924611.jpg

Casting comes Thursday, so all I have left to do is redo all of that and paint it, and I'm finished!

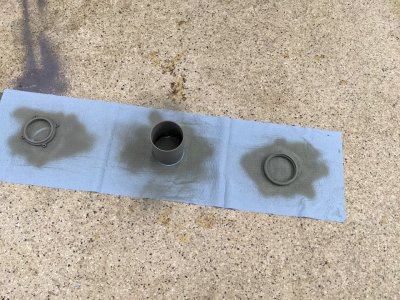
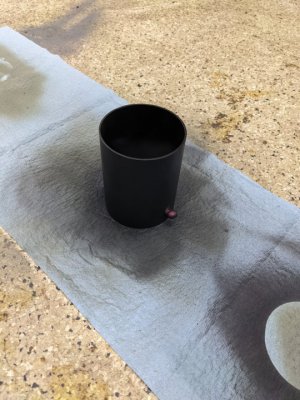
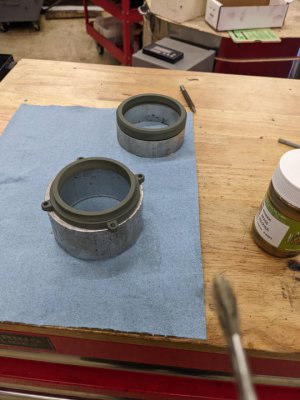
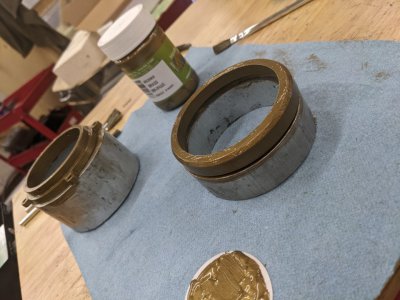
Speaking of paint, I figured I'd start the water tank. For the boiler, pump, and tank, I decided to do a brass and flat black look. For the brass, I picked up some brass paint for everything that isn't already brass.

I started with some auto self etching primer, then sprayed the tank black and brushed the bottom and top rings with brass colored paint:PXL_20220322_222930047.jpgPXL_20220322_225254476.jpgPXL_20220322_223228261.jpgPXL_20220322_225910206.jpg
 
Back
Top