Current Project

We had a reel-type lawn mower with one of those engines on it, when I was a kid. I can still remember winding the starting rope, and pulling. And winding the starting rope, and pulling. And winding the starting rope, and pulling...
 
I can relate Mike, my granddad had the same mower when I was like 6 or so and he would let me try to start it thinking I wouldn't be able to for several years. One lazy summer afternoon the dang thing started to everyone's amazement. Funny think is noone ever told me how to stop the engine but I had seen him do something in the area of the spark plug. Well somehow i touched the plug with my finger and the jolt is not something you ever forget...lol. I just hope the model will start a bit easier ;D

Bill
 
Hi Paddy,
The original flywheel was basically pot-metal but does have some weight to it. I agree the brass is probably disproportionally heavy but better too heavy than too light. Each of the 32 fins had to be cut to a depth of .500" with a 1/8" end mill which took multiple passes on my small Sherline mill and brass is much easier to machine from that standpoint. Aluminum would have machined almost as well perhaps but doubt if it would be heavy enough, steel would have had the weight but more difficult to machine as required. Actually, though I haven't weighted it yet, I suspect the final model will weigh almost 3/4 as much as the original. Things like the gas tank have much thicker walls than the stamped original, and so on, even though the original engine block was cast iron where as mine is aluminum. Fortunately, my intent was only to scale the look and detail of the original and not its weight. Its gonna be a heavy little thing no doubt. By the way, the cover is a rapid prototype (3D printer) version. Not sure how I am going to make the final version yet, possibly even machine it from a billet of aluminum but that remains to be determined. In the meantime the RP part suffices.

Bill
 
Bill that is a real project you have going, I only wish I had the talent to try something like that.

Paul
 
That's right! You had to ground it out by pressing down on a little metal strap next to the plug. My dad showed me how to use my foot - in a shoe!

author=b.lindsey link=topic=1721.msg11954#msg11954 date=1303778562
I can relate Mike, my granddad had the same mower when I was like 6 or so and he would let me try to start it thinking I wouldn't be able to for several years. One lazy summer afternoon the dang thing started to everyone's amazement. Funny think is noone ever told me how to stop the engine but I had seen him do something in the area of the spark plug. Well somehow i touched the plug with my finger and the jolt is not something you ever forget...lol. I just hope the model will start a bit easier ;D

Bill
 
Last edited by a moderator:
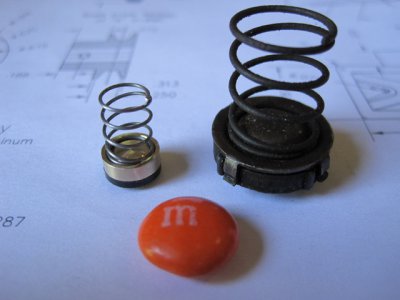
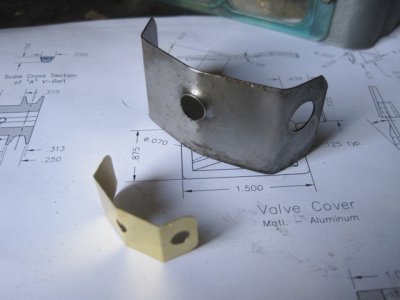
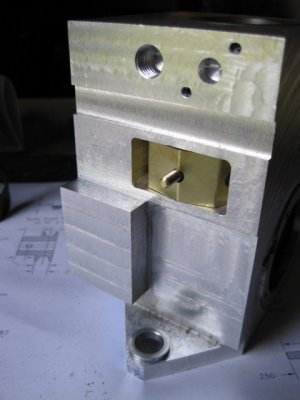
Just a couple of additional small parts to report on...first the breather assembly that fits inside the valve cavity and allows any pressure build up in the crankcase to vent out...and second, the oil splash shield that also fits in the same area to prevent any excess oil from being vented out along with the pressure. Photo one shows the breather assembly, photo two shows the shield along with the full size counterpart, and photo three shows where it will fit.

IMG_0544.JPG IMG_0547.JPG IMG_0548.JPG
 
Last edited by a moderator:
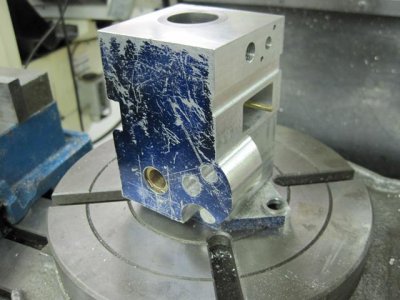
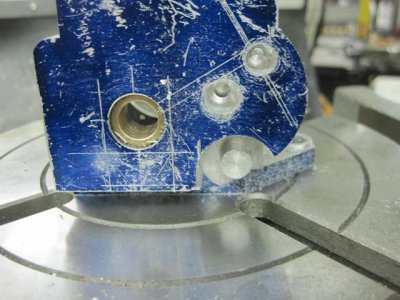
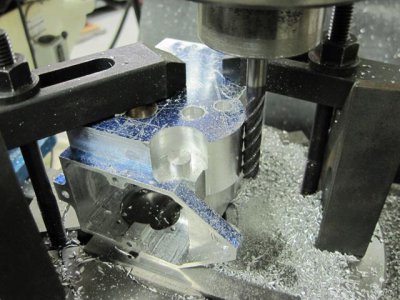
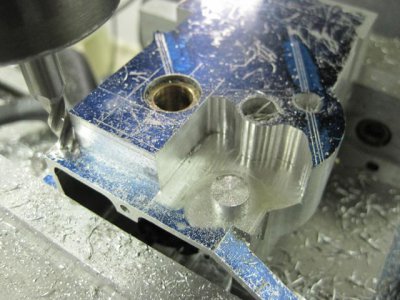
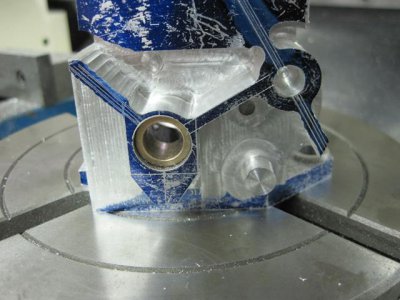
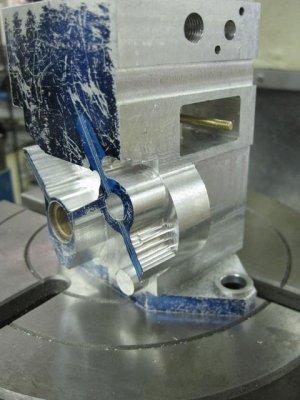
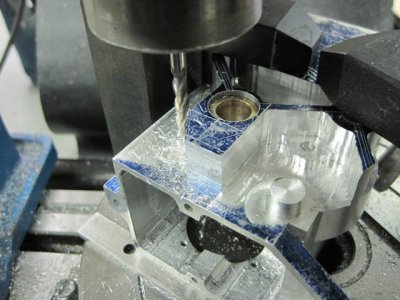
Back to some work on the crankcase which required some rotary table work. More to follow tomorrow,

Crankcase 002.jpg Crankcase 003.jpg Crankcase 001.jpg
 
Last edited by a moderator:
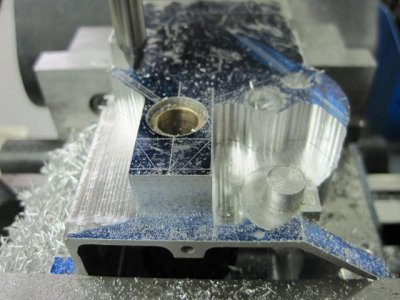
A little more work on the crankcase to show so far today. More to follow shortly I hope....

Bill

Crankcase 005.jpg Crankcase 006.jpg Crankcase 004.jpg
 
Last edited by a moderator:
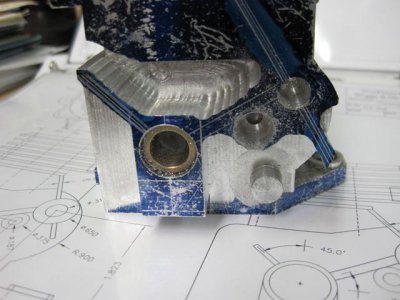
Yet a few more pictures from this afternoon's work.

Crankcase 008.jpg Crankcase 009.jpg Crankcase 007.jpg
 
Last edited by a moderator:
Very nice work. I have a single cylinder Maytag engine I am trying to clean up and get running one day. Thanks for posting the progress on your project.
 
Back
Top