Community Build 1 SOSE

4R8

Registered
Registered
Joined
Aug 30, 2011
Messages
151
I was going to start a new thread but thought we may as well use this one.

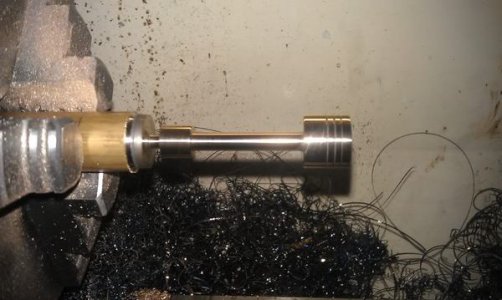
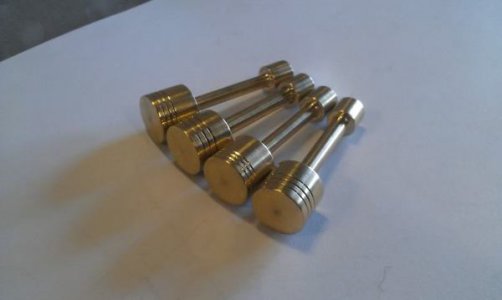
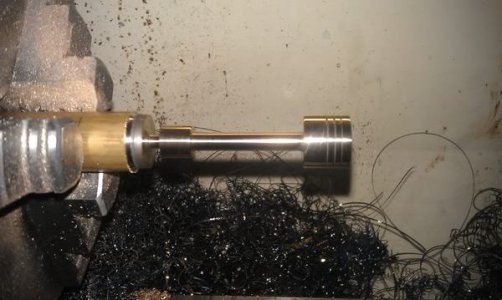
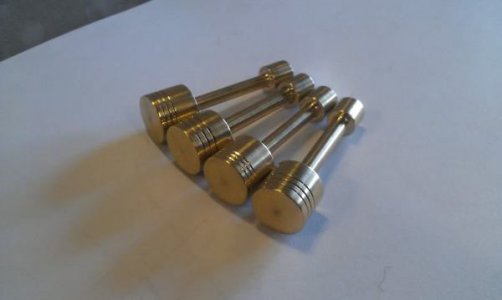
I got started on (would have had them done) the pistons today as I'm out for a few weeks come Tuesday.
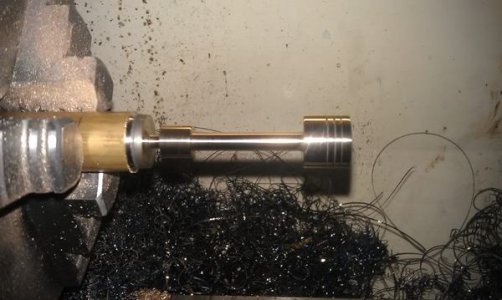
IMAG0265.jpg

After the 4th one, I felt like a break and beegan my second set of tube joiners (see separate thread in projects)
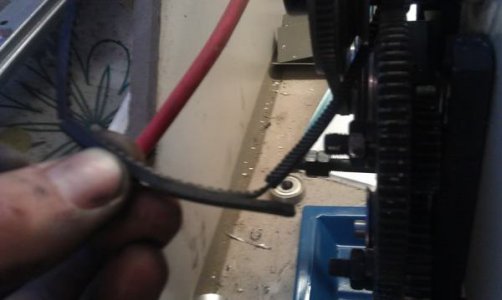
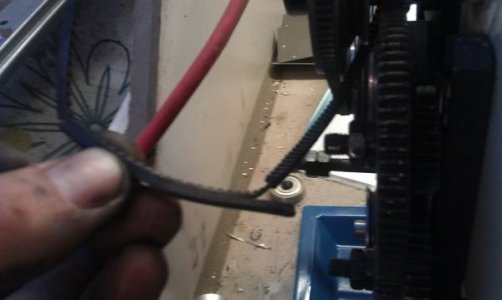
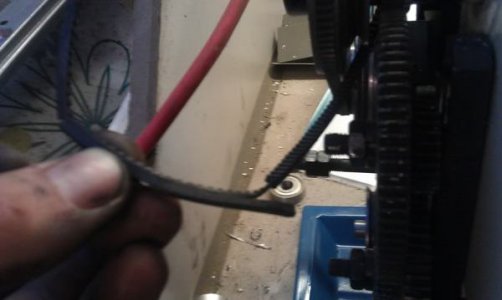
After facing off the stock, the main drive belt decided it had enough and is toast.
I've sent off an email to the machine supplier, and waiting for a reply.
IMAG0270.jpg

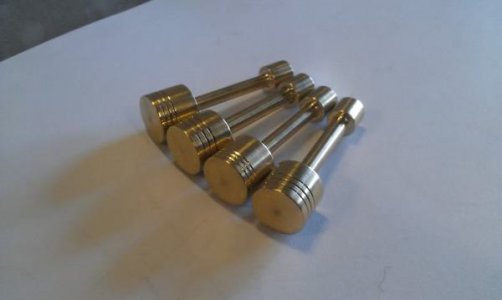
So i have 4 done but can not complete the rest until the end of the month.
IMAG0269.jpg

IMAG0265.jpg

IMAG0270.jpg

IMAG0269.jpg

IMAG0265.jpg

IMAG0270.jpg

IMAG0269.jpg
 
Last edited by a moderator:
To quote a friend of mine, "I'm like a magpie - I like shiny things." The pistons look great. Don't sweat the schedule. There will be other delays along the way for all of us. As long as we don't promise someone a new steam engine for Christmas...
 
Last edited:
I had hoped to get them done yesterday/today and send them off tomorrow to David so he could get moving on the cylinders.
All of these are coming in @ .497 if he wants to get moving anyway?

I knew there would be a few hurdles and setbacks but didn't expect it to be a 4 week one! Oh well, What do ya do?

Cheers for the compliments on the work. This is th first time I've turned something to a drawing with measurements on it and am pleased with the results so far. (I just hope i don't ruin them when it comes to drilling for the crank pin!)
 
I got started on the bearings today, so I'll take a break and send some piccies. I started with 7 1/2" of 3/4" CRS, enough for 10 bearing flanges and two 1" pieces I need for another project, to be posted later.

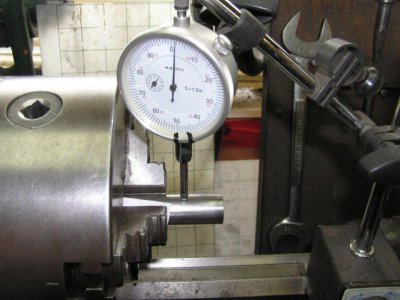
Even though the outside diameter isn't as critical as the center hole and bolt circle, I decided to dial in the CRS stock. Note the two pieces of paper used as shims. With these, the runout is less than 0.002". I am using the marked keyhole every time for consistency.
PA020023a.jpg

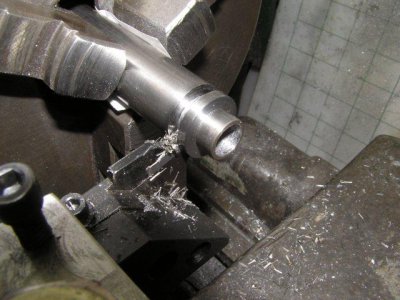
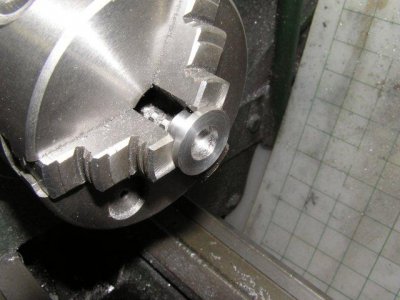
Parting off a flange after turning and drilling.
PA020024a.jpg

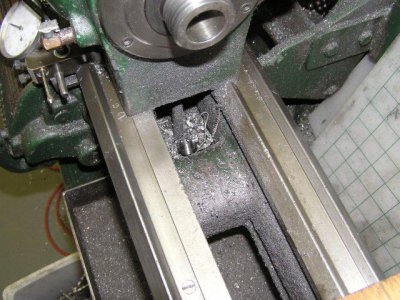
Pay attention when you succeed in parting off. I carried on and finished the cut on the remaining stock and lost track of where the piece went. After at least half an hour crawling around and digging through the swarf bucket, I played a hunch. That pocket under the headstock is worth remembering.
PA020026a.jpg

I used the 3" chuck for facing the back of the flange. It only allows 5/8" to pass through, so the main work is done on the less accurate 6 1/2" chuck.
PA020020a.jpg

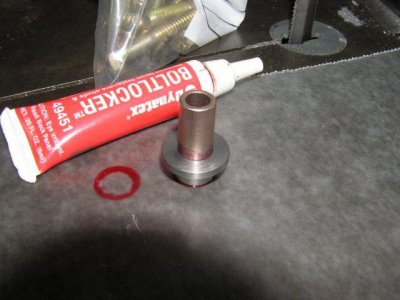
The first flange was a bit loose for the bushing, so I used heavy threadlocker to hold it in place. I later tried to press it a bit further through, but it wouldn't move.
View attachment 192

The bushings will later be trimmed to 0.385", to allow a 0.010" stand-off from the back of the frame. This will prevent the crank disk from rubbing on the frame. Still have to set up the mill to drill the bolt holes.

PA020023a.jpg PA020024a.jpg PA020026a.jpg PA020020a.jpg PA020022a.jpg
 
Last edited by a moderator:
Hawkeye,
Since I will be doing the axle for these parts I would like to know the I.D. of the holes for the bearing, flywheel and crank to make sure we have the right fit. I am holding off on getting the material until I am sure what size to get. All three of the items will have to be the same for it to work right. I guess we are going for a press fit?
Paul (pjf134)
 
Paul,

I trial fitted some shaft material into the bushings. A measured 0.2500 on the Starrett No. 436 micrometer gives a perfect bearing fit.

Mike
 
Mike,
Thanks for the info, now only if the other 2 parts get the same 0.250 we are in good shape.
Paul (pjf134)
 
The two holes for the crank are listed as "press fit". If I understand correctly and a "bearing fit" of .250" is "perfect" then wouldn't a press fit need to be .248"-.249" or therebouts? Tell me how big you want 'em and that's what I'll make 'em. ;)

-Ron
 
Ron,
Make the center hole .250 to match the bearing, as all three items should be the same, otherwise I will have to make steps in the axle if too far off. I think we should use locktite at assembly to make sure everything stays put just in case something is off a bit. What I was going to do at assembly on mine is put some parts in the sun and put some parts in the fridge for awhile then push together with some locktite to make sure everything stays together. Is that the way everybody is putting theirs together? 0.002 undersize on the axle should work OK for a nice fit, unless you guys want a tighter tol. then fit to suit at assembly.
Paul
 
The bushing is likely a thou or two loose, to give it that smooth action, so a 0.250 hole should give us good results for holding, especially with locktite.

Mike
 
Back
Top