I paid Mark (mksj) a visit today after work to check out his DRO's as I'm in the market for one soon. He got them set up very nicely and I'm pretty sure I'm set on the DROPROS El 700 touch screen. Thats a cool setup for sure.
Mark was also kind enough to lend me his supper spacer rotary set up and a 1/2" ball nose end mill.
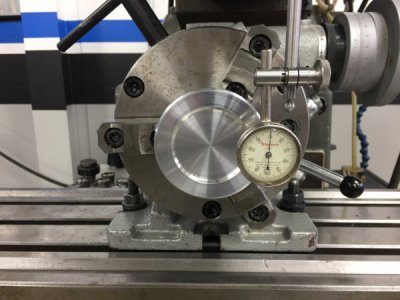
Got home and straight in the shop. After pulling the vise off the mill I cleaned up the table,T-slots and honed the surface and set up the rotary. I used the Starrett Last Word to indicate the rotary and penciled a vertical line down the center of one hand wheel for reference as a secondary verification once everything was set up prior to machining.
Indicating the rear flat surface. Sweeping back and forth until I was good. It was .0005" from right to left.
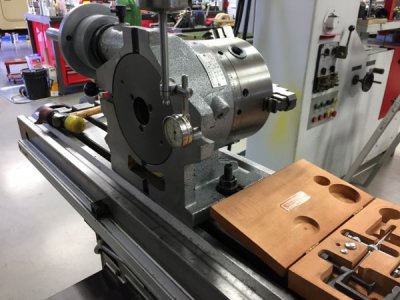
Chucked up a part and doubled checked with same results on the front side.
Left side:
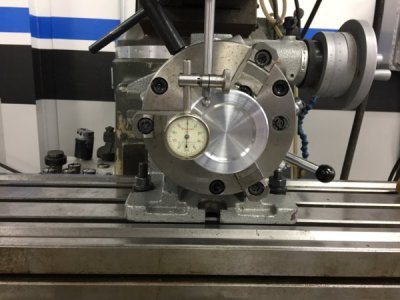
Right side:
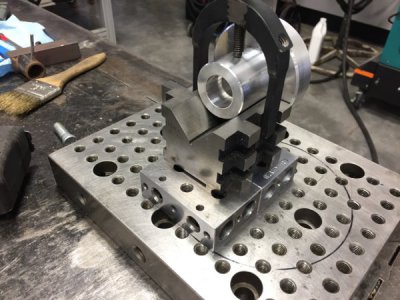
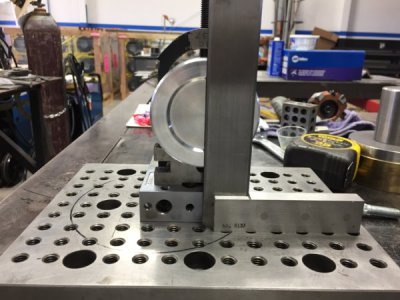
Used a V-block/clamp and 123 blocks on the setup plate ( poor mans surface plate) and a machinist square to pencil in a vertical center line.
As mentioned, this was only for a visual reference after setup and prior to machining.
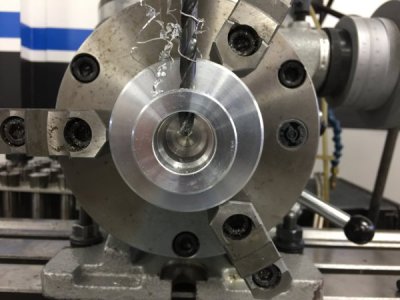
Once the rotary was set to 0º I drilled/tapped a 5/16-24 setscrews. Prior to rotating 180º for second hole the setscrew was inserted and the jack screw secured. Rotated and drilled second hole just kissing the jack screw leaving a tiny centered divot for a later operation on the jack screw.
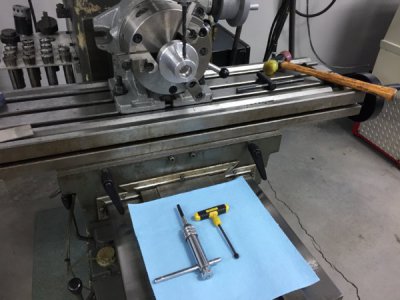
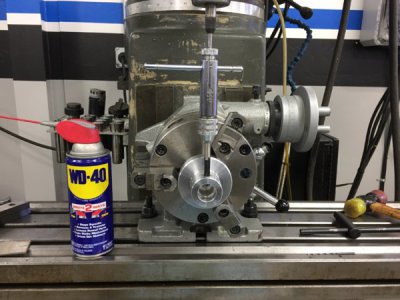
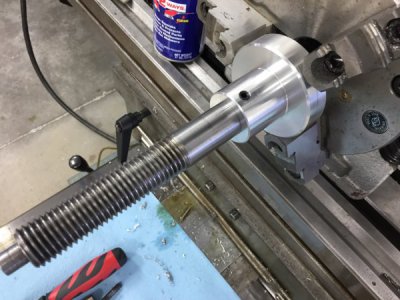
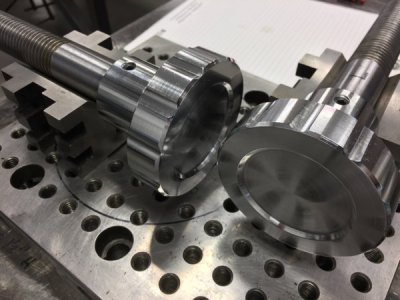
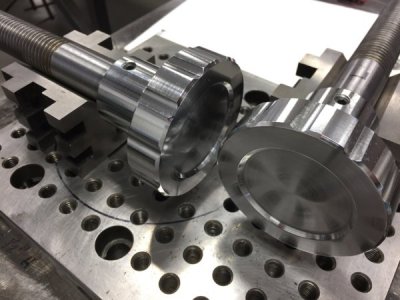
Did this twice then flipped the wheel to profile the circumference with a 1/2" ball mill. The DOC was just enough to match the bevels resulting in a nice grip feel. Rotated 30º increments for 12 cuts. End mill speed was 1200 RPM with a lite squirt of WD-40 with zero burrs.
Rinse and repeat for second wheel.
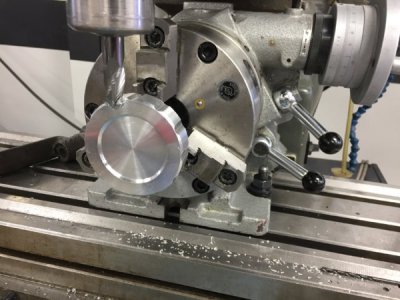
Used the same setup for the two flats on the jack screws. Since I had a dimple from the second drill hole, I was able to locate the center of the setscrew location. I used a .375 end mill to create a flat then rotated 180º for second flat with no measuring other than DOC for said flat. They lined up perfectly to both hand wheels.
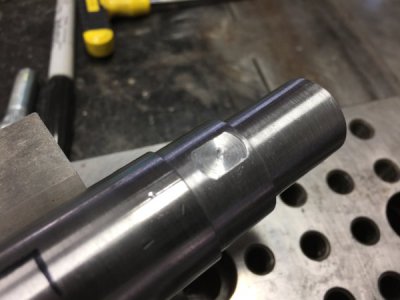
Here you can see the two setscrews in the hub. I sanded the points of the setscrews down flat to 3/16" to hold on the screw jack flats.
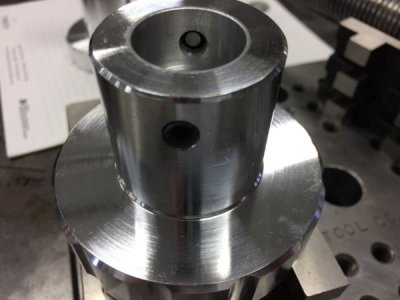
The adjustment hand wheels are done.
I also picked up some paint and hope to finish some minor fabrication to replace the struts I cut off sometime back. The new struts will bolt on as the base and main body will be independent and different color.
That all for today fellas. As always, thanks for stopping by and any feedback is always welcomed.
Turn and Burn,
Paco
