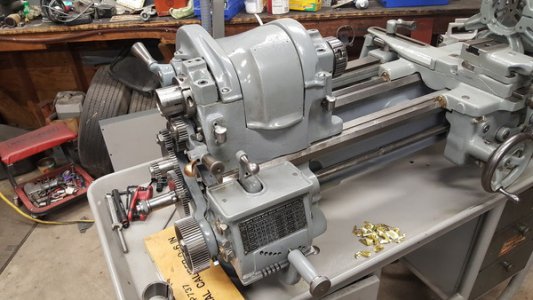
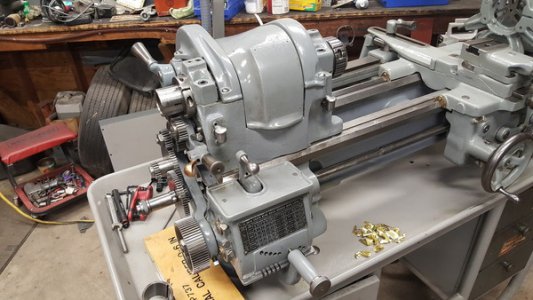
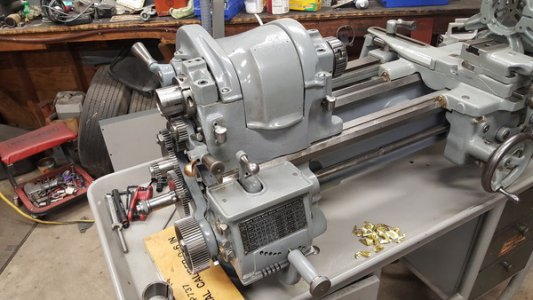
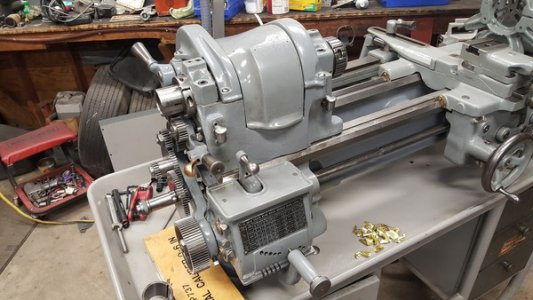
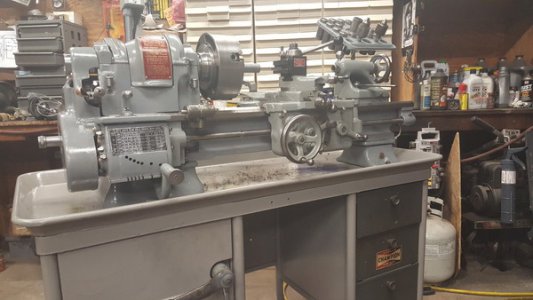
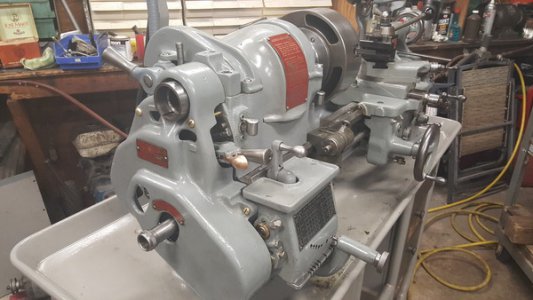
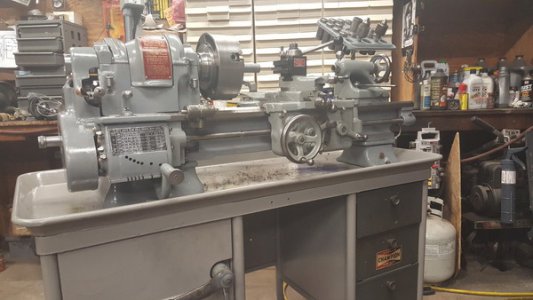
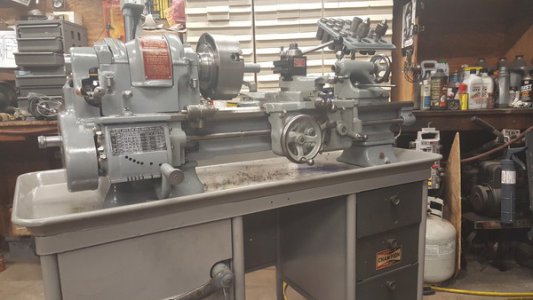
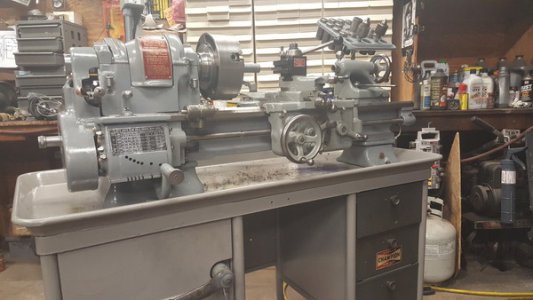
Chance to buy a South Bend Lathe

Did you get the rebuild book? It was very helpful to me when I set my spindle. You might look in my thread of my rebuild. I think I posted pics of the indicator set up. Remember it should turn freely by hand and should not get hot when running.

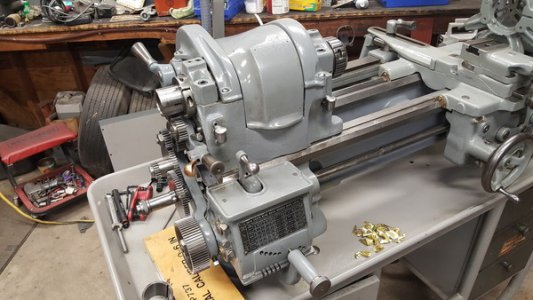
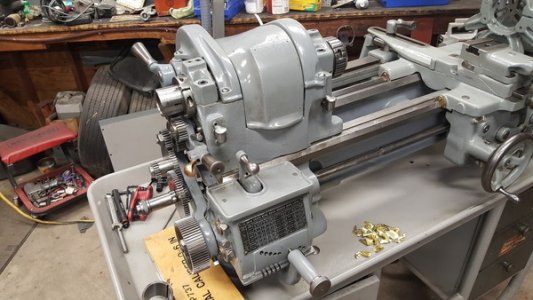
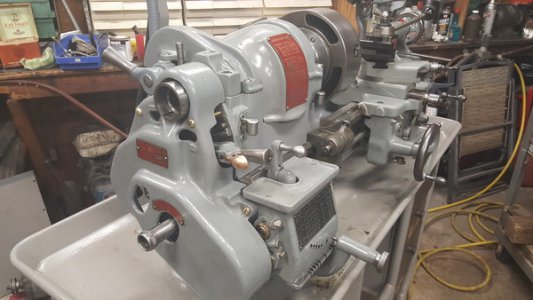
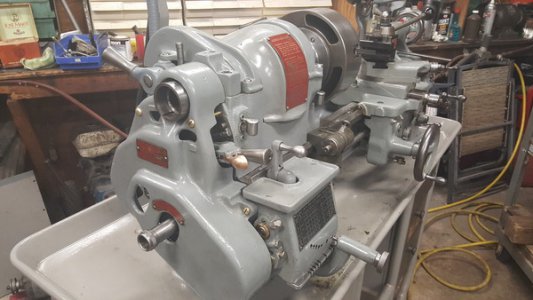
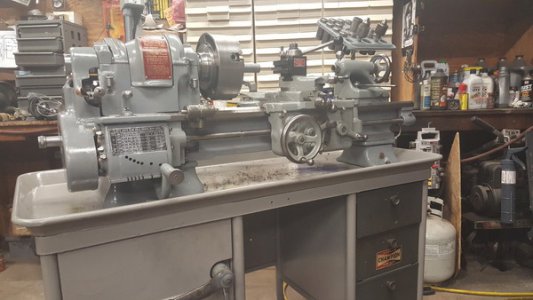
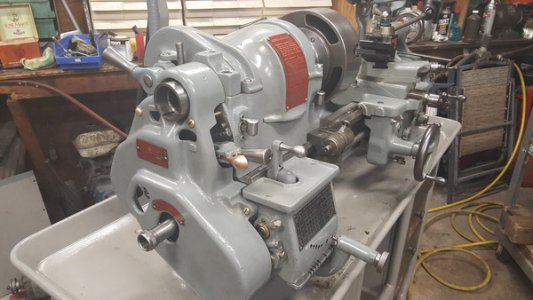
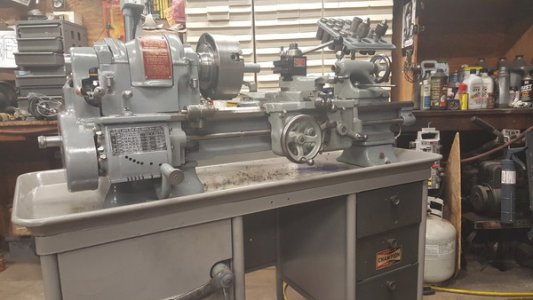
Got the missing bearing cap allen bolts from the hardware store today. Amazingly, other than the clutch knob screw, these were the only parts missing from the lathe when I bought it slightly disassembled, although I misplace the take up nut but was able to get one from the ebay seller who sold me the used bearings. I couldn't wait to snug everything down to see where I was at. Not surprising, an excessive amount of up and down play on both ends due to the new laminated shim set. Although it turned fairly easy, it felt a little grabby.. You would think with that much play, that wouldn't be the case, but then again, these are not the original bearings. Maybe they need to break in to the different spindle. I'm so tired from staying up , I abandoned it for the night and came back into the house. Sometime you need to walk away. I obviously need to check the play with a dial indicator and see how many layers I need to remove. Also I need to read up on the process. My South Bend CE3458 parts manual has a great section on spindle assembly and adjustment, with some nice drawn pictures. Greg, I plan on looking at your restore thread for some additional tips.
 
You just got to do it.. My problem was looking at the machine and thinking how much work it's going to take.. I did this for quite a while.. then one day I just decided to paint a few small pieces, which in turn motivated me to do more.. pretty soon I was back into it. If you can do a little every week or month, it will pay off and before you know it, you are on the road to completion.

A little over a year ago I swapped out the automatic trans in my 88' F250 for a manual. Bought the manual trans and all components for the swap from a kid downstate. After we got it all in the back of my Jeep, I said "I'm not really looking forward to this. It's gonna be a TON of work." His buddy said -- "One bolt at a time." I kept repeating that to myself. It really helped. Turns out that transmission swap was much easier than rebuilding a 70 year old lathe. But I'm taking it one bolt at a time.
 
Be very careful to follow the proper sequence for tightening / loosening the cap screws and expander screws while adjusting the shims. Get out of sequence once and you might damage the bearings. I'm too new at this myself to feel comfortable describing it to you, but I'm sure someone here can. The rebuild book describes the process. Turn off the radio, turn off your phone, lock the door to the shop, and be prepared to devote several hours to the job. On the bright side, you should only ever need to do this once.
 
I had to run a brake cylinder hone through my bearings to remove some galling that I didn't not like and to make them perfectly round again. Then I polished them up and polished the spindle. It turns smooth as glass.
To hone the bearings I installed them with the caps and turned the hone by hand, just enough to remove the scratches and make contact all the way around.
 
Be very careful to follow the proper sequence for tightening / loosening the cap screws and expander screws while adjusting the shims. Get out of sequence once and you might damage the bearings. I'm too new at this myself to feel comfortable describing it to you, but I'm sure someone here can. The rebuild book describes the process. Turn off the radio, turn off your phone, lock the door to the shop, and be prepared to devote several hours to the job. On the bright side, you should only ever need to do this once.

Yes, I will take my time.. it's only been 5 years, why rush it now at a most critical step? My South Bend CE3458 parts manual told me about all I need to know.

I had to run a brake cylinder hone through my bearings to remove some galling that I didn't not like and to make them perfectly round again. Then I polished them up and polished the spindle. It turns smooth as glass.
To hone the bearings I installed them with the caps and turned the hone by hand, just enough to remove the scratches and make contact all the way around.

Thanks. I will consider this. Too bad the originals were ruined by someone. The surfaces are in much better shape.
 
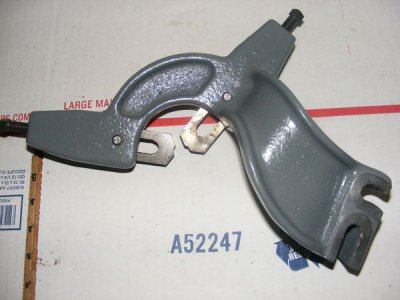
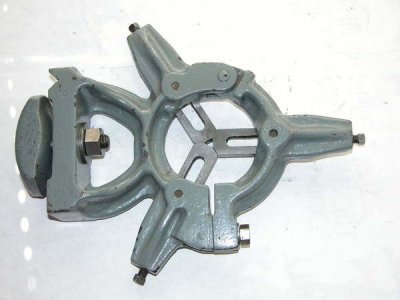
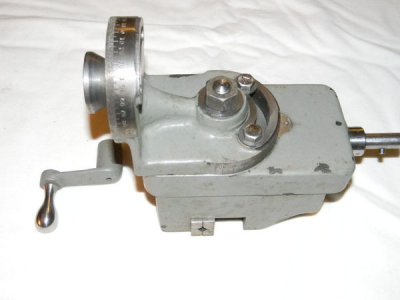
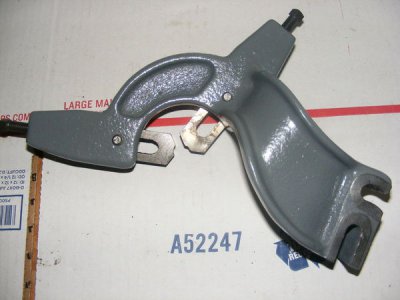
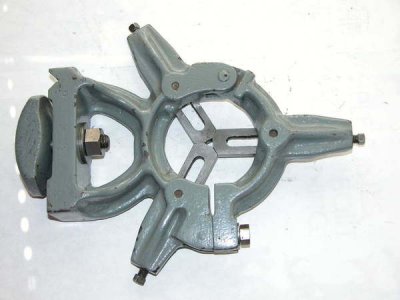
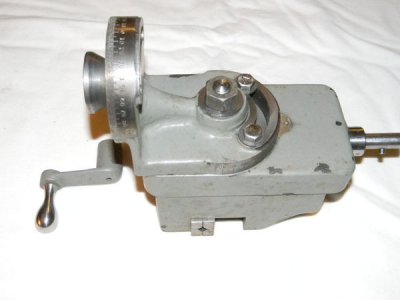
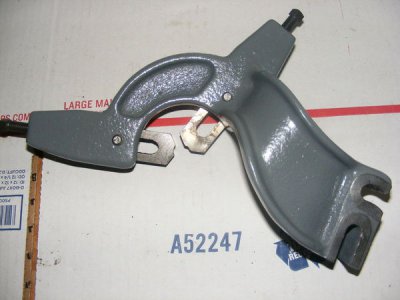
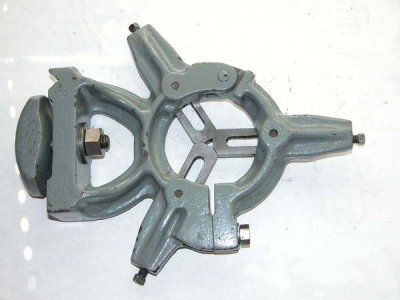
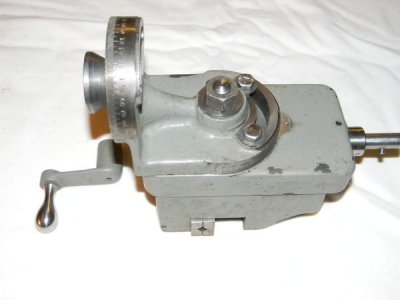
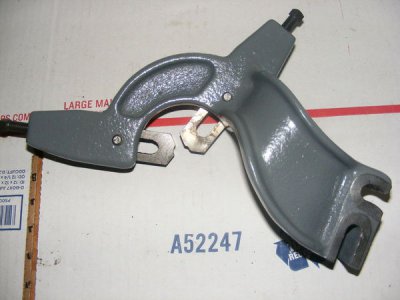
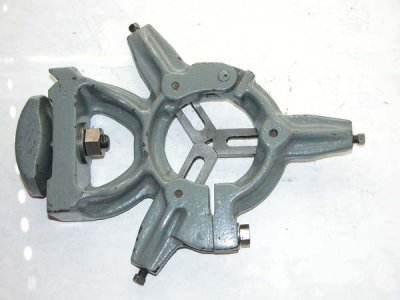
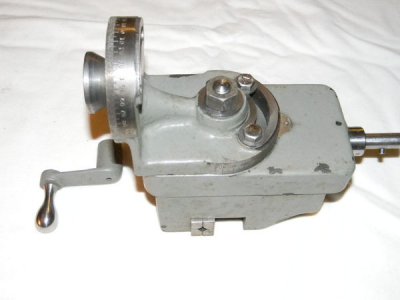
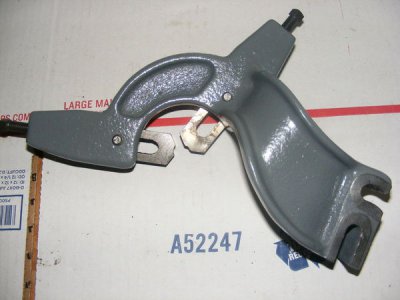
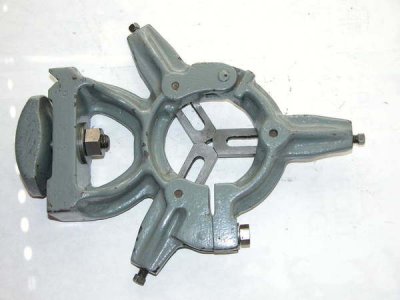
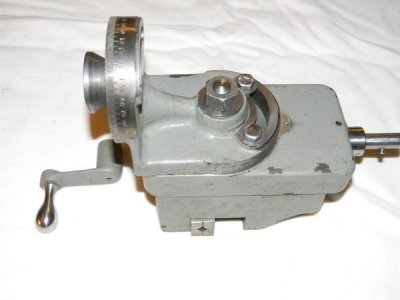
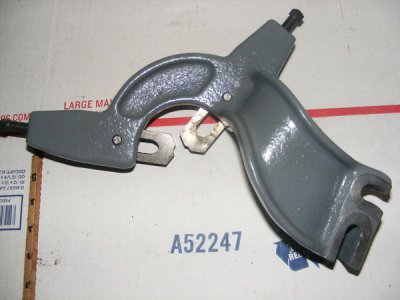
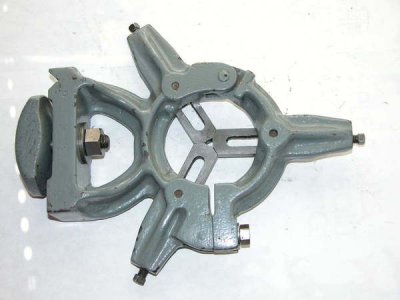
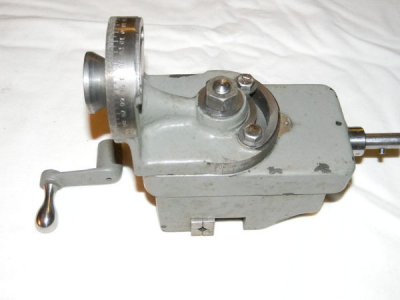
I haven't got back to the spindle yet, but I did purchase some tooling for my 10L. The sum of these items cost more than the whole lathe, but you only live once!

I have been working a lot of overtime at my job, so I figured I would reward myself.

follow_zpsyb3e2dzj.jpg

s-l1600%206_zpsw86b9zz2.jpg


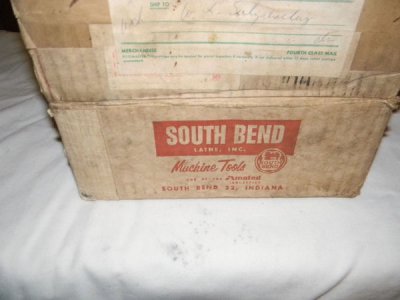
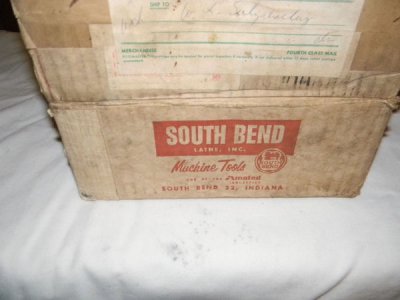
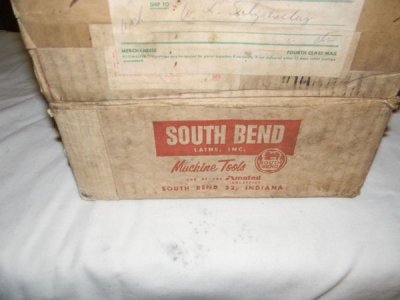
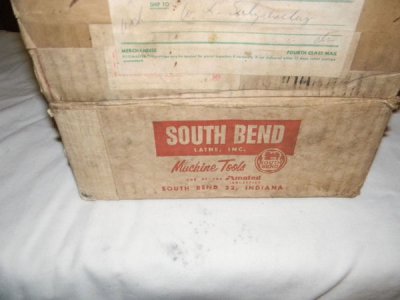
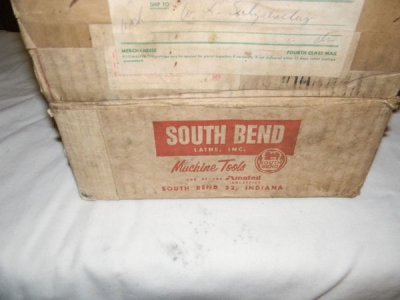
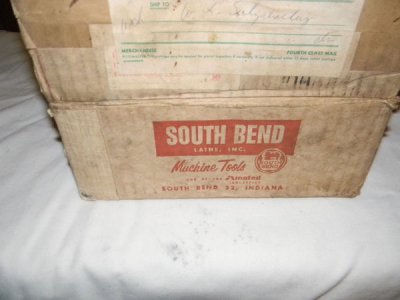
The milling attachment was still in the original box.
s-l1600%204_zpsokaik7yv.jpg
s-l1600%205_zpsceljqvwo.jpg

follow_zpsyb3e2dzj.jpg

s-l1600%206_zpsw86b9zz2.jpg

s-l1600%204_zpsokaik7yv.jpg

s-l1600%205_zpsceljqvwo.jpg

follow_zpsyb3e2dzj.jpg

s-l1600%206_zpsw86b9zz2.jpg

s-l1600%204_zpsokaik7yv.jpg

s-l1600%205_zpsceljqvwo.jpg

follow_zpsyb3e2dzj.jpg

s-l1600%206_zpsw86b9zz2.jpg

s-l1600%204_zpsokaik7yv.jpg

s-l1600%205_zpsceljqvwo.jpg

follow_zpsyb3e2dzj.jpg

s-l1600%206_zpsw86b9zz2.jpg

s-l1600%204_zpsokaik7yv.jpg

s-l1600%205_zpsceljqvwo.jpg

follow_zpsyb3e2dzj.jpg

s-l1600%206_zpsw86b9zz2.jpg

s-l1600%204_zpsokaik7yv.jpg

s-l1600%205_zpsceljqvwo.jpg
 
Completed the shimming of the spindle shaft. Went pretty good. Once I got it under .005, it smoothed out, so I didn't hone the bearings. One thing that I did wrong was peeling off the .001 shim first, which was the side with the writing. I should have saved it for last, but everything work out fine with the play being right at .001. As a test, I peeled off an additional shim, leaving it intact, and after finding out the shaft was too tight, I re-installed it. One thing I found, the shim pack was sold as being a total of .021 thick, but when I measured mine, it was in reality .031. I spun the shaft for 5 minutes with the old rotted belt and it ran fine with no heat on the spindle caps. I will remeasure the play again once it has ran a while.
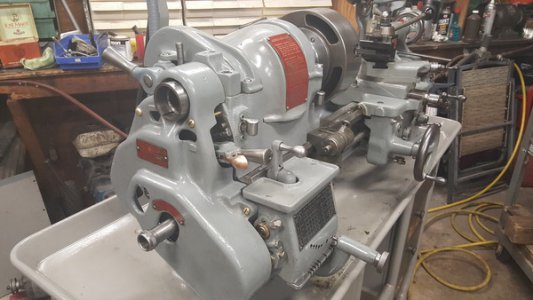
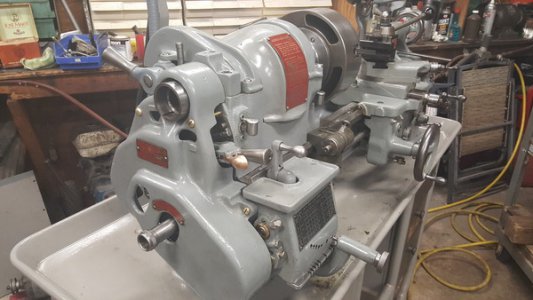
20160424_000224_zpsqqqsfpp3.jpg

20160424_000224_zpsqqqsfpp3.jpg

20160424_000224_zpsqqqsfpp3.jpg

20160424_000224_zpsqqqsfpp3.jpg

20160424_000224_zpsqqqsfpp3.jpg

20160424_000224_zpsqqqsfpp3.jpg
 
Back
Top