So, finally getting around to another update. It has been bitter cold around here last couple weeks so working in the garage has been limited. Had to move what I could downstairs and that is a small area I can work. Limits me in what I can and how much I can do at a time, but I am moving along.
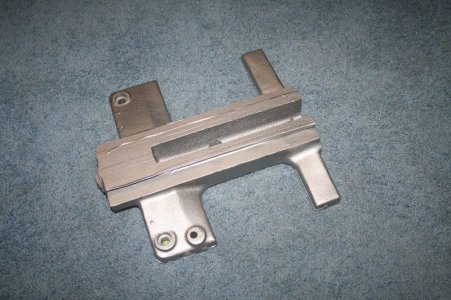
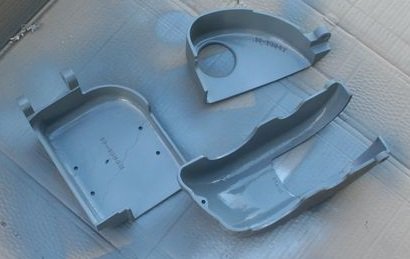
So I tried to go with a 'Hammered Pewter" for the color but it isn't really what I thought it would be. It is turning out to be more of just a silver as the texture that made it the hammered look doesn't always come out as you would expect. Think it has to do with the size of the piece and the amount of paint you can put on. So used to spray painting with steady even light coats to cover a piece. This paint seems to need to go on slower and thicker to get the "Hammered" look. But then it is more prone to running as the paint is thicker. Ah well, I am still happy with the look so it is going to stay and all the rest will get the same look.
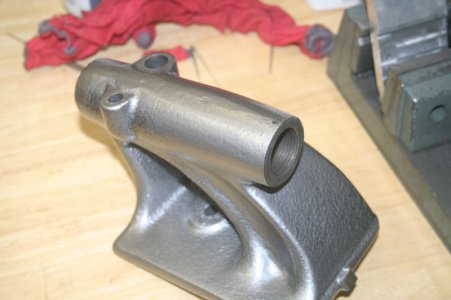
So far here is what I have been able to get done. I feel I have done a lot, but haven't really touched the headstock hardly at all. Tail stock has been cleaned, primed, painted and is ready to rebuild. The countershaft spindle assembly that ties the motor to the headstock is apart and cleaned. The main hanger that holds the pulleys has been primed and is waiting for its turn in the paint booth. Need to find a source to replace the washers that are used around the bearings. They seem to be a cloth ring of some sort and are shot. Grease is just squeezing right out of the bearings.
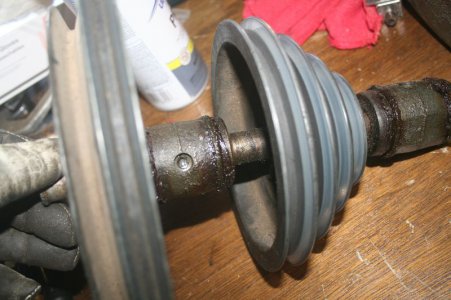
Maybe it should be some, but I figure while it is apart to go ahead and replace these kinds of things so I don't have to be back in there anytime soon.
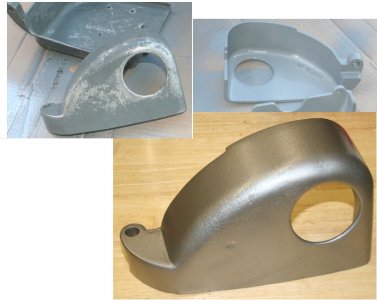
Most of the head stock covers have been pulled, cleaned and primed at least. Have one of them painted, and it is a great example of how the "hammered" look doesn't really showing at all.
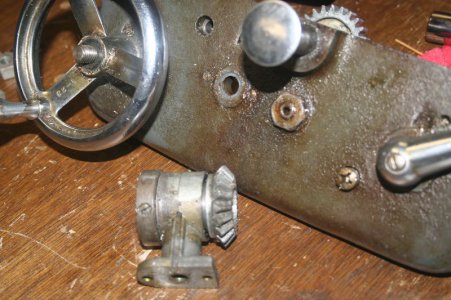
The carriage assembly is off and almost completely apart. Only area that I am stuck is the carriage apron assembly. I can't get the hand wheel off for some reason. It looks like it just pulls off, but it isn't coming and I don't want to break anything. From the diagrams that I have found it seems there is a woodruff key in there and I wonder if it has gotten messed up somehow. Trying to get all the rest of the parts off of it before I really start messing with this stuck hand wheel.:thinking:
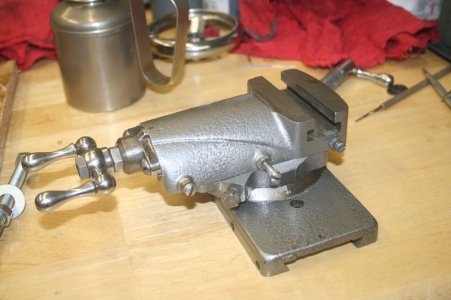
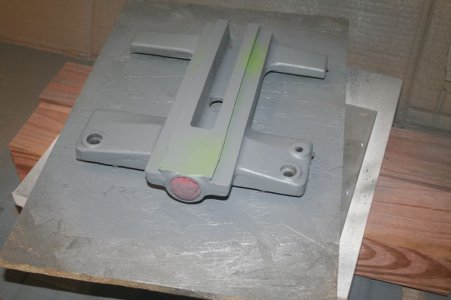
The compound rest assembly is totally apart and all primed at this point. Wish I had a larger paint area and I could do all this at once. Right now I have to do each piece one at a time and then let it site and dry some before I can touch it to put the next one in. Here are some photos of the larger pieces for this assembly.
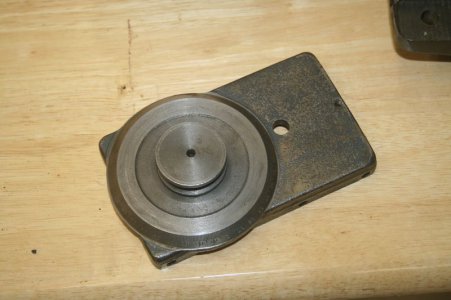
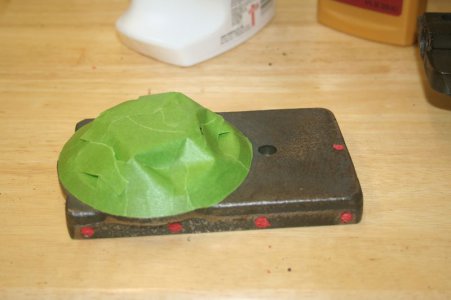
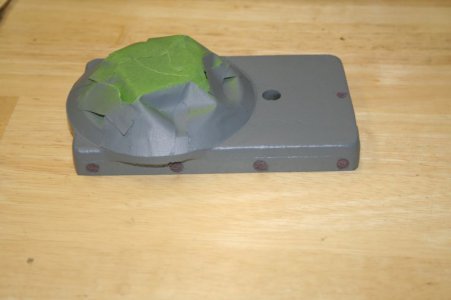
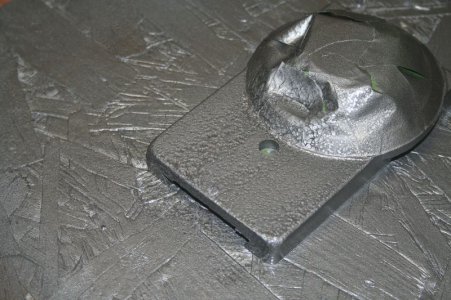
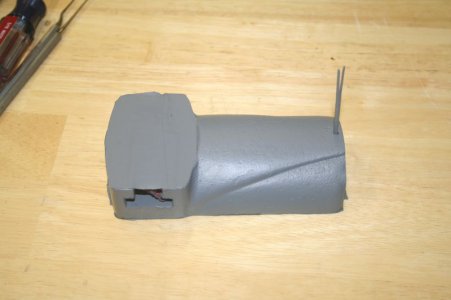
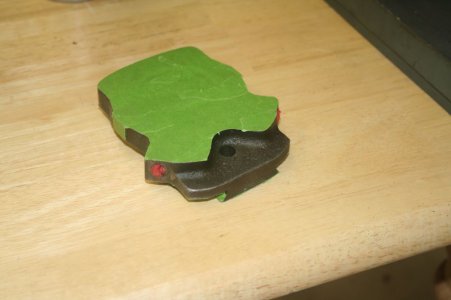
I see there is a set of photos on the camera still that I need to download. At this point all of these are at least primer-ed. Also if you look closely at the 4th photo of the swivel you can see some of that 'hammered" look appearing on this piece. While all this painting has been going on I have been trying to get the saddle all cleaned and ready for its first coat of primer. This piece has been the dirtiest so far. The caked swarf and dried fluids was bad. It is also the heaviest piece so far and that doesn't help either. The center shaft area that the screw for the swivel rides in to move on was thick with chips and cutting oils. At one point near the "front" it was just enough space for the screw, the rest was swarf and dried oils. Took a scrapper to it so that I could at least get down to metal. Going to take the degreaser to it one more time and hope that gets the last of it clean so that I can paint it finally.
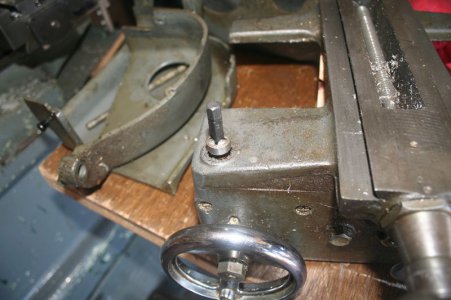
Here is the closest I could come to a before photo. Realizing later that I am not getting the photos I should to document this and share it with you all.
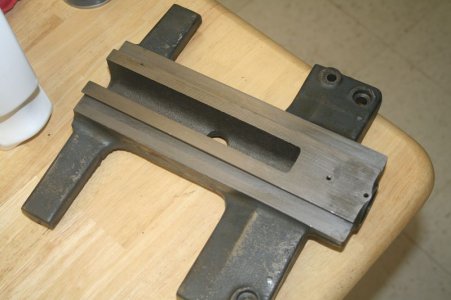
Here is how it sits right now.
At this point I am going to stop taking pieces off the lathe and apart until I have a few items built back up. I have a lot of small parts, and while I have tried to keep them boxed and together I don't want to get them mixed up and not able to get something back together. So next update should be some built pieces just sitting and waiting for the rest to get their time in the limelight. )
)


So I tried to go with a 'Hammered Pewter" for the color but it isn't really what I thought it would be. It is turning out to be more of just a silver as the texture that made it the hammered look doesn't always come out as you would expect. Think it has to do with the size of the piece and the amount of paint you can put on. So used to spray painting with steady even light coats to cover a piece. This paint seems to need to go on slower and thicker to get the "Hammered" look. But then it is more prone to running as the paint is thicker. Ah well, I am still happy with the look so it is going to stay and all the rest will get the same look.

So far here is what I have been able to get done. I feel I have done a lot, but haven't really touched the headstock hardly at all. Tail stock has been cleaned, primed, painted and is ready to rebuild. The countershaft spindle assembly that ties the motor to the headstock is apart and cleaned. The main hanger that holds the pulleys has been primed and is waiting for its turn in the paint booth. Need to find a source to replace the washers that are used around the bearings. They seem to be a cloth ring of some sort and are shot. Grease is just squeezing right out of the bearings.

Maybe it should be some, but I figure while it is apart to go ahead and replace these kinds of things so I don't have to be back in there anytime soon.
Most of the head stock covers have been pulled, cleaned and primed at least. Have one of them painted, and it is a great example of how the "hammered" look doesn't really showing at all.


The carriage assembly is off and almost completely apart. Only area that I am stuck is the carriage apron assembly. I can't get the hand wheel off for some reason. It looks like it just pulls off, but it isn't coming and I don't want to break anything. From the diagrams that I have found it seems there is a woodruff key in there and I wonder if it has gotten messed up somehow. Trying to get all the rest of the parts off of it before I really start messing with this stuck hand wheel.:thinking:

The compound rest assembly is totally apart and all primed at this point. Wish I had a larger paint area and I could do all this at once. Right now I have to do each piece one at a time and then let it site and dry some before I can touch it to put the next one in. Here are some photos of the larger pieces for this assembly.


I see there is a set of photos on the camera still that I need to download. At this point all of these are at least primer-ed. Also if you look closely at the 4th photo of the swivel you can see some of that 'hammered" look appearing on this piece. While all this painting has been going on I have been trying to get the saddle all cleaned and ready for its first coat of primer. This piece has been the dirtiest so far. The caked swarf and dried fluids was bad. It is also the heaviest piece so far and that doesn't help either. The center shaft area that the screw for the swivel rides in to move on was thick with chips and cutting oils. At one point near the "front" it was just enough space for the screw, the rest was swarf and dried oils. Took a scrapper to it so that I could at least get down to metal. Going to take the degreaser to it one more time and hope that gets the last of it clean so that I can paint it finally.

Here is the closest I could come to a before photo. Realizing later that I am not getting the photos I should to document this and share it with you all.

Here is how it sits right now.
At this point I am going to stop taking pieces off the lathe and apart until I have a few items built back up. I have a lot of small parts, and while I have tried to keep them boxed and together I don't want to get them mixed up and not able to get something back together. So next update should be some built pieces just sitting and waiting for the rest to get their time in the limelight.


