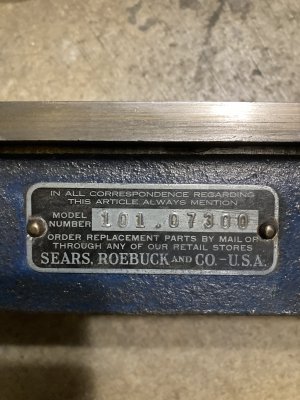
Atlas/Craftsman 6" Metal Lathe restoration 101.07300 1937

Awround

Registered
Registered
Joined
Jan 21, 2021
Messages
48
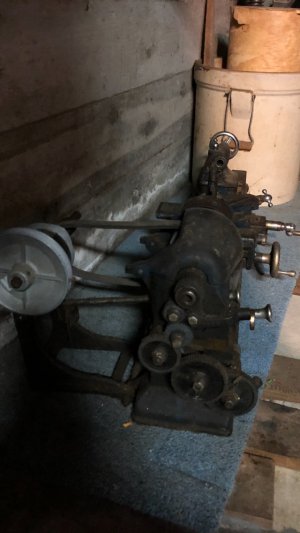
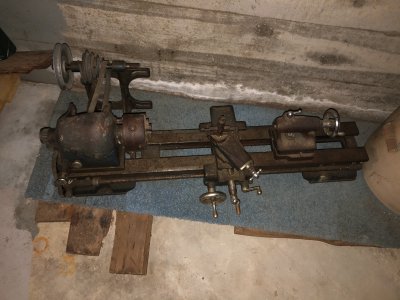
I have started a restoration on a 1937 Craftsman 101-07300 6" metal lathe. The lathe is being restored for a friend whose Grandfather purchased the lathe new in 1937. The lathe was then passed on to my friend's father. At some point, the lathe fell into disuse and has been rusting away in a damp basement since her father passed away.

The lathe as found:
IMG_1581.JPG

IMG_1585.JPEG

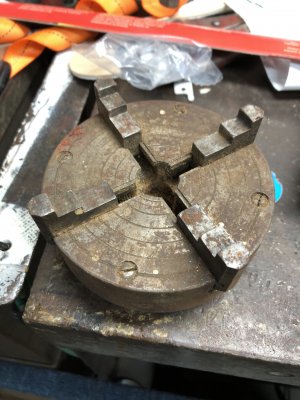
There was also a box full of rusty accessories including faceplates, four-jaw chucks, a selection of MT#1 tooling.
IMG_1595.JPG

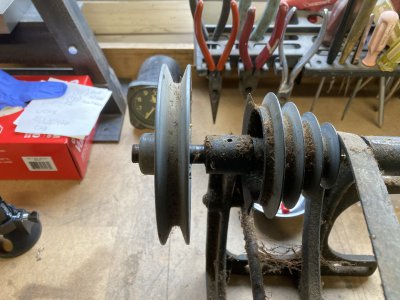
The initial stripdown highlighted the need for new spindle bearings, new countershaft bearings, new shafting, new top and cross slide nuts and new spindle belt. The spindle belt has been replaced with an oversized belt which appears to have caused the outer flange of the countershaft pully to break.

Cheers,

Adrian
 
Last edited:
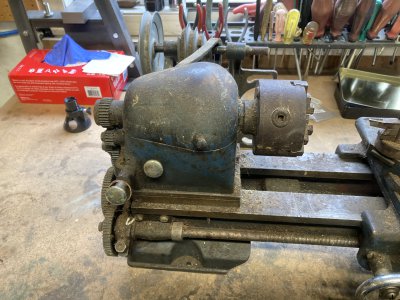
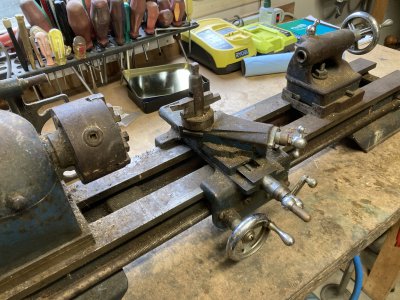
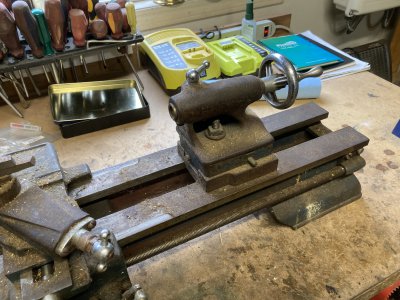
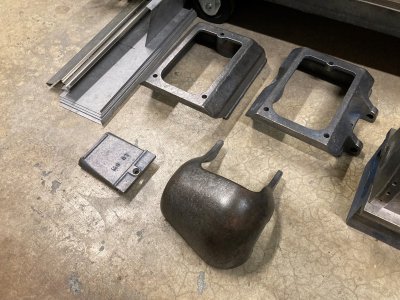
The lathe was stripped down to all of its individual components and all of the casting were stripped, derusted and cleaned. It was clear from all of the sawdust present in the headstock and bed castings that the lathe has been used extensively for woodworking. At some point a set of riser blocks had been added to the headstock and tailstock to allow a larger bowl turning faceplate to be used:

IMG_2048.JPG
IMG_2049.JPG
IMG_2050.JPG

IMG_2051.JPG

Cheers,

Adrian
 
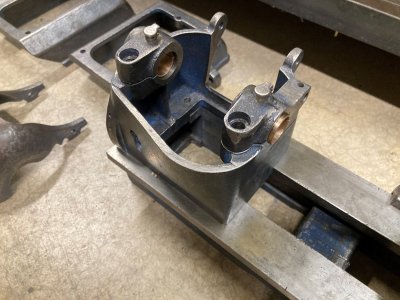
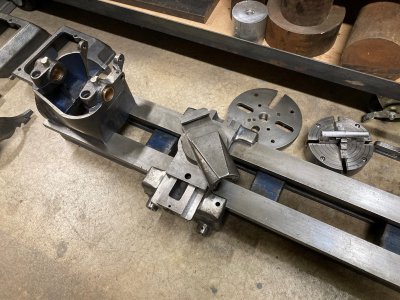
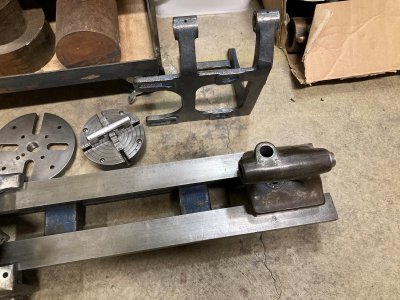
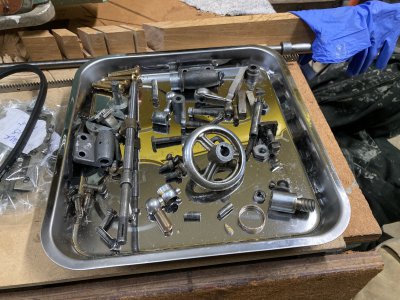
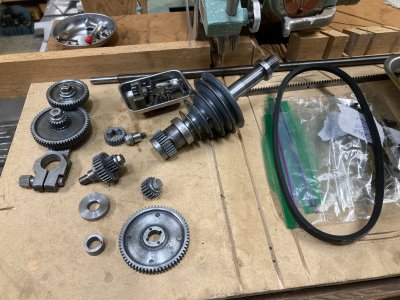
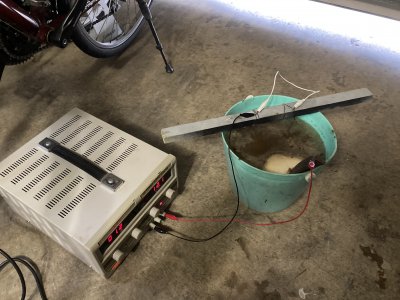
Clean castings with the new spindle and countershaft bearing and new countershaft shafting. I was able to get the new bearings, shafting and belt from McMaster-Carr. The original spindle bearings (assuming that they had not been replaced earlier) were split so I followed suit with the new bearings and drilled the required oil holes. I have been using electrolysis to remove the rust from the tooling and steel components. I have been very happy with the results:

IMG_2054.JPG
IMG_2055.JPG
IMG_2056.JPG
IMG_2057.JPG
IMG_2058.JPG
IMG_2059.JPG
IMG_2063.JPG
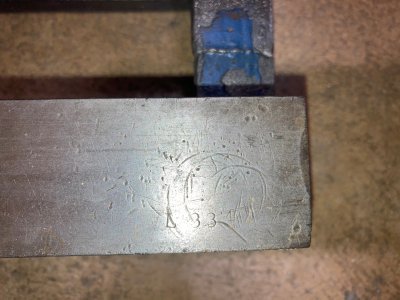
Serial number on front right way.jpg

IMG_2061.JPG

Next step is to prime and paint all of the castings, machine replacement nuts for the cross slide and topslide, repair the countershaft pulley and source replacements for damaged hardware.

Cheers,

Adrian
 
Adrian:

Very nice job. You have clearly done a lot of work, and it shows. Excellent! Looking forward to following your progress.

Bill
 
+1 on the electrolysis.......looking good!
 
Nice job! I see you elected to remove the previously installed risers from head and tailstock
-Mark
 
Nice job! I see you elected to remove the previously installed risers from head and tailstock
-Mark
Mark,

Yes. The risers meant that the original lantern tool posts and a small turret style boring bar holder were no longer on centre height. I decided to restore the lather for metalwork rather than metal and wood. The oil and sawdust build up in the headstock and a lot of clogged oiling points have highlighted what I was always taught that machining wood in a metal lathe should only be done "in extremis".

I will clean up the risers and pass them on to the new owner.

Cheers,

Adrian
 
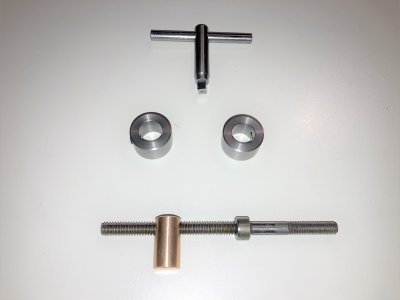
Some work today on fixing the worn, broken or missing pieces on the lathe:

a. A new square drive chuck key for the three jaw chuck as it was missing;
b. Two new collars for the countershaft. One was missing and one was damaged; and
c. A new bronze top slide nut. The original was badly worn. The replacement is nice and smooth with no visible backlash.

IMG_2078.jpg

I also need to replace the cross slide nut and found that it is a 3/8 x 20 LH 60 degree V thread. The cross side screw is double start thread which would give 0.100 per rev. This agrees with the markings on the cross slide collar. Now pondering whether to try my hand at making the tap or buying one from Little Machine Shops (shipping to Canada is the same as the cost of the tap!).

Cheers,

Adrian
 
Looks good.
 
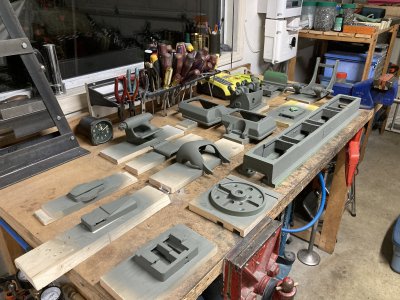
Castings stripped, cleaned and primed. Ready for paint.

IMG_2083.JPG

Cheers,

Adrian
 
Back
Top