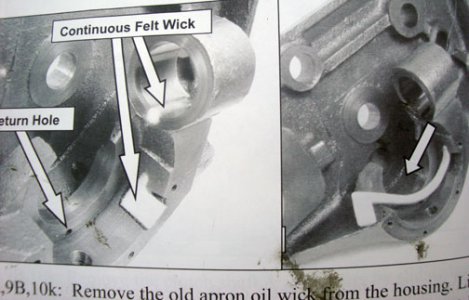
Nice work! It would be helpful to have some pics of the apron wicking routing as that is always a source of confusion. I am surprised your power feeds don't slip under load with that damaged worm gear. I had to replace mine but it was severely worn.
-
Welcome back Guest! Did you know you can mentor other members here at H-M? If not, please check out our Relaunch of Hobby Machinist Mentoring Program!
You are using an out of date browser. It may not display this or other websites correctly.
You should upgrade or use an alternative browser.
You should upgrade or use an alternative browser.
9A renovation
- Thread starter SE18
- Start date
- Joined
- Apr 23, 2011
- Messages
- 2,476
There's a vertical component with a gear attached at the lower end.
Thats a thread chasing dial. The gear runs on the leadscrew. It is used when threading so that you can pick up the same tooth on the leadscrew in relationship to your half nuts. Allows you to disengage the saddle and return to the same start position on your threading. You need to note the number/indexing marks on the dial on the top as you engage the half nuts.
Cheers Phil
Thanks, Phil, Marti,
9A lathes differ somewhat. The shafts in mine did not contain the longitudinal wick troughs. Some do. Actually, there was just one wick to install, but it was the hardest wick to install as I had to tie a tiny wire to it and pull it through a long wick hole and bend it around inside a shaft hole. The other end of the wick had a protruding piece. IOW, the wick was basically in the shape of a small flag attached to a flag pole. The main thing was that the wire kept falling off the end of the wick as I pulled it through. It took about 7 tries but finally made it. Wick soaked in A oil type. Gear coated in C type.
I'm hoping the damaged gear doesn't fail under load! You got me worried now. If it fails and more teeth break, I'm thinking it could screw up the worm gear as well as any gears attached to those. Perhaps I should have welded and profiled it? That would mean taking everything apart again and purchasing a new gasket (unless I can cut and make my own). I'm wondering if it would be worth it to do? I have access to the Fort Meade MD auto body center where they have TIG and MIG welders that they would let me use for a fee.
Also, thanks Phil for identifying the mystery part. You know, I've never before even used the lathe to turn anything and once my restoration job is complete I'll need to learn how to use it!
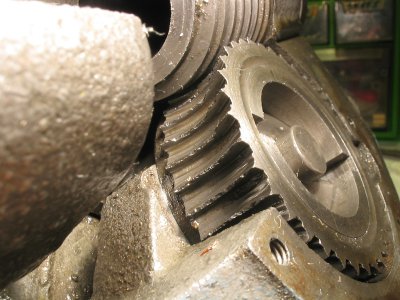
I wouldn't worry about that worm gear, look how chewed up mine was and it only slipped under heavy load. I bet my oil sump was dry for years. I since replaced it with a lucky find on ebay for $18. Must have been a heck of a crash to fracture those gear teeth like that? I would just leave it and find out how it runs as is, maybe file down the sharp edges. Did you turn it manually to see how the worm/worm gears and clutch engage? A wooden dowel inserted in the worm works well to test that. There will be no further damage under normal operation as long as it engages smoothly. You could also repair it by tapping in some screws, loctite or braze and file to shape - easy to do right on the lathe even without the apron installed.
Thanks for the wicking info, mine had the horiz trough and I just rinsed the whole apron out with paint thinner but may re-wick next time I re/re it.
Looking forward to your next installment!
Thanks for the wicking info, mine had the horiz trough and I just rinsed the whole apron out with paint thinner but may re-wick next time I re/re it.
Looking forward to your next installment!

Thanks, Marti!
So, where were we? Oh, apron. I tested the worm/clutch gears using a wooden dowel to manually turn it several times around, being satisfied that running was smooth. Also, tested all the other gears in all possible positions that they can be engaged in using the levers
Then, it was on to the saddle, which I’m still working on. This time, I decided to number everything for clarity. The numbers got out of order so just follow below:
So:
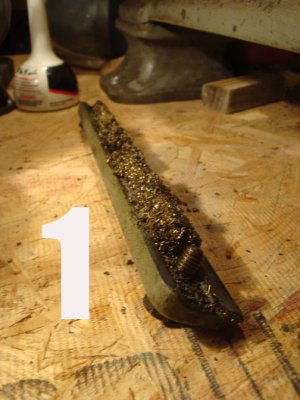
Photo 1: Removed Gib plate. Notice the mountain of ugly swarf that came out!!!
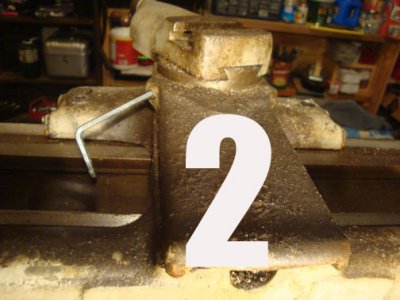
Photo 2: Removed the socket set screws (one on each side) from back of crossslide.
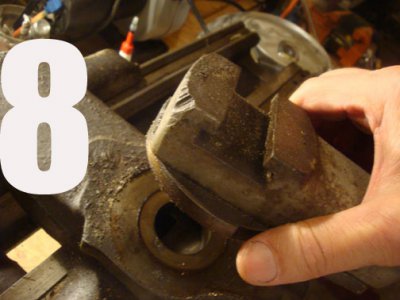
Photo 8: removed compound from crossslide by pulling straight up
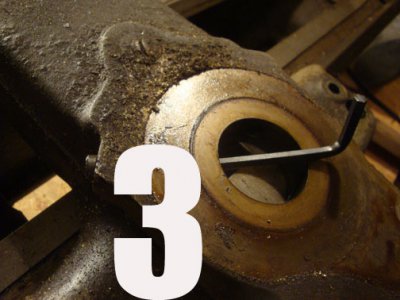
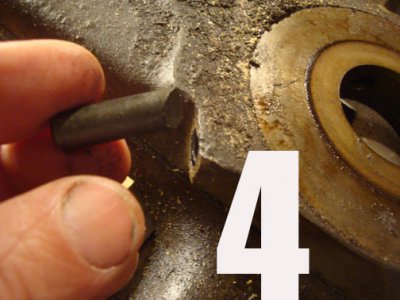
Used a hex key to push out the locking shoes, which were behind the set screws (Photos 3 and 4). No force was needed, they just popped out nicely.
There was a lot of play (backlash) in the crossfeed lever (see video)
http://www.youtube.com/watch?v=zrXp0-Gc6SE
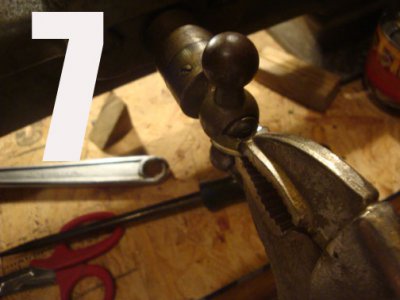
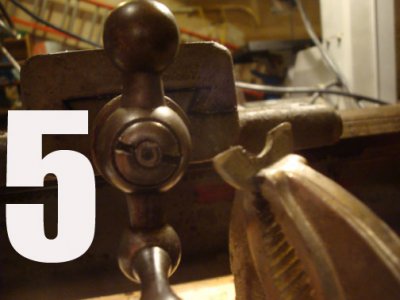
Solution was to simply tighten the knob. I couldn’t afford $30 for a ½” spanner bit so made my own from a washer which I cut with a hacksaw and ground to profile (photos 5 and 7). This greatly reduced backlash.
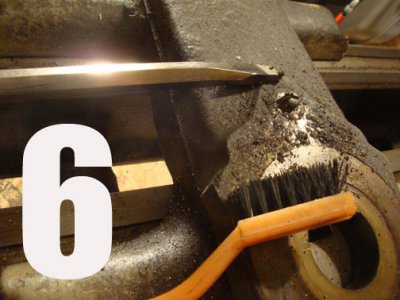
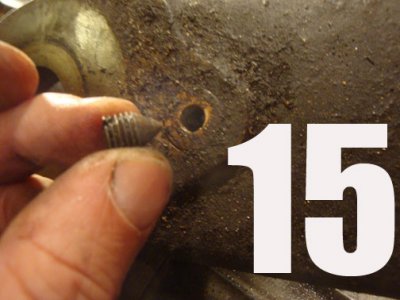
Loosened this screw (don’t know the name of it) using a brand new heavy-duty screwdriver from TSC (photo 6 and 15). Had to brush away swarf from the slot.
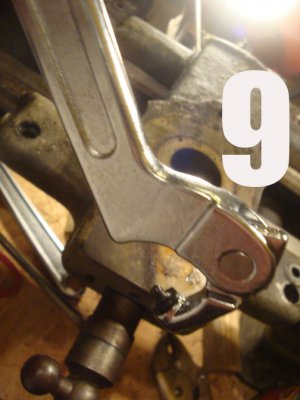
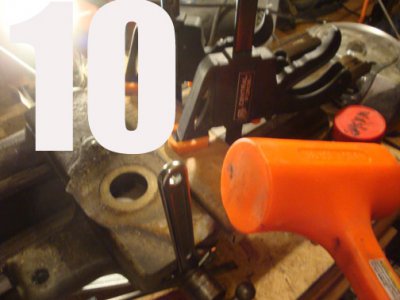
I then used a 1/8” hinged pin spanner wrench ($30) to loosen the collar of the cross-feed screw. This was a b**ch as it wouldn’t budge. I turned it counterclockwise like the books says). Ended up using a 5 lb deadblow and the pin kept popping out of the hole. I only got it turned about half a turn (photos 9 and 10). I'm really not looking forward to reinstalling this!!!
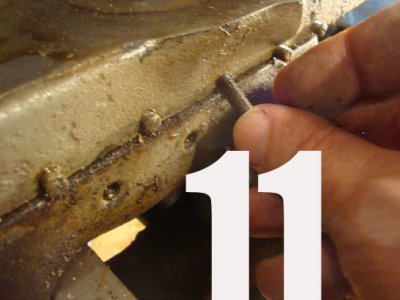
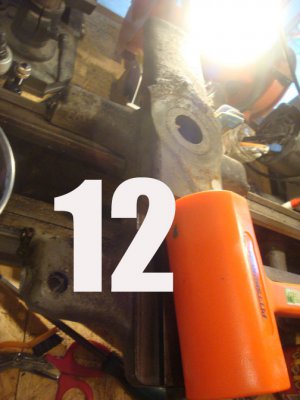
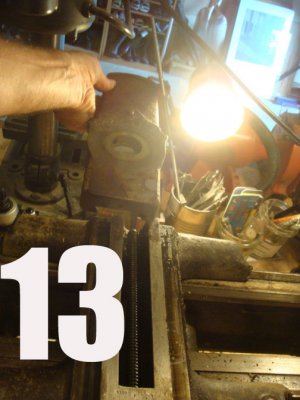
Photo 11: removed the 5 gib screws from crossslide then tried but failed to persuade the cross slide from parting from the saddle. Ended up using the deadblow to persuade it off. It was another real bi**ch removing. (photos 12 and 13)
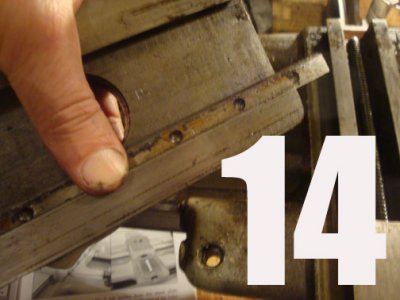
Photo 14. Shows the gib plate (that was attached to the 5 gib screws on the cross slide. The holes you see are NOT threaded. It appears that the ends of all 5 screws merely set in the holes when they are tightened. It kind of flew out when the cross slide was removed so I’m not quite sure which side is up or down. There’s some engraved tags on it so I’ll remount it later so that the tags are not upside down and we’ll see if that works.
Photos 16 and 17: removed the 4 brass wiper shrouds and bolts. The felts were missing but there was just sludge inside.
Photo 18: saddle is pulled straight up and away.
So the disassembly process continues, but at this point last night I called it a night as I was pretty exhausted. There’s probably more disassembly needed, e.g. perhaps the compound feed screw and bronze nut in the compound, if I can do it.
There’s a heck of a lot of cleaning to do and the 4 felt wipers need to be replaced.
Stay tuned. Any tips appreciated. I'll try to better document subsequent stages; the numbers on photos should help IMO
Dave V


Last edited:
You may want to mill or file the protrusion of the crossfeed nut/setscrew flush with the top of the crossslide to simplify placement of a height gauge or milling attachment.
Stop buying all those expensive tools! There is nothing you have done so far that could not have been accomplished with fabricated tools (like your spanner washer bit) but then I'm cheap and resourceful, LOL!
I replaced all my gib adjusting screws with knurled shop made screws (12-28) so I wouldn't have to hunt for a small screwdriver every time they needed adjusting. A small ball bearing in each hole seems to smooth operation too.
Marti, good idea about the use of homeshopped screws; some pictures would be helpful
well, the saga of the troublesome crossfeed screw on the saddle continues.
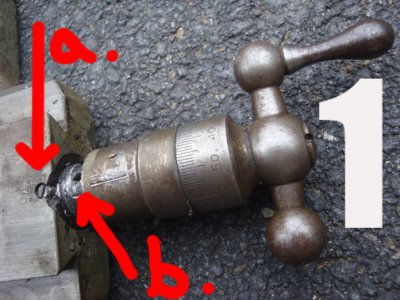
Photo 1: The book doesn’t mention an oil set screw here and I didn’t see it until too late (lesson, don't believe everything you read). The act of twisting off the collar with the 1/8” hinged pin spanner wrench damaged the hole that the vice goes into and the torque caused the destruction of the oil set screw (a), ripped off the edge of the apron and then caused some damage to the shaft where the screw went round and round on it, acting sort of like a screw lathe. (b) shows the oil hole which the set screw covered. That’s how far I got the shaft off before realizing the damage that the oil set screw was causing. I removed the set screw by drilling it out with “screw out.” It’s the first time I used screw out and it lived up to all its hype as it extracted it beautifully.
So now I need a new oil set screw and I have to do some welding to fix all the other damage that was caused.
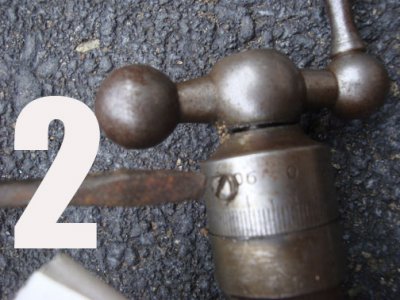
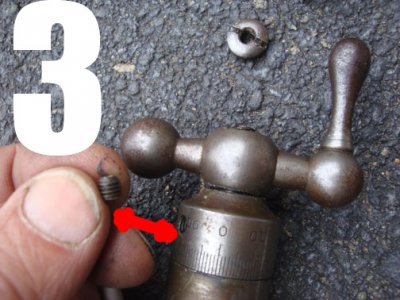
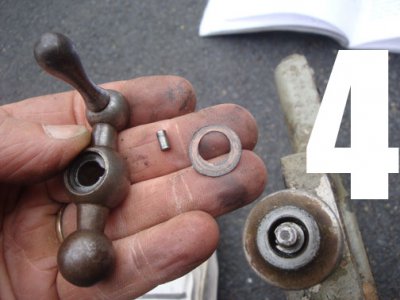
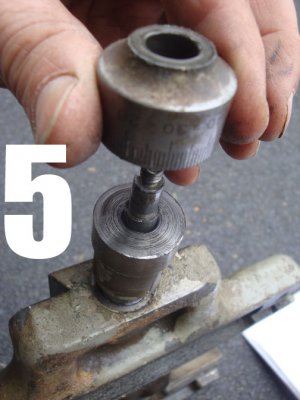
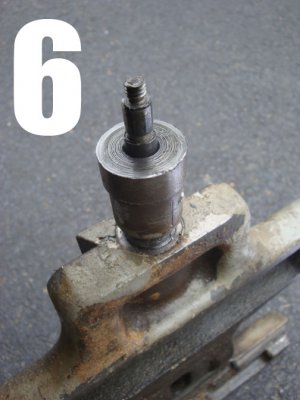
Photos 2, 3, 4, 5, 6: shows the easy removal of the collar, dial ring, ball crank, retaining nut, key, set screw and brass shim washer from the saddle’s crossfeed screw. There was supposed to be a brass shoe behind the set screw but I wouldn’t find one there. Not sure how critical that brass shoe is or what function is served by it.
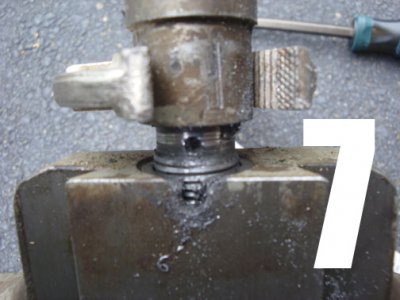
Photo 7: a closeup of the damage caused by the oil set screw. Notice a pair of vice grips had to be used to remove the collar, as the 1/8” hole for the spanner wrench was wrecked from the high torque.
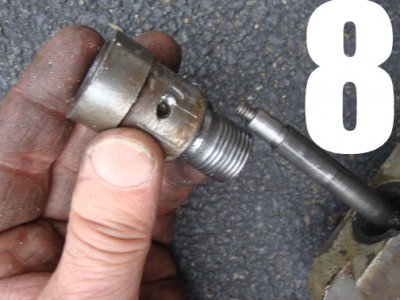
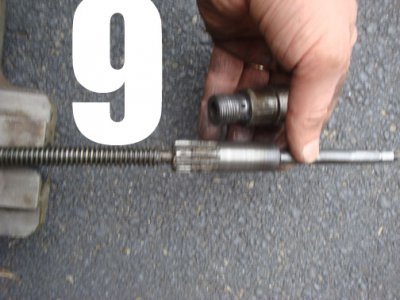
Photos 8 and 9: crossfeed screw successfully extracted! What a bi**h. Oh, and btw, the crossfeed screw is crooked. Not sure if that matters or not.
Well, I still have some other components to the saddle to dismanted before I’m done; then a lot of cleaning and lubricating parts and need to do some welding. What do you suggest for this type of work? (Steel buildup). Arc, MIG or OxyAc?
Cheers
Dave


