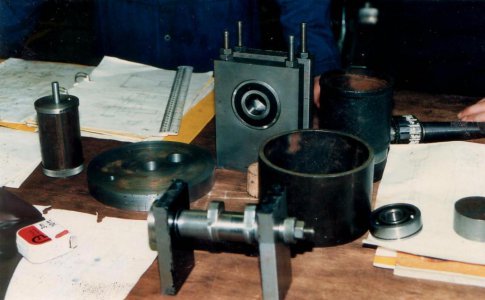
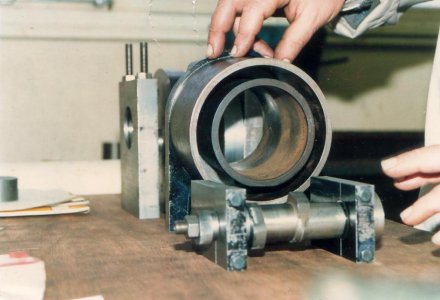
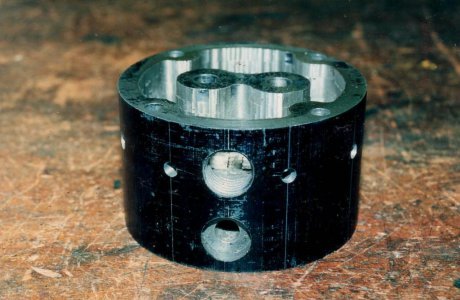
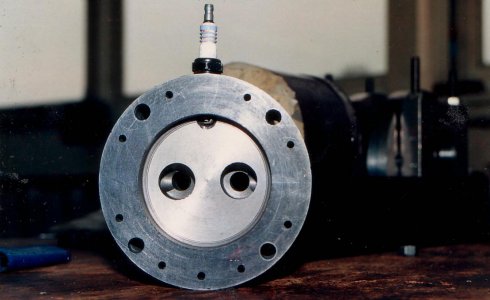
500 cc single

B

BRIAN

Forum Guest
Register Today
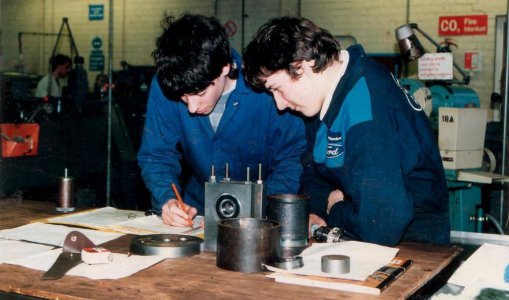
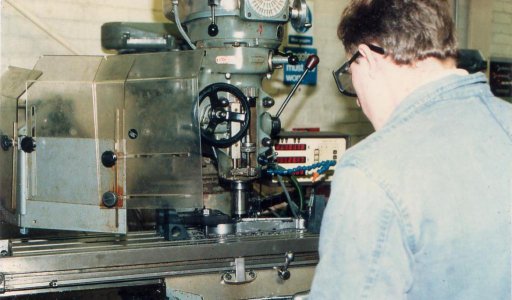
I found this old photo album recently of a project I did with a group of first year craft motor vehicle students. 17 years of age.

We had a project day every week for 33 weeks and
12 students.

Rather than tinkering with existing components. I decided to make our own engine .

We had available a full enginering workshop and a wonderful technical staff.

I will try and fill you in on the thinking behind the design as we go along.

Hope the scanner stand up to it.

Brian.
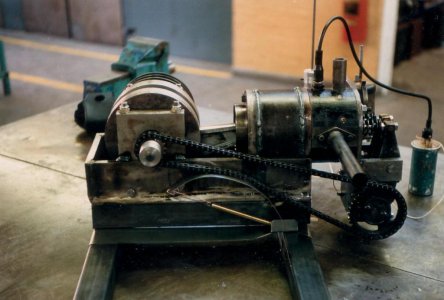
SAVE0085.JPG
 
Last edited by a moderator:
Nice Brian...will look forward to seeing the photos. So where is this engine now?

Bill
 
I don't know Bill as soon as I retired they scraped all of the projects.

along with the machine shop and all the kit in the name of saving money.

Now the trades want new lads but have nowhere to train them.

So us oldies just shake our heads and say WE TOLD YOU SO.

Brian.
 
Ain't it the truth Brian...and before long they will be after sports, music, the arts, etc. It may save money but the result is a generation of kids that are not well rounded and still can't make change without the help of a calculator.
 
Sorry Brian...didn't mean to get off on a tangent or on a soapbox...still looking forward to seeing the pictures of that engine. Its a shame it was lost.

Bill
 
Its OK Bill I feel the same, I hope you will see how a bunch of average lads can produce something worthwile with a little encouragement.
So its back to the scanner for me.

Brian
 
To Continue.
I have 12 students, Knowledge of engines zero. Knowledge of machine tools zero.
So our first day was a trip to the scienc museum in London, a good place to start looking for ideas.

I decided that we needed a point of reference to start with so I found an old wet cylinder liner and piston from a 2000cc 4 cyl engine.
From this we measuered the the bore size ,so we could calculate the stroke. having got the stroke. it was a small step to the crank throw. ETC ETC.
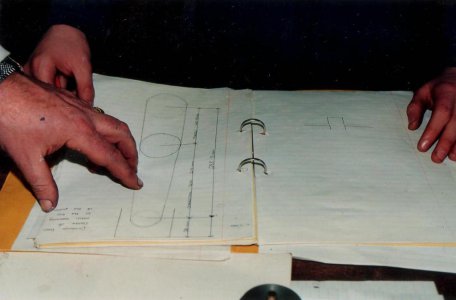
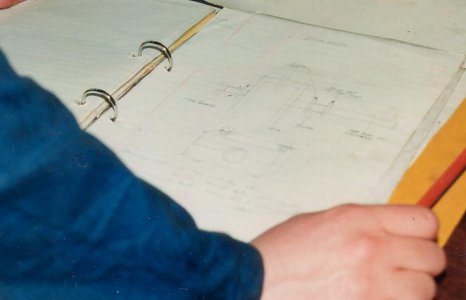
As the lads had no tech drawing, parts where sketched approx full size. for a crude working drawing.

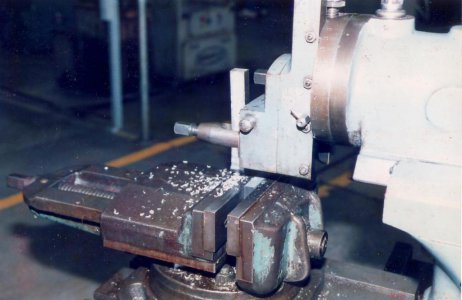
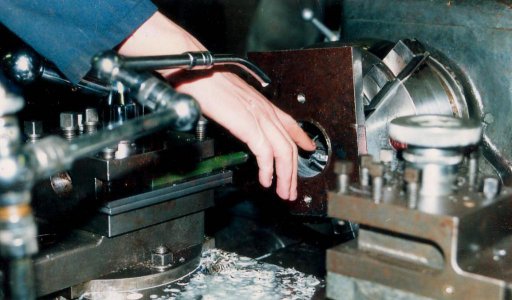
So it was off to the work shop for the first lesson on the shaper.

Brian

SAVE0088.JPG SAVE0084.JPG SAVE0087.JPG
 
Last edited by a moderator:
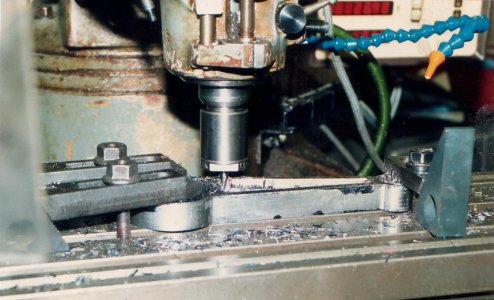
Having got our 3 shapers squaring up the blanks for the components.
we started using the lathe to bore the cylinder end plates, and cut the registers for the water jacket and cylinder.

As the pile of parts got bigger we were able to offer some up to get the first view of its shape.

A smart bit of arm twisting by the technical staff produced the piece of iron stock for the cylinder head.

At this point we had to decide on the compression ratio, a conservative 4-1 more calcs to find out how deep the chamber had to be.


Has anyone nodded of to sleep yet----Brian

SAVE0090.JPG SAVE0091.JPG SAVE0092.JPG SAVE0093.JPG SAVE0094.JPG SAVE0089.JPG
 
Last edited by a moderator:
Not sleeping at all Brian...someone did a good job of documenting the build and its fun to see. Keep it up.

Bill
 
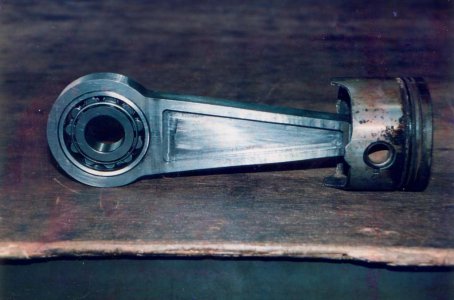
With most of the lads working on separate parts it was a bit like a juggler keeping all the balls in the air but the results where beginning to show

Hows this for a connecting rod.

Brian

SAVE0096.JPG SAVE0097.JPG SAVE0095.JPG
 
Last edited by a moderator:
Back
Top