32x40 H -- Gas Engine

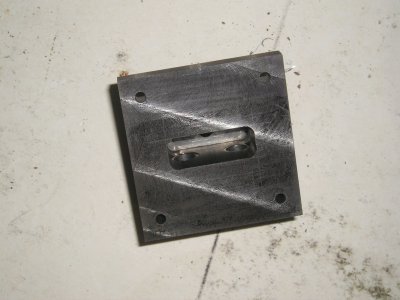
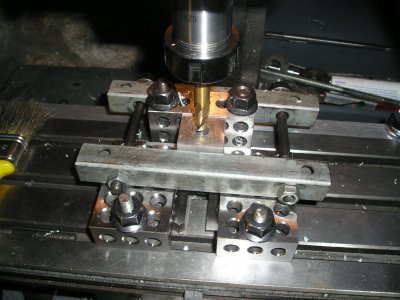
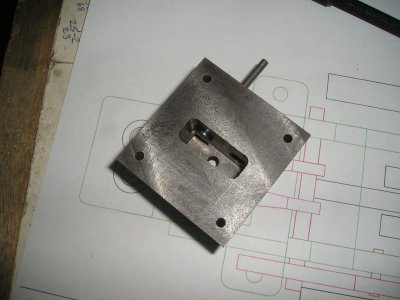
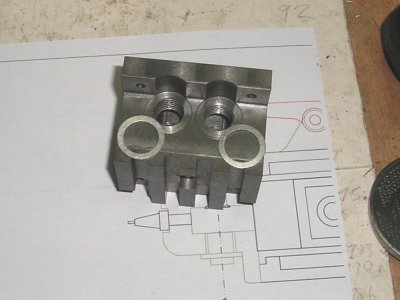
In preparation for cutting the valve seats it is necessary to spot face the area to remove the radius at the top corner of the combustion chamber and provide flat face for the seat to be cut.
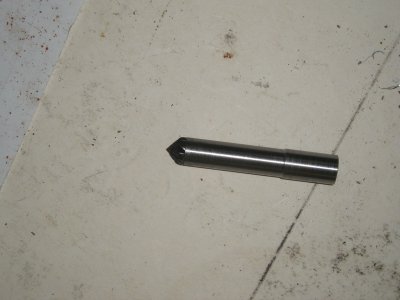
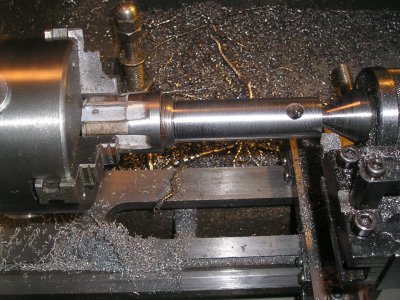
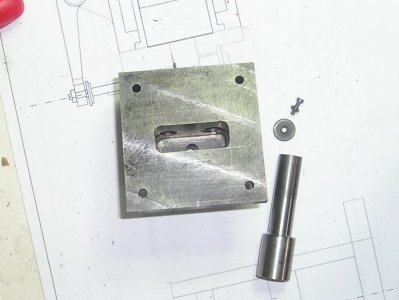
As I do not have a long series end mill of this size. I made a tool to do the job by turning down a piece of bar to fit the bore of the port that allows the valves to be fitted / removed, then cut down a dremmel cutting disk to the size required and fitted it to the end of this arbor.
P1012800.JPG

Gentle use of the mill gave good results.

On to the next problem. Brian

P1012800.JPG
 
As the spot facing was a success I thought a similar approach for the valve seats was worth a try, so I made another holder and fitted a 90 degree countersink in the end and ground off the tips of the cutter.

P1012807.JPG

the result was a fine 1mm wide valve seat,

P1012805.JPG

not very clear in the photo .

Brian

P1012807.JPG P1012805.JPG
 
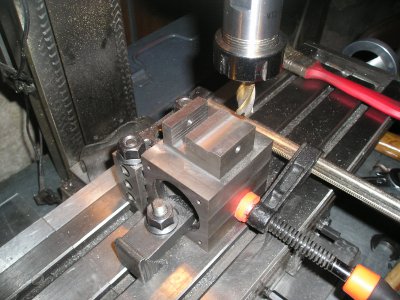
Returning to the barrel, the next job is to finish the rocker arm supports, so it's back to the mill to cut the support's in line with the valve guides.

P1012812.JPG

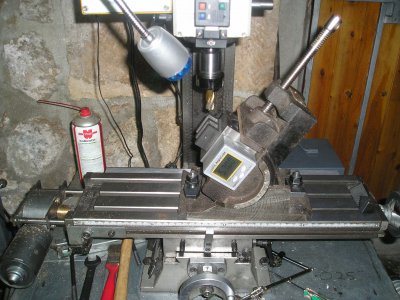
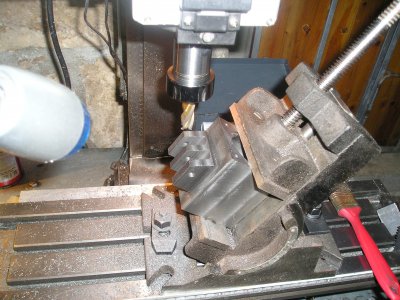
Then mount the job in my poor old angle vice and set the angle for the sides.

P1012814.JPG

side #2

P1012815.JPG

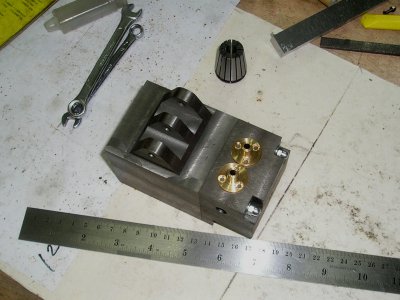
Barrel and head assembly.


P1012818.JPG

Slowly slowly.

Brian

P1012812.JPG P1012814.JPG P1012815.JPG P1012818.JPG
 
The next job of assembling the crank case was one I had been worrying about, it involves drilling 44 holes for the screws and they all have to line up, No room for error!!!
After think in about this for a long while I finally decided to to trust the I Gauges on the mill and do it all by finding the edge and using the
X Y coordinates from the drawing.
It felt very strange Drilling holes without marking out?
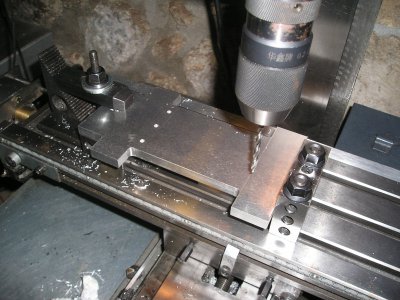
The first part was the base plate.


P1012820.JPG

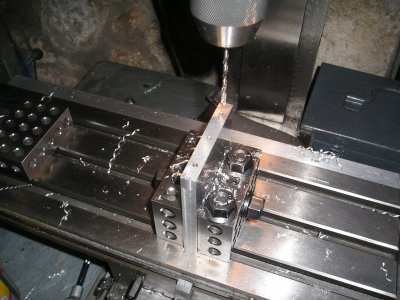
Then the sides.

P1012821.JPG


Assembly of the first parts,

P1012822.JPG

Checking the alignment of the cylinder to crank case,

P1012823.JPG

It all fitted perfectly, this has given me great faith in the I Gauges.


Brian

P1012820.JPG P1012821.JPG P1012822.JPG P1012823.JPG
 
A little more work on the cylinder head.

P1012834.JPG

Nearly time to order more material.

Brian.

P1012834.JPG
 
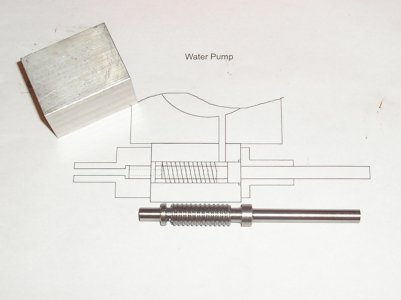
While waiting for material I decided to have a go at the water pump, originally the idea was to make a plunger pump operated by a eccentric on the camshaft but I have changed in favor of a Archimedes screw pump fitted under the cylinder, belt driven from the camshaft 1-1 ratio.

P1012835.JPG

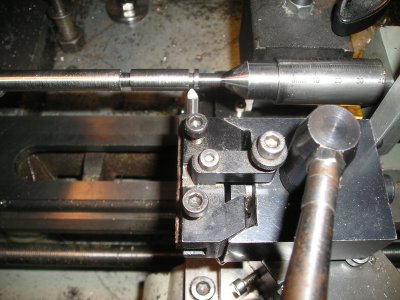
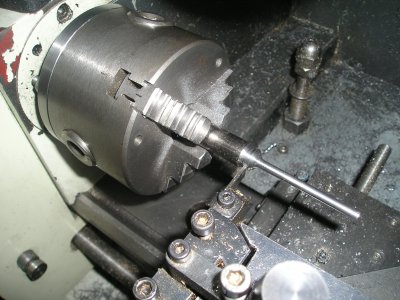
Cutting the 2mm pitch thread.

P1012841.JPG

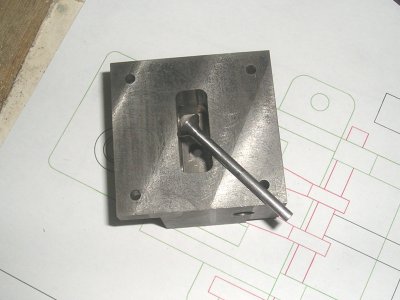
Drilling the housing

P1012840.JPG

The parts so far.

Slowly Slowly.

Brian.

P1012835.JPG P1012841.JPG P1012840.JPG
 
This is realy impressive!
 
Last edited:
Thanks Torbo there is a long way to go yet.

Brian.
 
I have acquired some stainless steel that just may be suitable for the valves.
so I have made one to see if it looks OK.

P1012845.JPG

Parting off the embryo valve.

P1012846.JPG

after tidying up it looks good

P1012847.JPG

It fits well Just needs to be bought to length when i have the rockers and cam made,

Now I have to make the other one.

Brian.

P1012845.JPG P1012846.JPG P1012847.JPG
 
Now I have the valves in place the and the holes for the base plug are no longer needed as a guide. They can get the threads cut to take the
base plugs. and spot face to locate the washers.

P1012850.JPG

Next job is to make the plugs. so I am in the process of hacking down a scrap stainless shaft to use.

This is making the 7x12 work for it's living.

P1012852.JPG

Then it will be screwcutting the thread, and milling the Hex.

Onwards and Upwards. Brian.

P1012850.JPG P1012852.JPG
 
Back
Top