2016 POTD Thread Archive

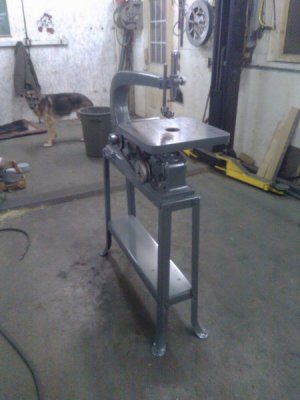
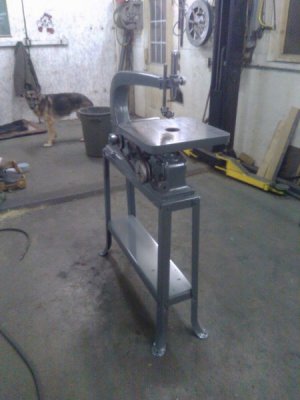
Have most of the saw assembled. Still need to wire the motor, find a light fixture similar to the original, replace the tubing from the air pump and manufacture a missing jaw for the top blade clamp.
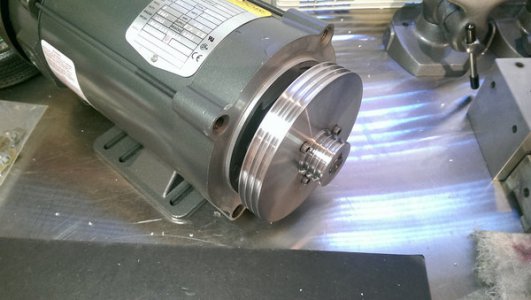
I tired the variable speed drive before I painted it. The rebuilt pulley works great, adjusts the speed from 780 to 1800 SPM.

bFjbXuak4lEmd_5GsUTCjabthCNGMjXHXlp_RW9hWy6IQTZrZwVTAXeQ8zd0XY9lfnHgZpCmMvu8puOJTB=w954-h1271-no.jpg

Quality control approved from the background.

Greg
 
Nothing like looking up parts for your lathe (or whatever) on eBay to make you want to part out your lathe so you can afford upgrade to a better one, and then retire early. I think people think these things are made of solid gold.

I could not agree more! The K in SBL 10K stands for Karat.
 
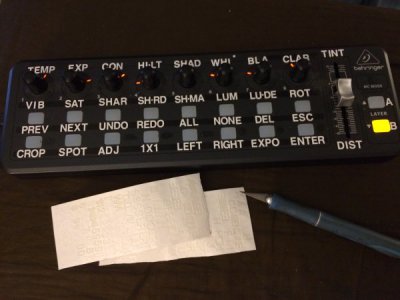
anyone still use old school graphics?

love these old letters for special projects

IMG_1138.JPG
 
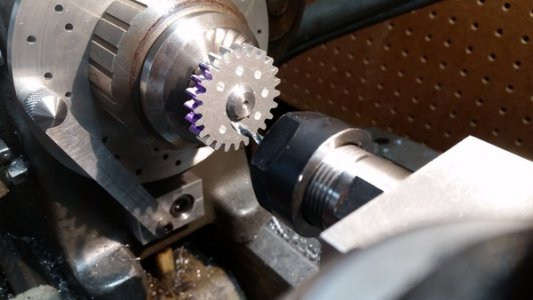
I managed to finish my lathe indexer, drilling jig project.

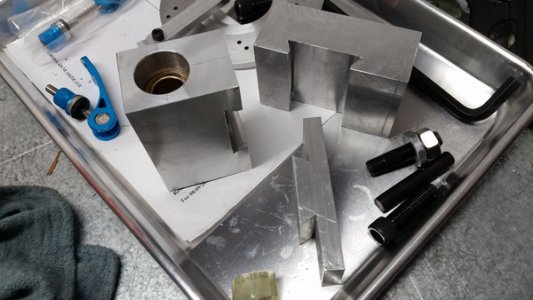
My previous attempts to mill out an AXA tool holder did not go well. I decided to start out by milling up a gauge block so I could test the dovetail to see if it was the right size (lower right in picture). I was pretty happy with the dovetail I cut (upper right) until I realized it was on the wrong side of the block. Next try (left side) was a true success.

20161028_213148_zps2filhrlp.jpg

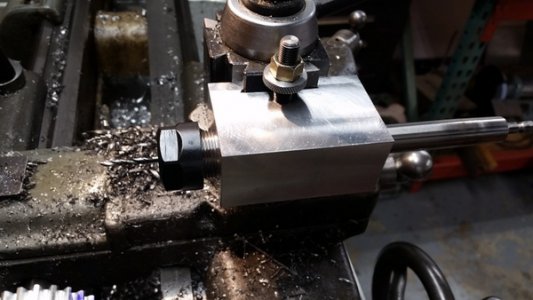
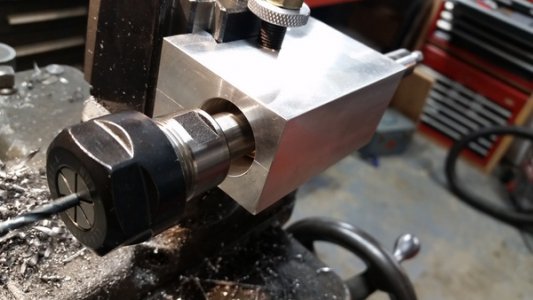
I was pretty stressed with how I was going to bore the hole and set the bushing for the ER20 chuck. My local hard ware store actually had metric bushing that fit the chuck for about $10 each. Seemed like a good deal as I was afraid I would need to ream out a 5/8" bushing.

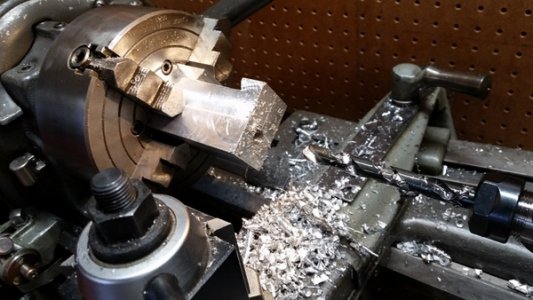
I finally decided to make the hole on the lathe.

20161028_151029_zpsi88yoxcl.jpg

The block is set up so that when I am drilling at a right angle to the lathe axis, the chuck is recessed 1/2" into the block to make more room.

20161030_164915_zpstfvhy3wz.jpg

20161030_164927_zpsm1bkgwny.jpg

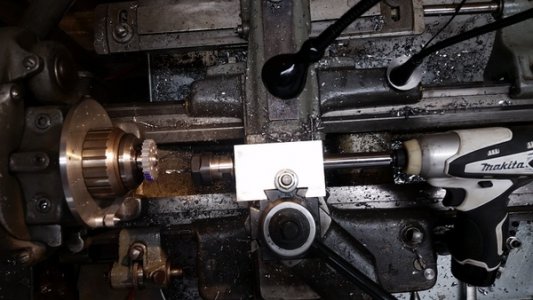
When drilling with the axis of the lathe, where there is more space, the block extends toward the head stock.

20161030_164701_zpszerh4ifg.jpg

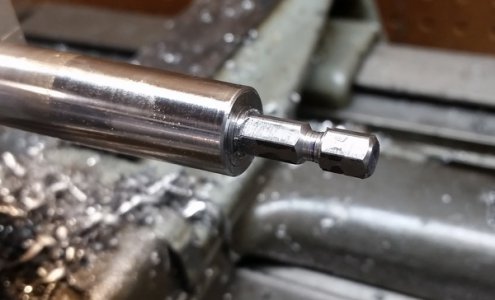
I decided to machine a 0.25" hex quick connect fitting on the end of the ER20 collet chuck. That way I could quickly connect and disconnect the drill.
20161030_164810_zpsdm528g8r.jpg

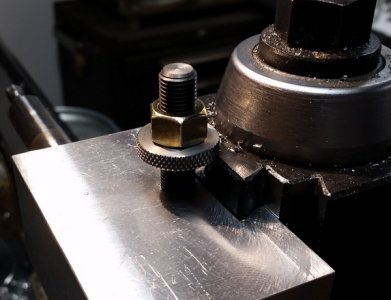
I was reasonably pleased with how the height adjustment came together.

20161030_164840_zpsodpim2er.jpg

And I made some test holes just to see if it really worked.

20161030_164721_zpsptgvn8yt.jpg

A nice end to the weekend.

I figured I would call it a day before I made a mistake and screwed something up.
 
Have most of the saw assembled. Still need to wire the motor, find a light fixture similar to the original, replace the tubing from the air pump and manufacture a missing jaw for the top blade clamp.
I tired the variable speed drive before I painted it. The rebuilt pulley works great, adjusts the speed from 780 to 1800 SPM.

bFjbXuak4lEmd_5GsUTCjabthCNGMjXHXlp_RW9hWy6IQTZrZwVTAXeQ8zd0XY9lfnHgZpCmMvu8puOJTB=w954-h1271-no.jpg

Quality control approved from the background.

Greg

There's just no comparison between that and the flimsy ones that are sold today.
 
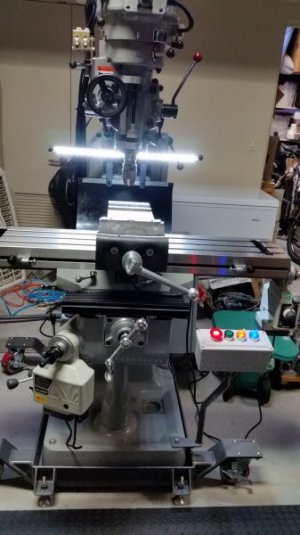
This is more like project of the weeks, that I finally was able to complete the wiring today. I modified the stock VFD control system on an Acra LCM-42 mill so it can use momentary buttons to control start/stop, added an auto start feature, and auto start with auto reverse for threading and a coolant circuit that operates when the spindle is running. The VFD motor also had an electric fan that ran continuously, I rewired this to only run when the spindle is operating and a timing relay continues the fan for 5 minutes after the spindle stops.

Fortunately the mill came with a large control cabinet for the stock VFD and relay interlocks. The control pod was mounted to a metal stalk attached to the base of the mill. The momentary controls are very convenient for start/stop operations, and other control functions are in the same pod.
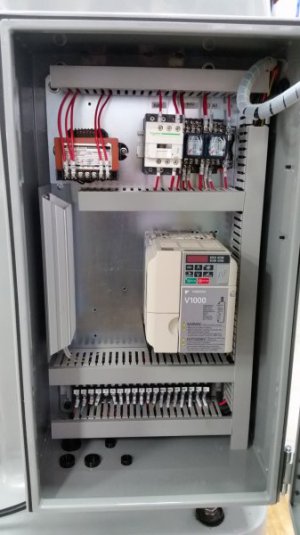
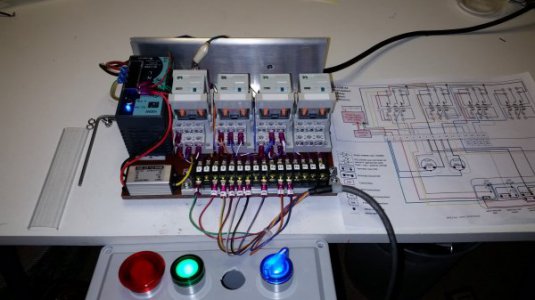
LCM-42 Electrical Cabinet.jpg 20161011_172728.jpg

Control system being bench tested.
20161007_210828.jpg

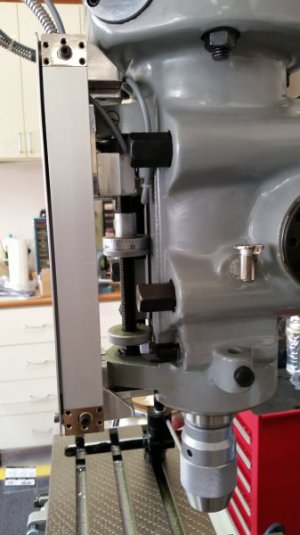
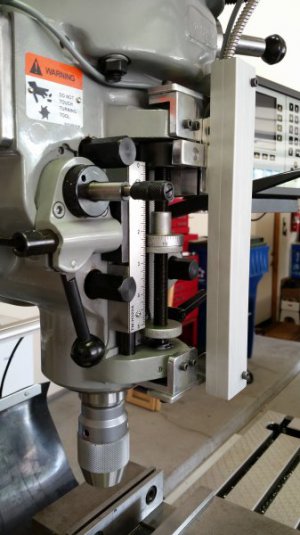
Installed control system, fan timer relay, VFD choke and fusing for external sockets. The spindle has two trigger proximity sensors, one is for the auto start/stop which is triggered when the spindle is within 1/4" of the 0 full up position, the other is triggered by the spindle stop, so the auto reverse position can be adjusted. The auto-reverse is independent of the set spindle direction, i.e. it will always reverse the initial direction of the spindle you choose. I added a DRO system so the sensors needed to take into account the position of the magnetic DRO scale mounting, the sensors are very small units. Overall, everything was very compact and does not interfere with any of the mill head controls/adjustments.
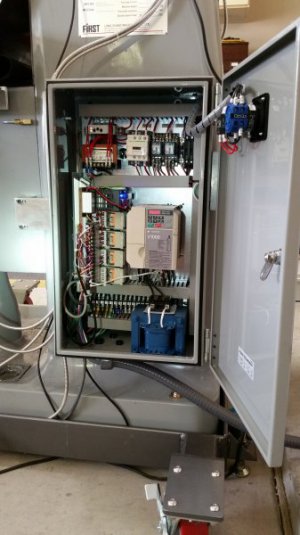
20161030_130823.jpg20161030_130317.jpg20161030_130300.jpg

A short video showing the system operating. The mill is almost completely silent at speed, other than the electronic motor fan which runs in the background.

A lot of the time is often done in the planning/system design to work out all the what ifs and system logic. Firestopper (Paco) helped with welding up the control pod. Also the logic signal lights to tell you the system status. The figuring out the parts and the fitment, and this changes as you start to do the install and figure out how it is going to fit. Was happy that it all worked as planned.
Mark
 
Last edited:
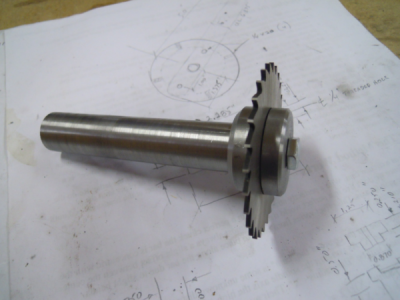
Made an arbor for the new slitting saw. Also did a bunch of clean up in the shop and moved stuff around to make room for the new lathe (King 1236 ... same as Grizzly G4003) that's on it's way from the other side of the country. I was surprised that I was able to make enough room, without having to get rid of stuff.

The bad news is that I've pretty much exhausted all of the lathe projects I could think of so I can't figure out what to make when the new lathe arrives.:bang head:

upload_2016-10-31_12-13-54.png

upload_2016-10-31_12-14-45.png
 
Mark, cool looking mill you have there. Once again you have developed another control system that looks and operates very professional. Nice job.
 
Mark, I Would like to see more information on the quill position sensors if you wouldn't mind. I am having trouble seeing how that part works

Sent from my XT1254 using Tapatalk
 
Back
Top