2016 POTD Thread Archive

This was not enough of a justification to buy a lathe, too? Just kidding. That was a clever way on how you made the fix and it looks better, too.
 
Yes, it does. For brass or bronze, I usually chuck short and turn a 60° point on a bit of waste, and just chuck on a broken tap shank that has a grinding center hole in it in the tailstock. I run it like a dead center, with lube, then cut it off when I an finished.
 
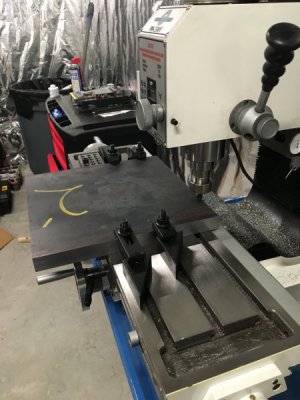
Learned a small radius HSS tool in a flycutter will not yield success working with A36 plate - it will however reshape the tool. Doh! Looking for a carbide insert now - learning has occurred.

I am building my first tooling plate, 12x12x1 A36IMG_2219.jpg

I understand the need/want of a power x-feed, I would also take a powered a powered draw bar. Projects to design and build next.

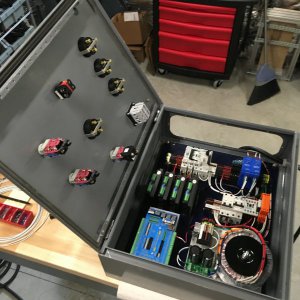
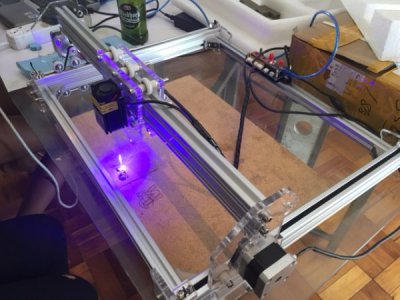
Also working on a CNC router from scratch. I married the electronics to the control box the other day.
IMG_2178.jpg
 
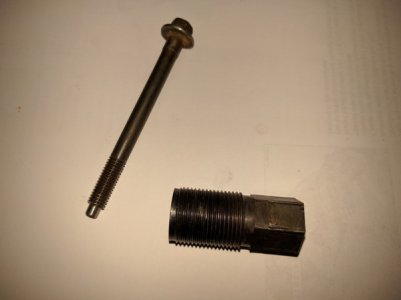
Made a couple of tools to do a job on my motorcycle. Needed to replace the stator and rotor which required a puller for the rotor and a locking pin to secure the crankshaft from turning.

First time cutting metric threads, they're M22 1.5; also had to heat treat it as the rotor is quite tight on the taper and is additionally held with loctite. The manual also specifies heating it to 100 C for removal. The lock pin is just a bolt with the end reduced to fit the lock notch in the crank.

2016-08-29%2015.17.09.jpg
 
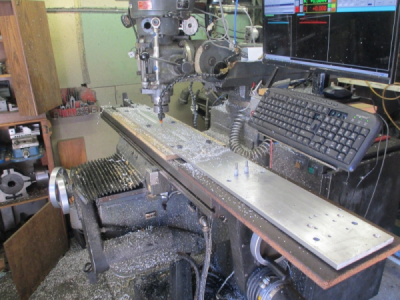
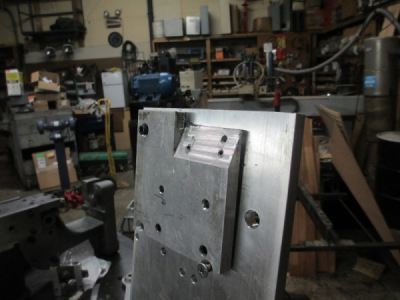
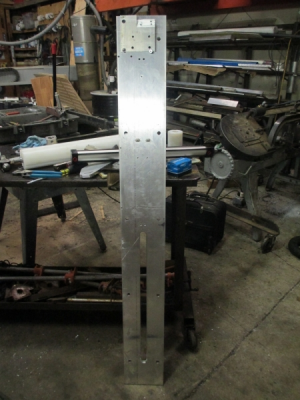
Just a little teaser. I've been working on a little project, OK, not so little, but anyway, one of the pieces is a chunk of aluminum 7 x 60 x 0.5. Working on the slot in the picture. Had to turn it around after drilling the holes on the other end, my x travel is only 32.5 inches.

This picture is just for perspective.
upload_2016-8-29_23-0-46.png

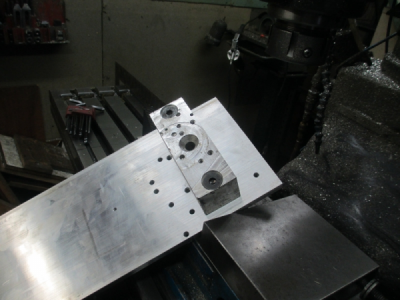
So what I need to do to it next is to put a little ramp on the end like the other piece in the picture. I just set the old piece on the new one for this picture.

upload_2016-8-29_23-3-58.png

This should be an interesting setup, and no I don't plan on rotating or nodding the head. But I do have a plan ;) Stay tuned...
upload_2016-8-29_23-7-38.png
 
Yes, it does. For brass or bronze, I usually chuck short and turn a 60° point on a bit of waste, and just chuck on a broken tap shank that has a grinding center hole in it in the tailstock. I run it like a dead center, with lube, then cut it off when I an finished.
That makes sense. And while I'm sure it wasn't a 60 degree tip (I just guessed at the angle since it wasn't critical and it was off the poorly designed scale on my Logan compound) I'm sure what I had before I filed it round would have worked for such use. For that matter I could make up a simple "reverse center" for that purpose. Infrequent use, reasonably tough geometry (not like the point on a normal center), and not a significant load for this kind of thing, so even mild steel would probably hold up fairly well.

Thanks!
 
OK, as promised.......... A little show and tell of creative work holding ;)

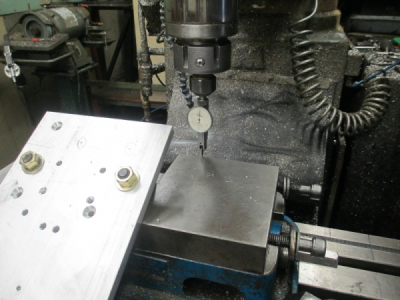
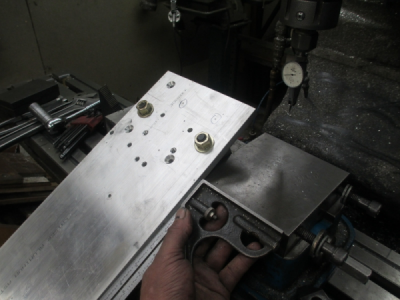
First I bolted a 2 x 2 x 6 aluminum riser block to the back of the workpiece. This gave me something solid to grab onto with the vice. The riser block was a leftover from another project and already had the the bolt holes in it at the T-slot spacing, as does the workpiece.
upload_2016-8-30_13-1-7.png

First I indicated in the vice and since it's a Kurt I'm reasonably confident that the sides are parallel, at least to each other.:cautious: I did this with the vice tightened on the part to make sure the jaws were loaded to get an accurate reading.
upload_2016-8-30_13-5-42.png

Then I squared the workpiece to the vice. There is just enough slop in the bolt holes to get things lined up.
upload_2016-8-30_13-7-27.png

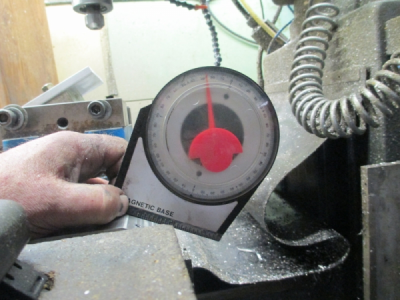
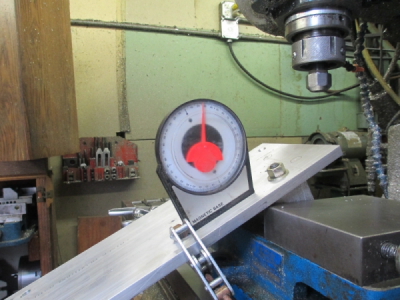
Then confirm the angle on the original part. 26° !

upload_2016-8-30_13-8-59.png

Then set the angle on the workpiece to match.

upload_2016-8-30_13-9-59.png

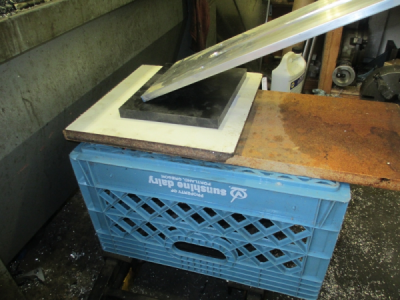
This is done with only the highest precision tools available to mankind. :grin: The Harbor Freight sine adjuster and motorcycle jack. Added to that is a high precision 19-10-12 milk crate block along with a 3/4 inch particleboard shim.
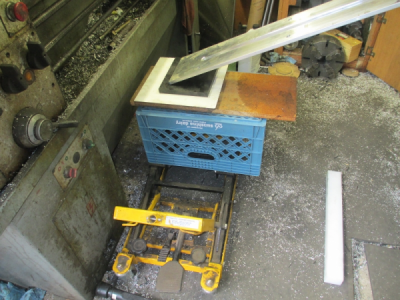

upload_2016-8-30_13-14-0.png

A closeup of the high precision, multi directional outboard support bearing. This is a piece of Melamine coated particleboard and a chunk of UHMW. It actually is a really good bearing, very low friction.

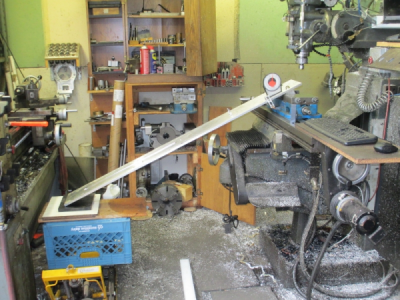
upload_2016-8-30_13-18-20.png

And here it is. I had to pull the hand wheel off of the Y-axis for clearance. If the lathe and mill were much closer I would have had to rotate the mill to get clearance.

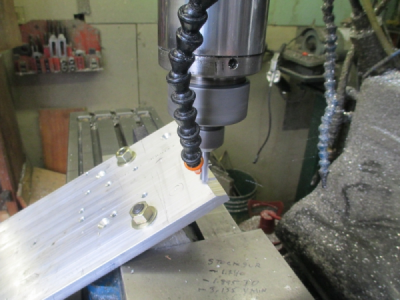
upload_2016-8-30_13-20-3.png

And in action. 3/8, 2 flute, solid carbide end mill. 0.060 DOC, 10 IPM, 2400 RPM, 40% stepover. About 95 minutes of cut time. Not pushing it very hard with this setup. It's running as I write this! :)
upload_2016-8-30_13-24-43.png
 
Last edited:
Jim,

NASA would be proud! You have a unique ability to apply the simplist solutions to achieve the desired results.

Tom S.
 
Back
Top