-
Welcome back Guest! Did you know you can mentor other members here at H-M? If not, please check out our Relaunch of Hobby Machinist Mentoring Program!
You are using an out of date browser. It may not display this or other websites correctly.
You should upgrade or use an alternative browser.
You should upgrade or use an alternative browser.
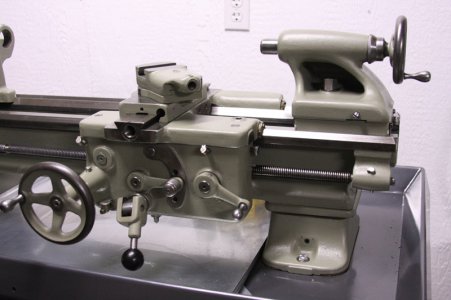
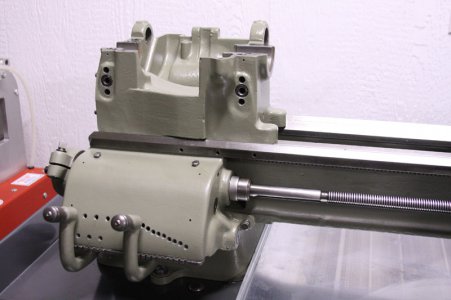
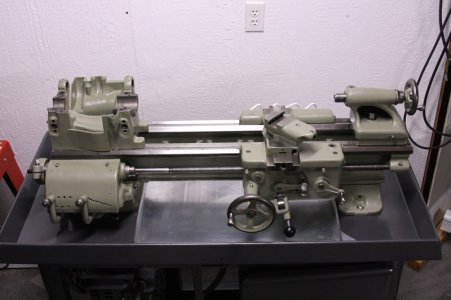
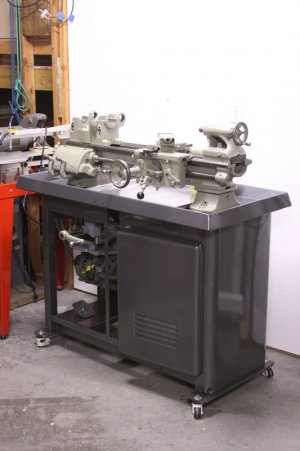
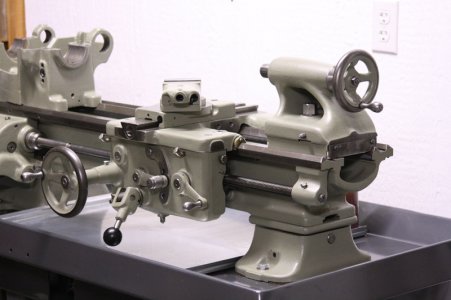
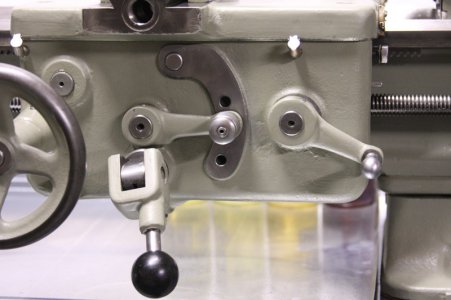
1965 Heavy 10 Rebuild
- Thread starter rw1
- Start date
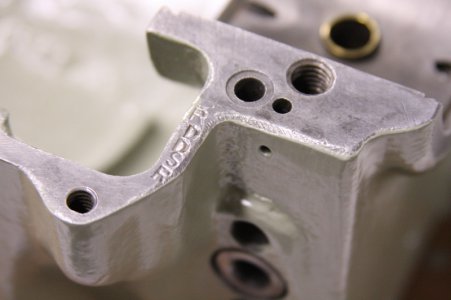
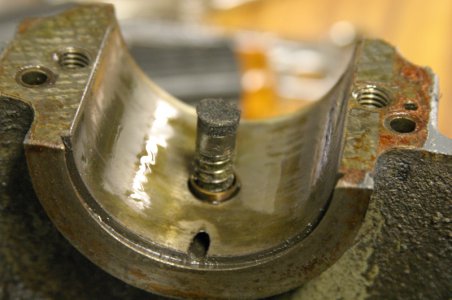
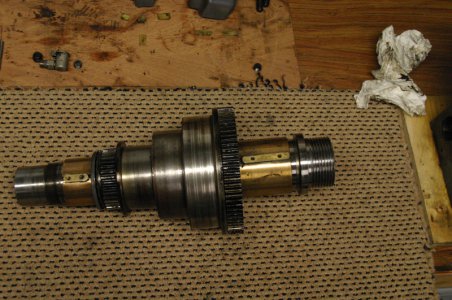
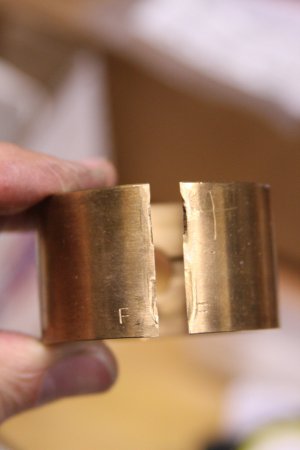
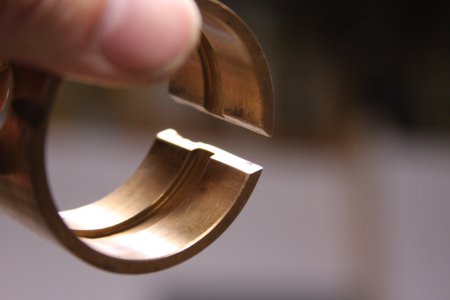
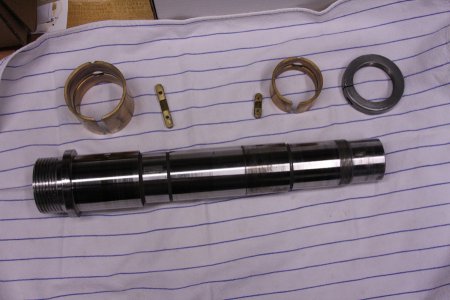
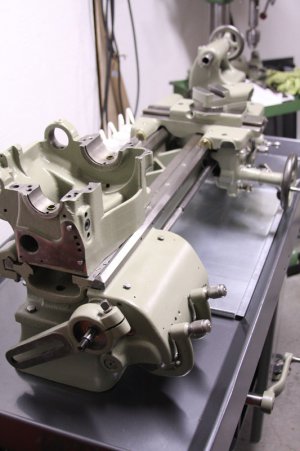
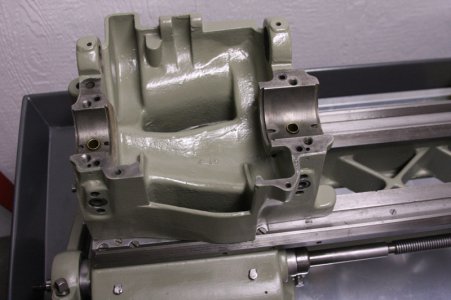
Two of the four Cap Shims were piecemeal -- other two original SB brass @ 0.015". The expanders were in their PROPER Place upon inspection -- but somewhere down the line the rear sleeve bushing did not have the expanders installed properly (i.e. -- smashed down on top). Machine did run cool before I tore it down - spindle nicely turned by hand - so it should be okay after I clean up a few burrs.


Have you ever gone back and looked at your thread to see how far you have really come? I just re read yours, very cool indeed. I did re read mine also the other day, wow it was rusty! It's pretty fun to read a guys restore from start to finish and watch the transformation. Great work my friend, she's looking good.
Greg
Greg
Happy New Years Day 2013!
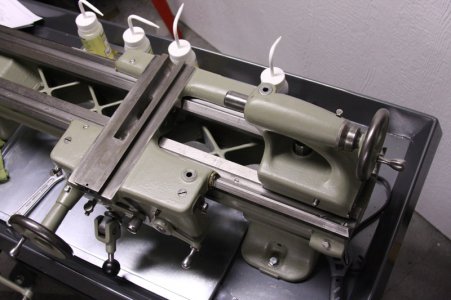
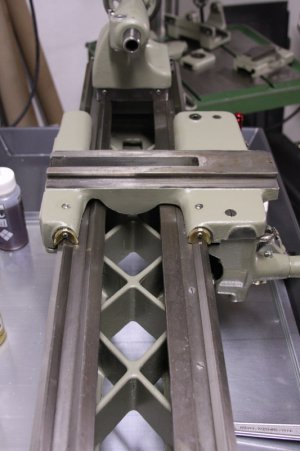
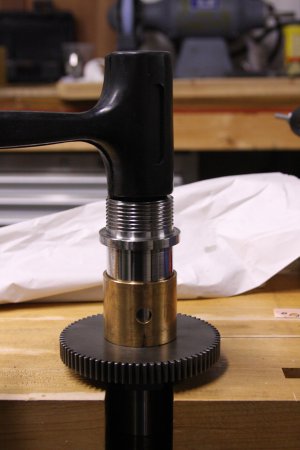
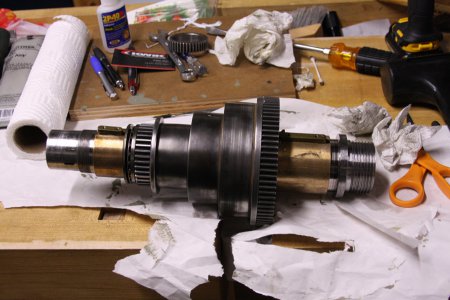
Assembly continues a bit at a time (and I do mean just a bit...).
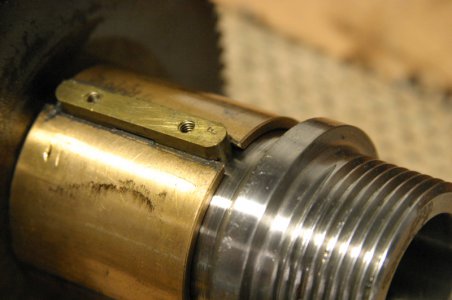
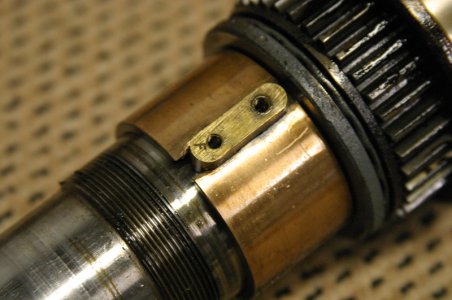
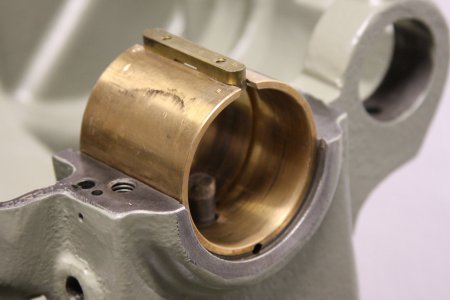
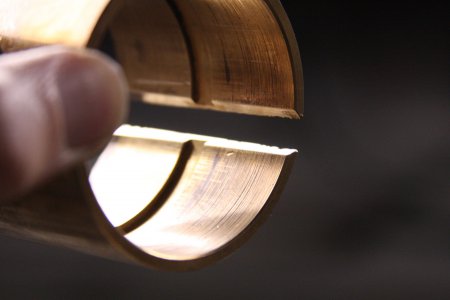
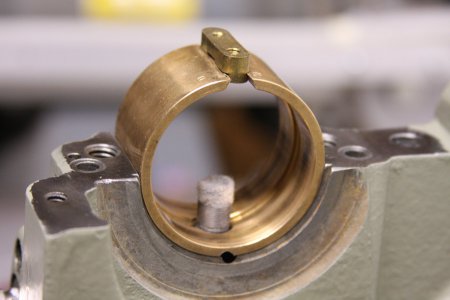
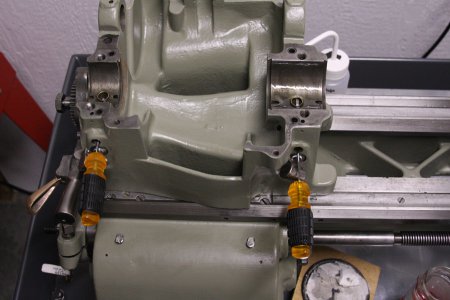
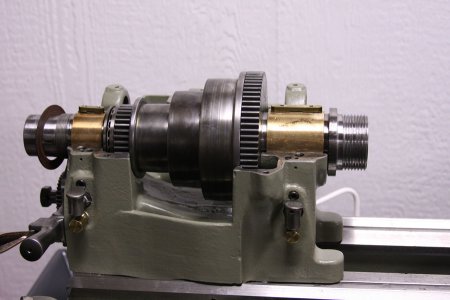
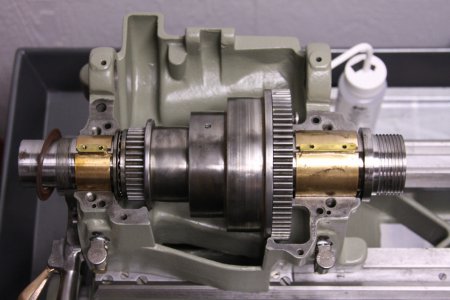
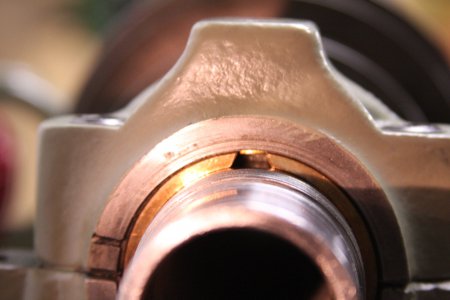
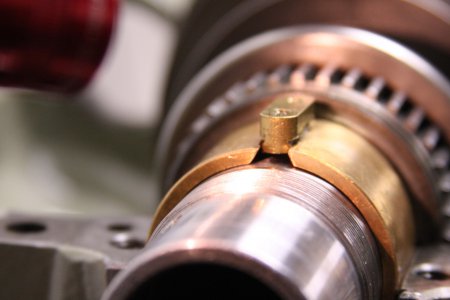
Rear Caps have 0.018" shims to create just enough lift clearance of 0.0008". I filed away the mushrooming imprints that were on the rear bearing. The expanders look like they were installed on top of the bearing at one time - instead of sliding in the dovetail way. Both expanders are working their magic though -- tightening down the Bearing Caps puts a clamp on the spindle, but tightening (pulling up) the expander key creates clearance as they should. Notice how far up the rear expander rides up and nearly through the rear bearing!! One cannot see how the front expander is working, but it was in much better shape and I barely had to file it -- so my guess is the expander is better mated to the bearing gap than it is in the rear.
Front caps have 0.015" shims, but this has too much clearance at 0.002"-- so I'll adjust. I've run the machine a bit to get a feel for how things are going. Very quiet and just the click-click of the belt hitting the Cone Pulleys....
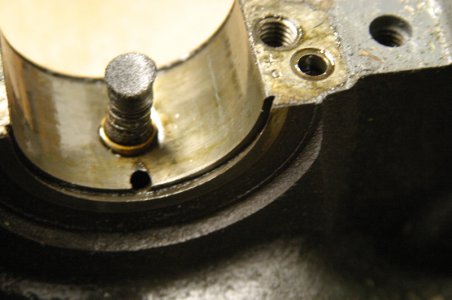
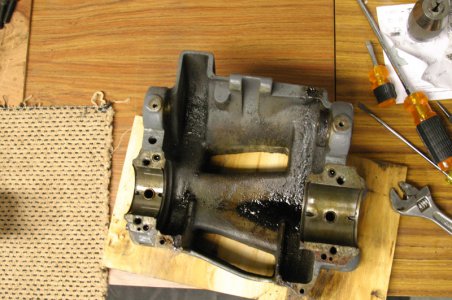
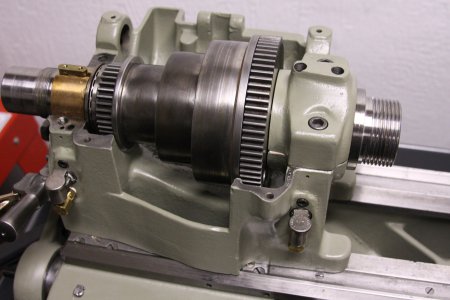
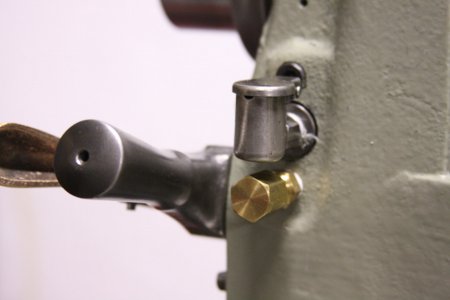
Added some extension brass sleeves to the lower spindle drainage holes - to allow a clean(er) way to drain/flush the spindle oil.
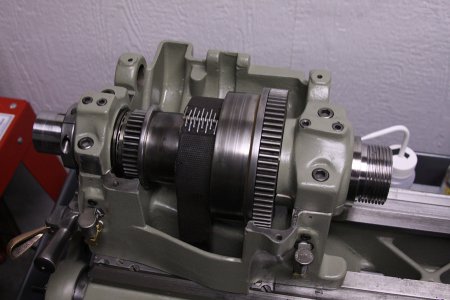
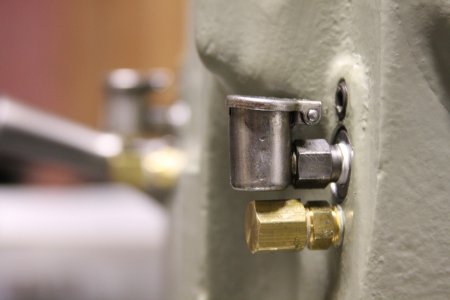
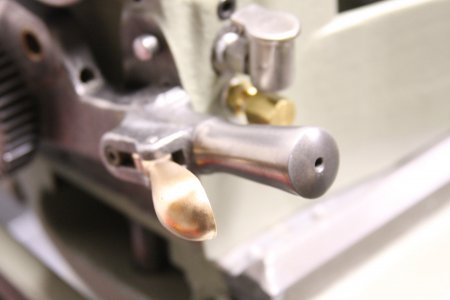
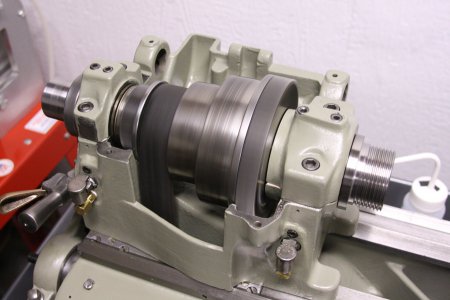
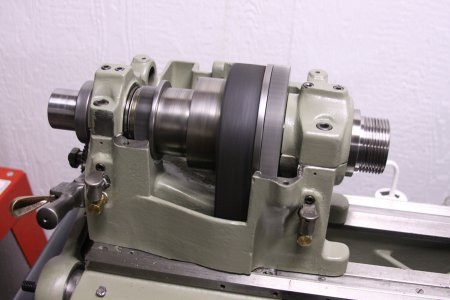


Happy New Years Day 2013!
Assembly continues a bit at a time (and I do mean just a bit...). Rear Caps have 0.018" shims to create just enough lift clearance of 0.0008". Front caps have 0.015" shims, but this has too much clearance at 0.002"-- so I'll adjust. I've run the machine a bit to get a feel for how things are going. Very quiet and just the click-click of the belt hitting the Cone Pulleys....
Added some extension brass sleeves to the lower spindle drainage holes - to allow a clean(er) way to drain/flush the spindle oil.
Awesome progress, great tip on the oil reservoir drain tubes, when I change my oil I'm gonna steal your idea!
Awesome progress, great tip on the oil reservoir drain tubes, when I change my oil I'm gonna steal your idea!
You keep me going Greg!! Thanks for the encouragement!!
You keep me going Greg!! Thanks for the encouragement!!
Funny! I am a little jelous though, I really want to get mine fired up too, great to see yours spinnin! I am at the point where I need a vfd to get mine completed, made a phone call yesterday but with the holiday no one was there. I'm so close. You encourage me too!
Funny! I am a little jelous though, I really want to get mine fired up too, great to see yours spinnin! I am at the point where I need a vfd to get mine completed, made a phone call yesterday but with the holiday no one was there. I'm so close. You encourage me too!
Greg -
Those guys at FactoryMation are very nice. I will have to tackle the "right" way to wire the machine later. Now, I just use "quick connects" from Lowes for testing. I'm using an older TECO FM50 - but certainly adequate. From what I know, the Motor is a direct connect to the VFD, then later.... all the start, stop, rev, fwd, Potentiometer controls go directly to the relays on the VFD -- and the VFD will handle it. It is great having 3 ph motors run off of the VFD!


