1965 Heavy 10 Rebuild

rw1

Active User
Registered
Joined
Aug 13, 2012
Messages
95
I acquired this little Toolroom lathe bad in mid-August. Always wanted a metal lathe and this SB 10L seemed like a stout machine in a small footprint....exactly what I needed.

I have been working periodically on the lathe and learning from all the great SB threads (past and present) on this forum. It is so fun to look at what others are doing and a great learning experience. My goal is to get this complete by Christmas - it will be my present!

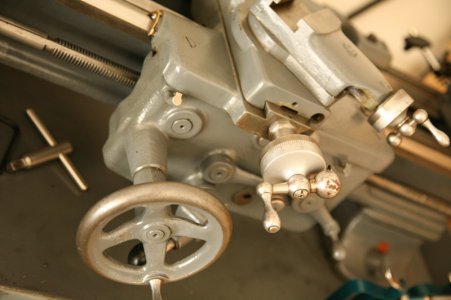
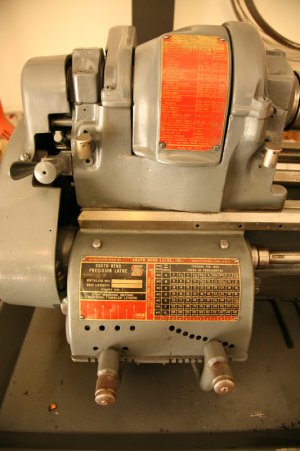
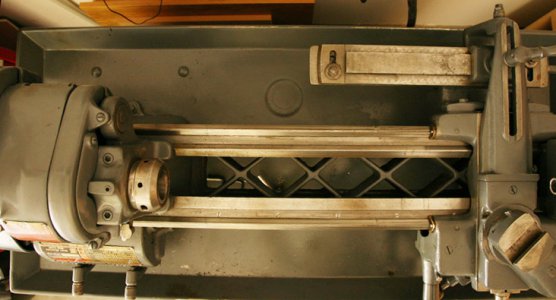
Here is the machine as purchased 3 months ago. Dealer put a spray coat of dark gray over the machine before selling. I really didn't intend to buy and restore the machine, but bearings don't last 47 years....gears need cleaning....parts need repairing....wicks get caked up, etc. You guys know -- it was time. Here is the machine as purchased with the photo show to follow
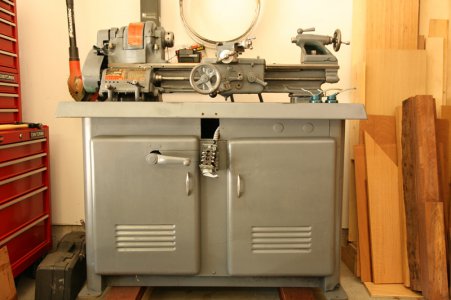
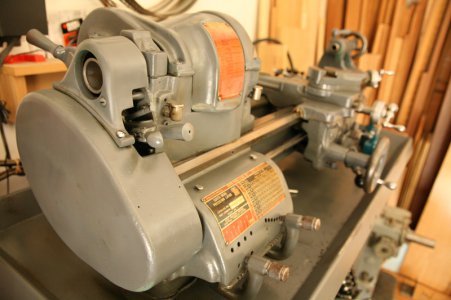
IMG_8471.jpg IMG_8469.jpg IMG_8468.jpg IMG_8441.jpg IMG_8498.jpg
 
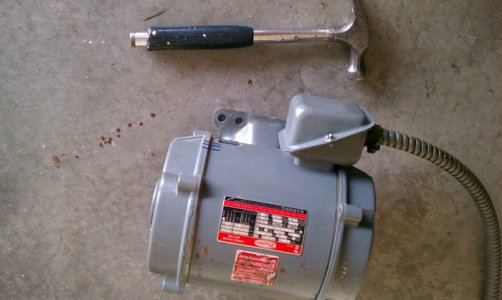
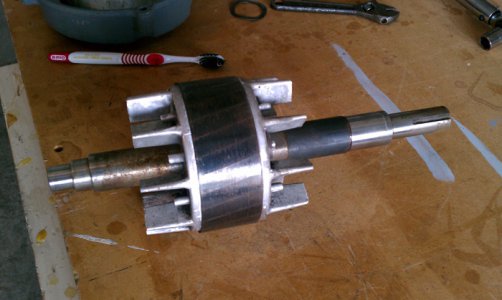
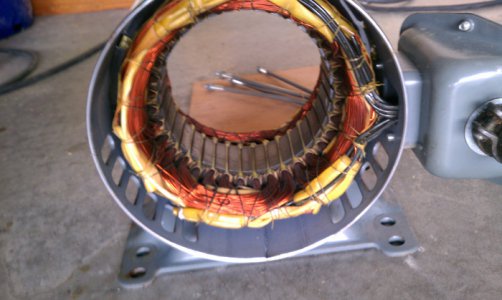
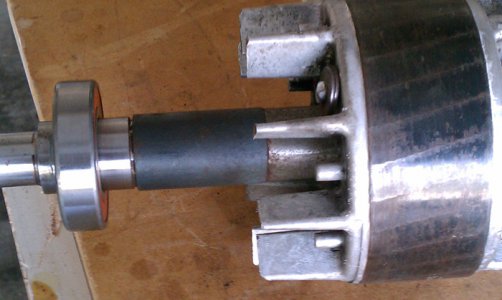
I first started teardown with the 1 hp motor. 3ph motors are dead simple to work on. Very pleased with the windings and condition However, the bearings had a little grind noise in them, and the larger 6206 was shot. Both bearings replaced and a much happier motor was ready for more service.

IMG_8478.jpg IMG_8502.jpg IMAG0796.jpg IMAG0792.jpg IMAG0793.jpg IMAG0798.jpg
 
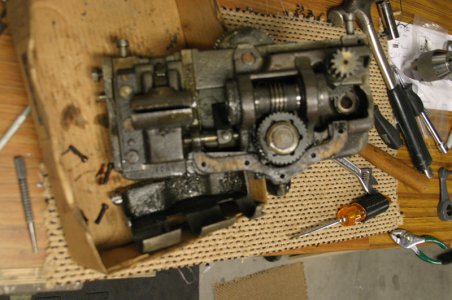
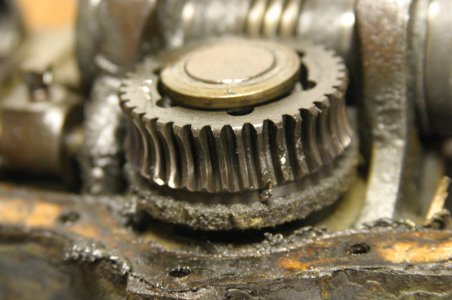
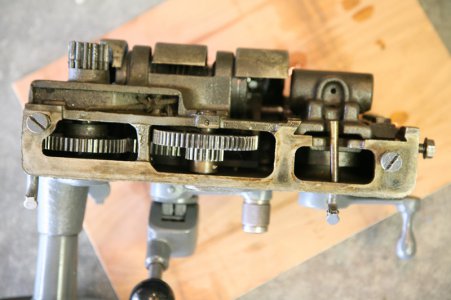
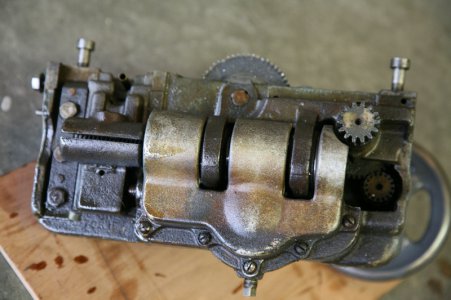
Apron was pretty good shape. I was pleased to find all the wicking attached. The 3 position lever was quick sticky though, difficult to operate. Also, the oil tubes were clogged, as the left upper reservoir was not getting oil - and the half nut with poor lube access.

IMG_5322.jpg IMG_5325.jpg IMG_8510.jpg IMG_8514.jpg
 
I would have bought that too! Looked better than mine did when I bought it! It brings back memories of the in the begining part of a restore. All the little things you find that need attention and fixing. It's so worth it, and fun, and gratifying.
 
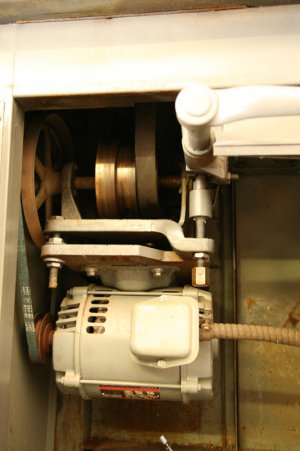
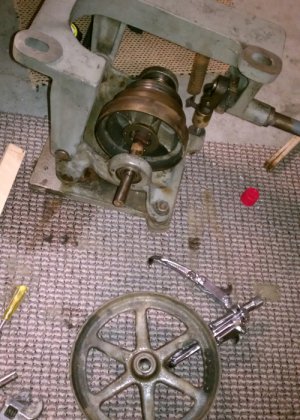
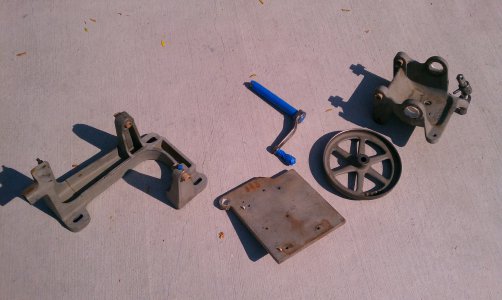
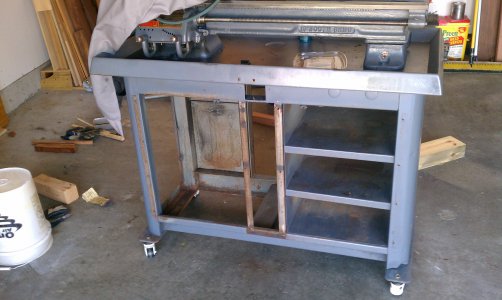
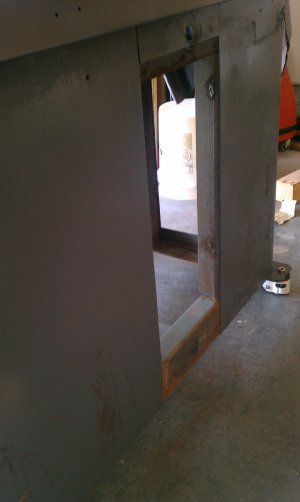
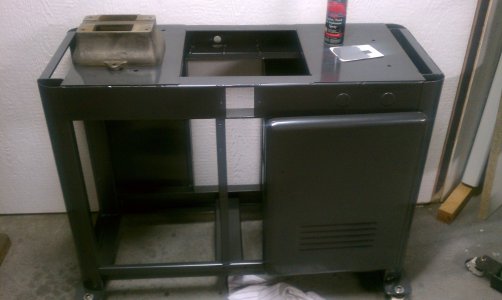
Countershaft assembly removed and steel cabinet stripped down. There is a left side access panel for belt speed changes.

assembly.jpg SB- Countershaft.jpg IMAG0803.jpg IMAG0845.jpg IMAG0846.jpg IMAG0847.jpg IMAG0848.jpg
 
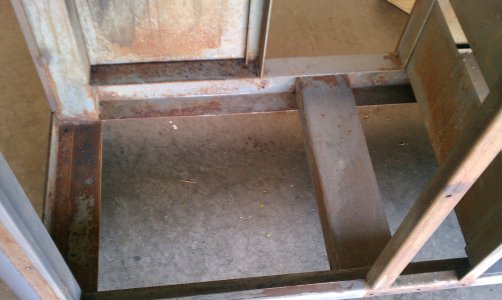
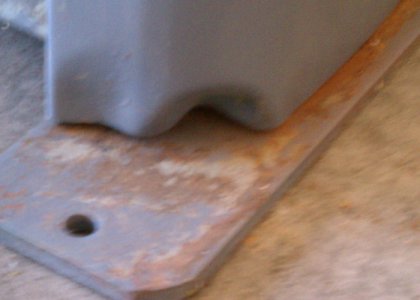
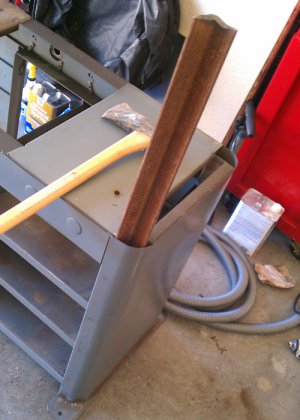
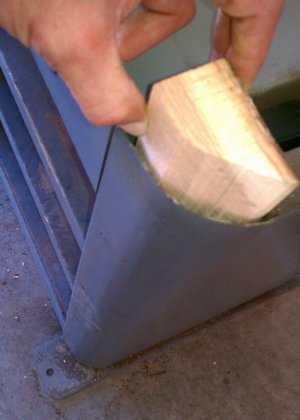
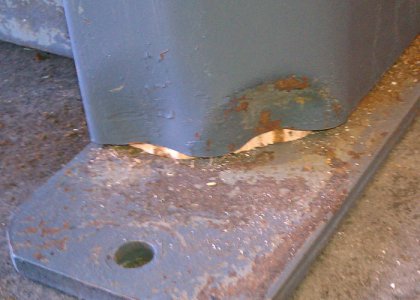
Some of the curved edges of the steel cabinet were dented around the lower edge. I used some angle iron - then formed some wooden patterns that increased in size to spread the dents back out. Worked pretty well.....

IMAG0875.jpg IMAG0878.jpg IMAG0881.jpg IMAG0883.jpg
 
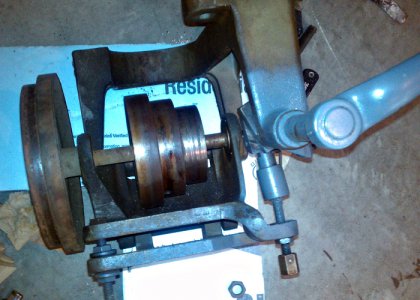
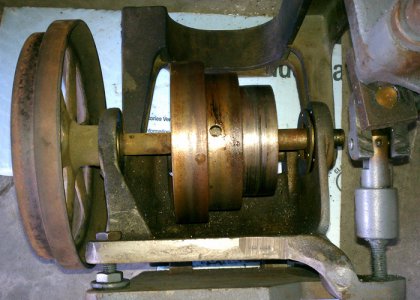
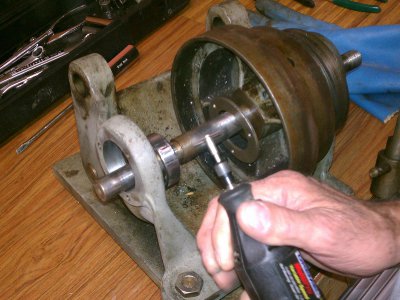
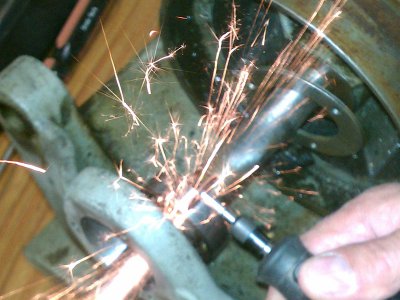
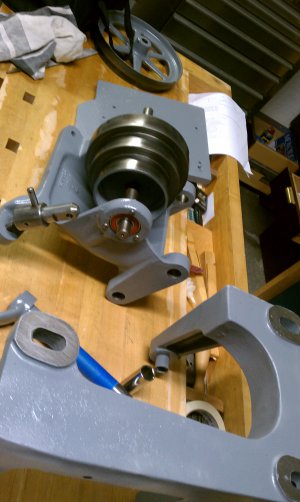
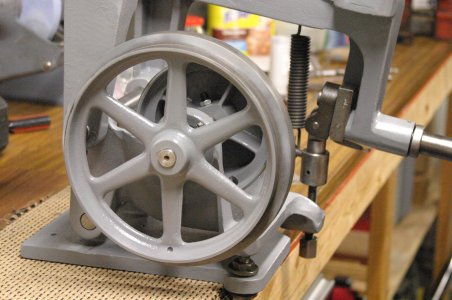
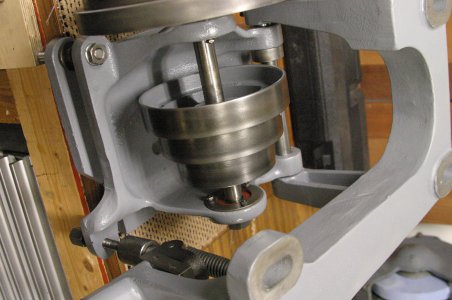
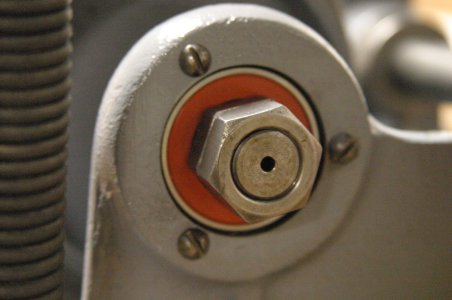
I had trouble getting the bearings out of the Countershaft. One pulled off nicely - the other I used a Dremel cutoff disk. Man, that disk cut thru it like butter! This is an easy procedure if a bearing is stuck. Cleaned, wire wheeled, and painted the Countershaft assembly with Rustoleum Dark Machinery Gray. Put new Bearings in the Cone Shaft. Now, all the Under Cabinet is complete and like new!

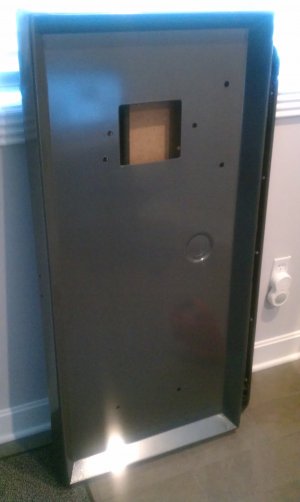
Cabinet was sent out and sandblasted - powder coated. Cost was $150 total and well worth the time and money - the cabinet looks terrific and has a super durable paint coating on it now. The old "paint over rust" cabinet I inherited is now repaired and properly painted.

IMAG0836.jpg IMAG0838.jpg SB_0045.jpg SB_0058.jpg SB_0059.jpg IMG_5271.JPG IMG_5272.JPG IMG_5276.JPG
 
Excellent work, that cabinet looks great, and I agree well worth the money, plus powder coat is super durable. Nice work on the under drive, I didn't do mine as the bearings worked great, if they ever take a hike on me I'll do it then.
 
wow another craftman's at work. It looks great and the results are amazing.
 
Back
Top