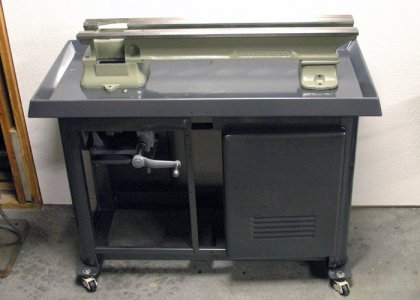
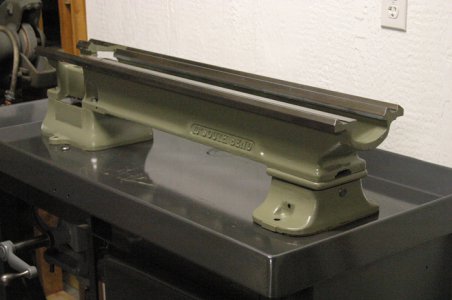
1965 Heavy 10 Rebuild

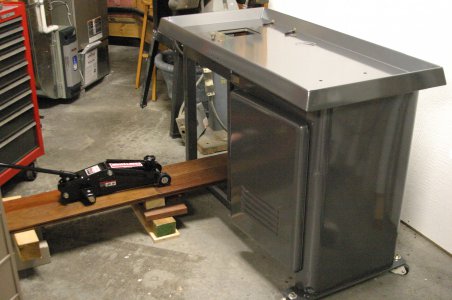
This is how I installed the Countershaft drive:

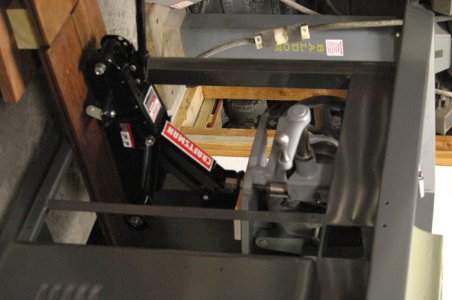
Had some leftover decking 1x6 planks (short cut offs)....and build a little bridge to go under the cabinet. Used a floor jack and lifted the assembly and balanced it on the jack. Had my daughter assist by slowly rolling the floor jack inside the cabinet and lifted the counter shaft assembly upward. Pressed it against the underside of the top to keep it stable, and then installed the 2 1/2" carriage bolts. Lowered the jack and sat the motor on the lift and bolted the motor to the mounting plate. That whole assembly is heavy, and the floor jack saved my back!

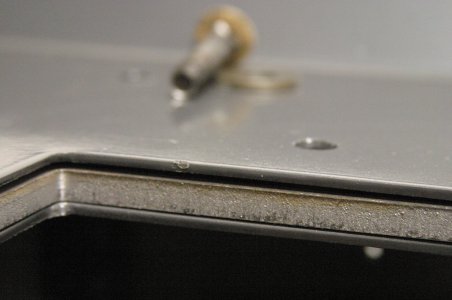
I also installed a thicker 3/8" steel plate on top of the cabinet and under the drip pan. I milled out the belt opening at a friends house with all the proper bolt locations too. Now this baby's got some good support with no sag!
IMG_5279.JPG IMG_5280.JPG
 
I cheated, I had a strong friend hold my motor in place and I put the bolts in, that saved my back! LOL
 
Greg,

You're killing me.....:rofl: Well, really working smart! I love the power of hydraulics!

SB_0111.jpg
 
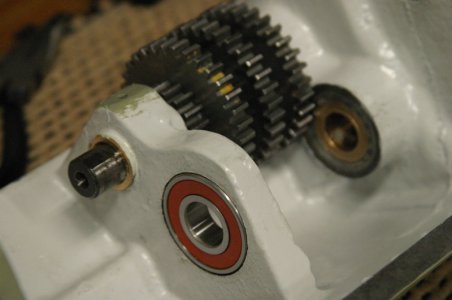
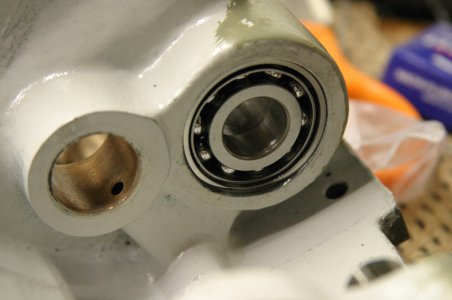
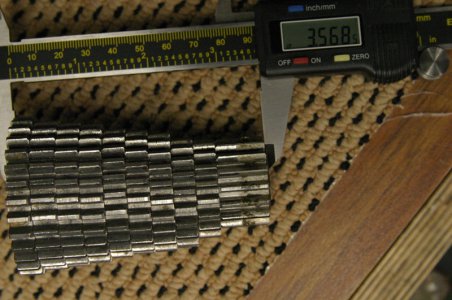
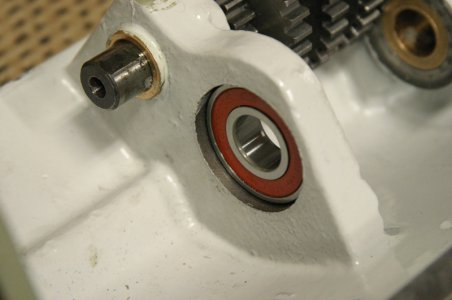
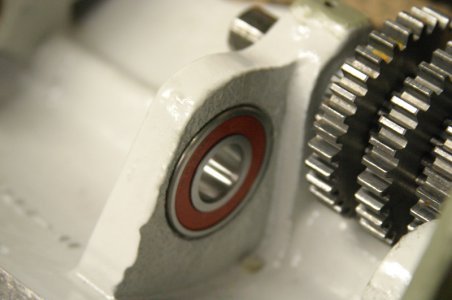
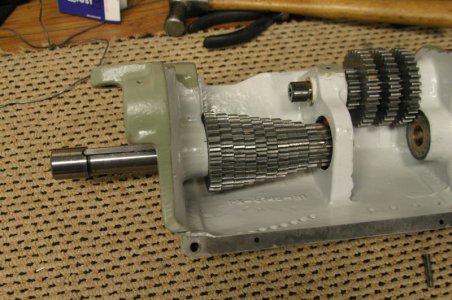
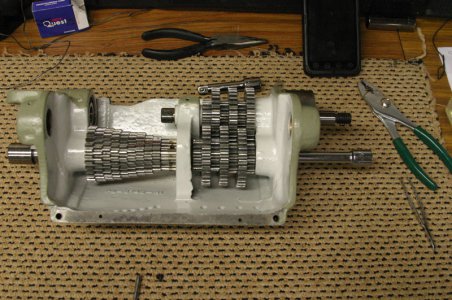
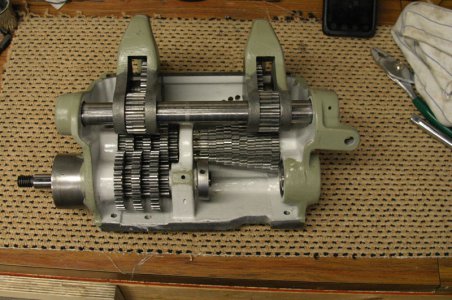
On to the Gearbox... it was filthy, greasy, and caked with swarf. Both interior bearings replaced.

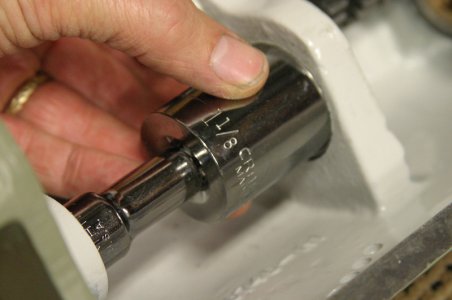
The 10 stack of gears needs to fit precisely with a firm fit between the middle bearing and inner casting. I used a 1/2" drive extension and 1 1/8" socket to match the outer race of the new bearing. This is to prevent damage as it is being pressed into the bore of the gearbox casting. Careful tapping and checking to get it just right. The wicks were clogged also --- the whole interior had been sprayed with "Open Lube" to cover the gears. Lots of cleaning in those oil channels that deliver "type B" machine oil to the shafts.....they were caked too.

IMG_5307.jpg IMG_5308.jpg IMG_5309.jpg IMG_5310.jpg IMG_5312.jpg IMG_5313.jpg IMG_5314.jpg IMG_5315.jpg IMG_5317.jpg
 
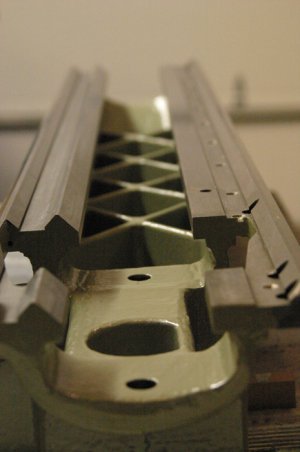
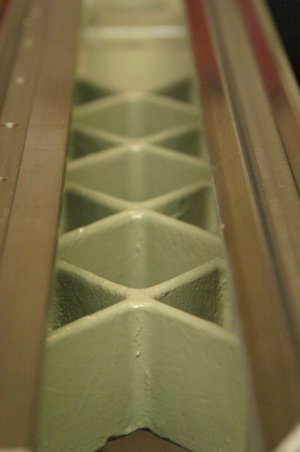
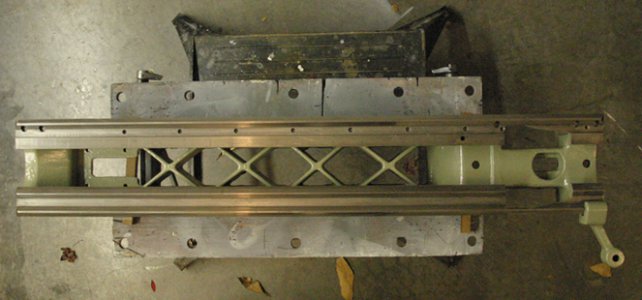
Cleaning the bed took a while. Its the one item I can't use the bench grinder (wire wheel) to clean. Dawn dishwashing liquid, scrub brushes, industrial degreaser, etc....

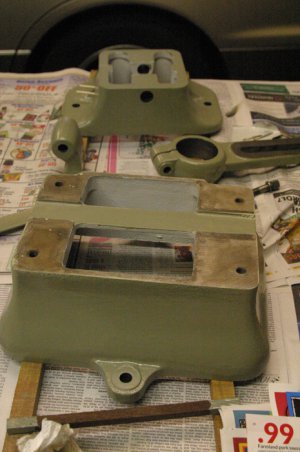
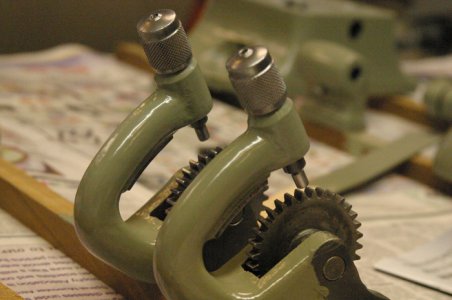
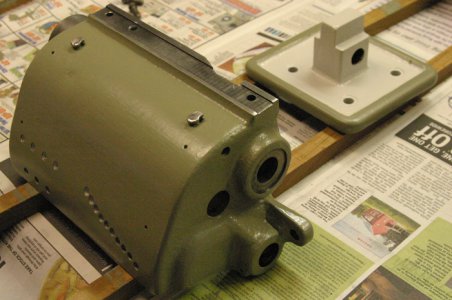
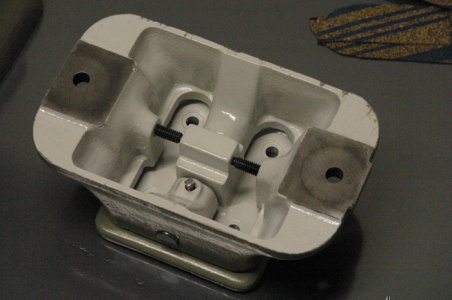
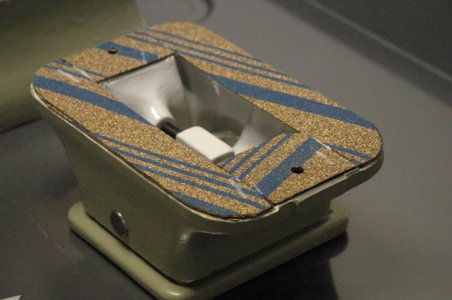
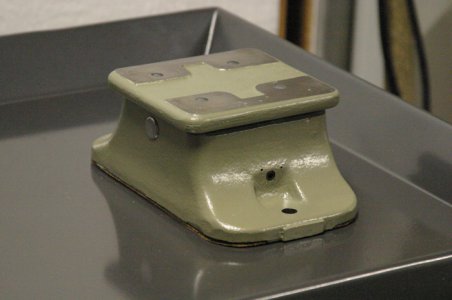
Some more parts painted...

SB_0065.jpg SB_0066.jpg SB_0068.jpg SB_0072.jpg SB_0077.jpg SB_0078.jpg SB_0083.jpg
 
Feet and lathe bed assembled on cabinet.....

Apron, Saddle, Taper attachment, Tailstock next up!

SB_0102.jpg SB_0106.jpg SB_0108.jpg SB_0120.jpg SB_0125.jpg
 
Wow! Looking really good. Funny I painted mine on a workmate also! LOL I love that thing!
 
Wow! Looking really good. Funny I painted mine on a workmate also! LOL I love that thing!

you got that right on the Workmate! You know, it was a bent up here and there, needed some TLC. I took an hour fixing it up and getting a good sliding action so it would be nicer to use -- always something to fix!
 
On to the Gearbox... it was filthy, greasy, and caked with swarf. Both interior bearings replaced.

The 10 stack of gears needs to fit precisely with a firm fit between the middle bearing and inner casting. I used a 1/2" drive extension and 1 1/8" socket to match the outer race of the new bearing. This is to prevent damage as it is being pressed into the bore of the gearbox casting. Careful tapping and checking to get it just right. The wicks were clogged also --- the whole interior had been sprayed with "Open Lube" to cover the gears. Lots of cleaning in those oil channels that deliver "type B" machine oil to the shafts.....they were caked too.

NICE WORK. The paint scheme is very dramatic and offsets the cabinet great. I didn't check the gear length but what fun I had getting it all lined up. Took about and hour. The hard part is over my friend and you will be together soon!!! Keep up the great work

Regards

J
 
Back
Top