-
Welcome back Guest! Did you know you can mentor other members here at H-M? If not, please check out our Relaunch of Hobby Machinist Mentoring Program!
You are using an out of date browser. It may not display this or other websites correctly.
You should upgrade or use an alternative browser.
You should upgrade or use an alternative browser.
Two Timer Build
- Thread starter rdean
- Start date
- Joined
- Feb 2, 2014
- Messages
- 1,217
- Joined
- Feb 2, 2014
- Messages
- 1,217
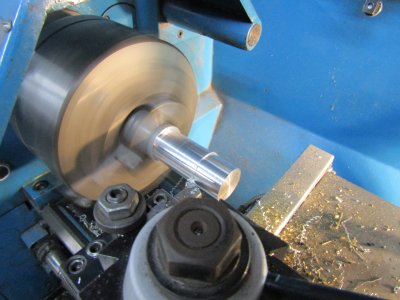
This was piston day and I started off turning some aluminum down to size times two.
The pistons are 1.250 long.
Sorry I was so preoccupied at getting all the measurements just right that I forgot to take any pictures of the next operations but here are the results.
I milled a 0.312 slot 1" down into piston face and widened it out for clearance of the rod end.
I also made two wrist pin bushings and installed in the rods.
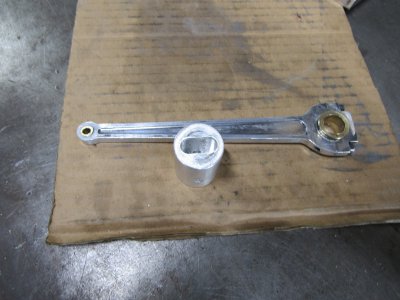
I was trying to hit a piston TDC height of 0.225 below the cylinder head surface. According to my calculations that would place the wrist pin 0.500 from the end of the piston.
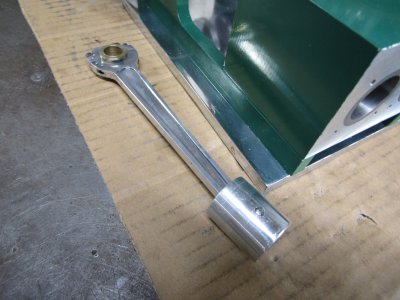
The piston heights turned out 0.227 and 0.233 and that gentlemen is just fine with me. The compression ratio will be very close to 7 to 1 right at my target.
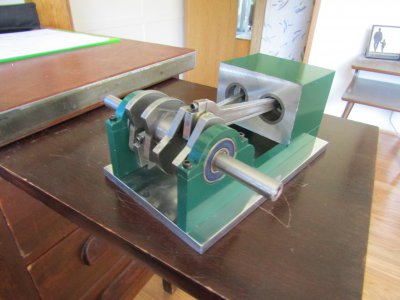
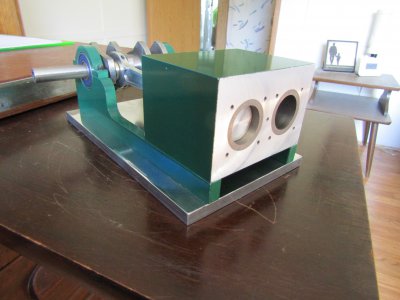
I will be adding the o-ring grooves at a later date as I find it easier to work the rest of the engine with out the drag of the rings just now.
Everything turns smoothly and fits nicely so all my worrying was for nothing.
Thanks for looking
Ray
The pistons are 1.250 long.

Sorry I was so preoccupied at getting all the measurements just right that I forgot to take any pictures of the next operations but here are the results.
I milled a 0.312 slot 1" down into piston face and widened it out for clearance of the rod end.
I also made two wrist pin bushings and installed in the rods.

I was trying to hit a piston TDC height of 0.225 below the cylinder head surface. According to my calculations that would place the wrist pin 0.500 from the end of the piston.

The piston heights turned out 0.227 and 0.233 and that gentlemen is just fine with me. The compression ratio will be very close to 7 to 1 right at my target.


I will be adding the o-ring grooves at a later date as I find it easier to work the rest of the engine with out the drag of the rings just now.
Everything turns smoothly and fits nicely so all my worrying was for nothing.
Thanks for looking
Ray
- Joined
- Feb 2, 2014
- Messages
- 1,217
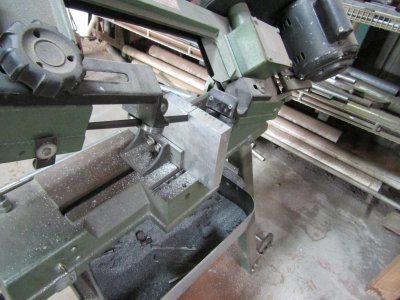
Today is cylinder head day so I started with a piece of aluminum and cut a chunk out on the band saw.
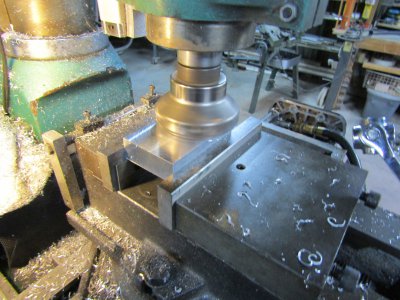
Over to the mill to square it up, surface it, and bring it to the correct size.
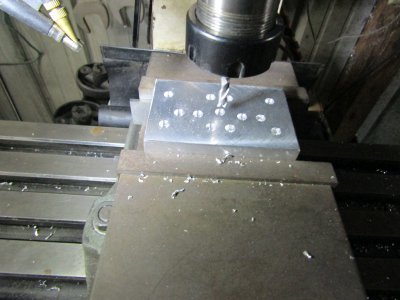
Next was to spot all the holes and mill recesses for the head bolts, valve guides, and spark plugs.
The cooling fins are cut to 0.150 deep and now the head is ready for the holes to be drilled all the way through but not today.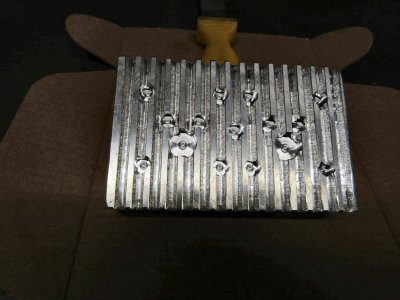
Thanks for looking
Ray

Over to the mill to square it up, surface it, and bring it to the correct size.

Next was to spot all the holes and mill recesses for the head bolts, valve guides, and spark plugs.

The cooling fins are cut to 0.150 deep and now the head is ready for the holes to be drilled all the way through but not today.

Thanks for looking
Ray
- Joined
- Mar 8, 2015
- Messages
- 353
Looks good
- Joined
- Feb 2, 2014
- Messages
- 1,217
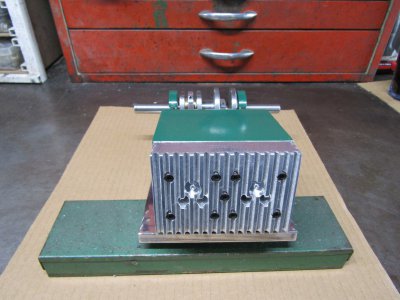
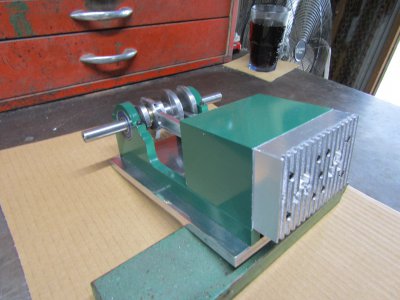
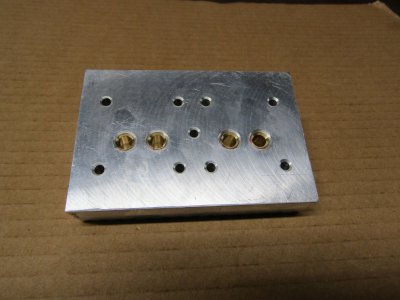
I drilled the holes for the head bolts and the valve guides and what a great feeling it is when they all line up.
Couple of pictures.
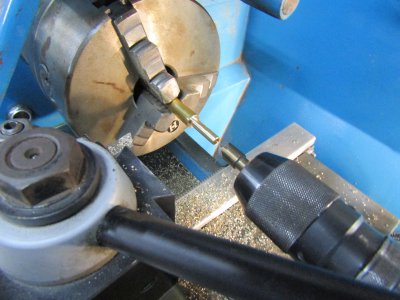
I was on a roll so started on the valve guide cages.
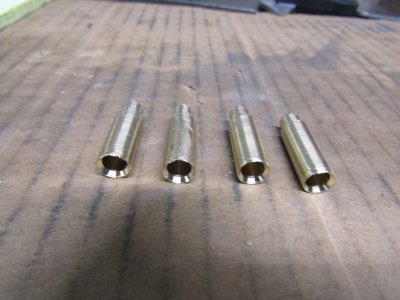
Four made with no mistakes.
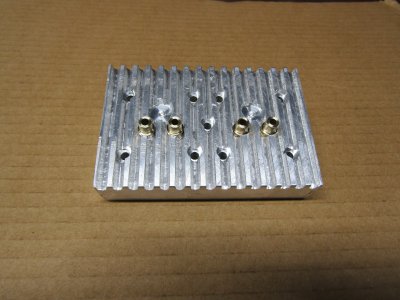
I then pressed them into the head with a drop of Loctite for good measure.
Thanks for looking and thanks for the Likes.
It lets me know if this build is appreciated.
Ray
Couple of pictures.


I was on a roll so started on the valve guide cages.

Four made with no mistakes.

I then pressed them into the head with a drop of Loctite for good measure.


Thanks for looking and thanks for the Likes.
It lets me know if this build is appreciated.
Ray
- Joined
- Mar 8, 2015
- Messages
- 353
Guess next thing is making valves.
- Joined
- Feb 2, 2014
- Messages
- 1,217
Thank you Firstram me too.
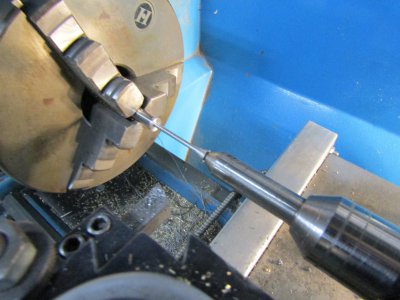
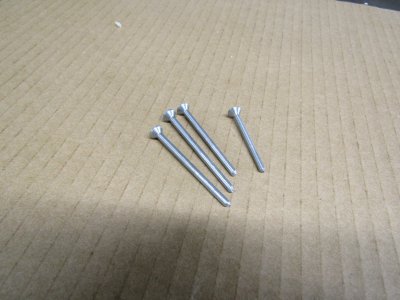
Time to make some valves. I made seven valves today but not to have some extras as I screwed up the first three. The first one the stem was too short so I made sure that that would not happen again but I may have gone overboard with the length. At least it will make easier to grab on to when lapping The next two I just wasn't paying enough attention and made the stems diameter too small. They probably would have worked but they were too loose in the valve guides and I wouldn't be happy.
I started with a 3ft piece of 5/16" drill rod and used over half of it.
Four valves extra long shank.
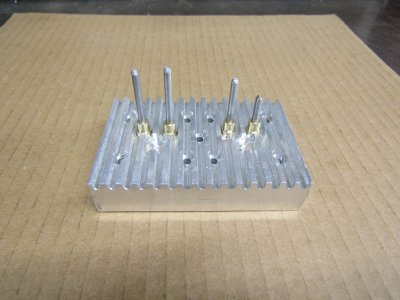
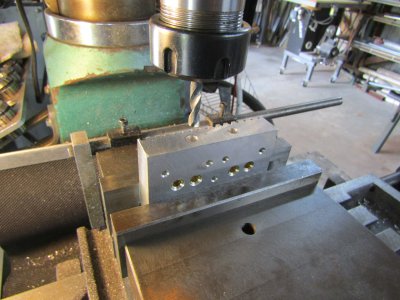
I also drilled and threaded the intake and exhaust ports 5/16".
The holes even lined up with the valve cages as they should.
Thanks for looking
Ray
Time to make some valves. I made seven valves today but not to have some extras as I screwed up the first three. The first one the stem was too short so I made sure that that would not happen again but I may have gone overboard with the length. At least it will make easier to grab on to when lapping The next two I just wasn't paying enough attention and made the stems diameter too small. They probably would have worked but they were too loose in the valve guides and I wouldn't be happy.
I started with a 3ft piece of 5/16" drill rod and used over half of it.

Four valves extra long shank.


I also drilled and threaded the intake and exhaust ports 5/16".
The holes even lined up with the valve cages as they should.

Thanks for looking
Ray

