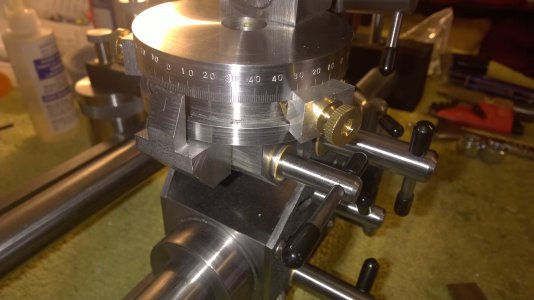
Tool and cutter grinder build

Mark, I for one would love an article on doing the graduations and stampings. Or better yet a video or two on the subject. Yours look so good, One day maybe I will get to where I can do that nice a job. Again it looks nice, and I have learned a lot from you doing this build. Keep up the good work.
 
Mark, I for one would love an article on doing the graduations and stampings. Or better yet a video or two on the subject. Yours look so good, One day maybe I will get to where I can do that nice a job. Again it looks nice, and I have learned a lot from you doing this build. Keep up the good work.

Ditto!
 
Great work Mark! Reworking the dials is the difference between its ok and its done as near as perfect. Please share your method of marking and stamping dials.
 
Great work Mark! Reworking the dials is the difference between its ok and its done as near as perfect. Please share your method of marking and stamping dials.


Thank you. That was how I felt. It was ok the way they were, but now they look professional and that makes me feel better.
 
Mark, I for one would love an article on doing the graduations and stampings. Or better yet a video or two on the subject. Yours look so good, One day maybe I will get to where I can do that nice a job. Again it looks nice, and I have learned a lot from you doing this build. Keep up the good work.

I am going to make some notes on graduations and stamping as I do it. I will try to get to it soon. ( don't know where I will post it though). It will probably be basic stuff you have heard but I have found pitfalls and ways to avoid them.
 
today I decided to make the table stops for the work head on my grinder. Those little buggers took me all day. a lot of angles and fitting.
I started with a couple of 3/8" brass bolts. I milled .050" of two of the opposing sides too get the correct width to fit the "t" slot. I then put them in the vise on the mill and used a fly cutter set to the radius of the inside of the "t" slot and cut the back of the bolt head to just fit in the table slot.
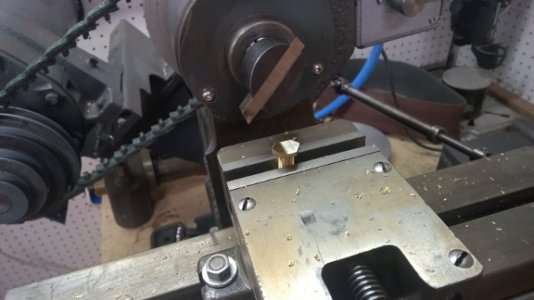
macnining table stop bolts.jpg This is the fancy set up to make the bolts fit the curved slot.
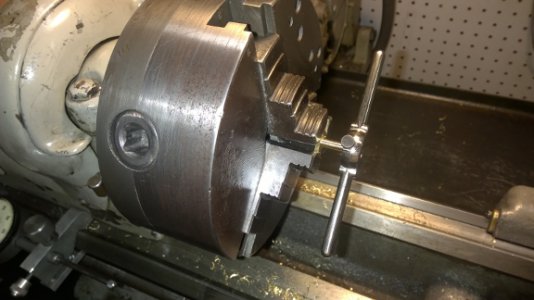
threading table stop bolts.jpg Next , I turned the bolts down to .187" and threaded them 10-32. I found they were way off center because I had milled the one side of the head, so I put a .050" shim under that jaw to center the bolt back up for turning.
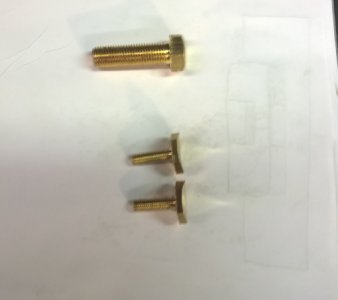
table stop bolts.jpg The top bolt is what I started with and the bottom two are what they end up like.
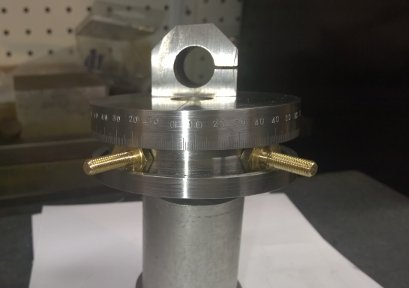
table stops 2.jpg The bolts fit the table slot perfectly.
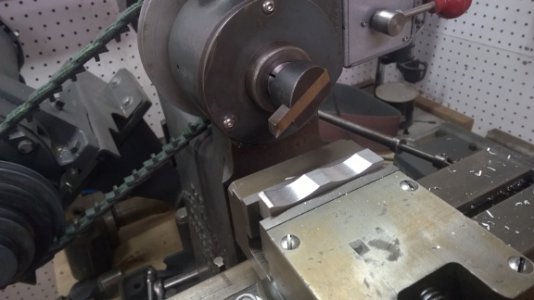
table stops 3.jpg I set up an aluminum block to make the stop blocks. I set the fly cutter to the radius of the outside of the table and cut two grooves ( one for each block).
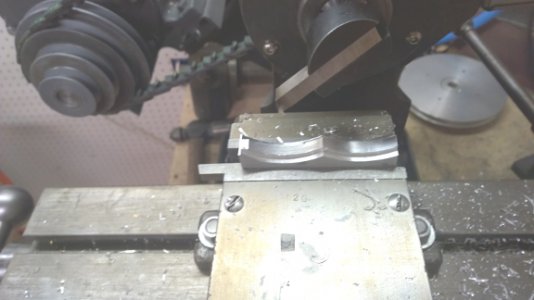
table stops 4.jpg Using the same fly cutter, I cut a groove on each side to make the tongue the fits into the slot. I cut one side, turn the block around , pick up the arch and cut the second step on the other side. After these were cut , I cut the block into pieces on the band saw and milled an angle on each end of the block so that the side of the block is square with the radius of the table. ( this was the hard part. I cut and fit, cut and fit until i found the right angle).
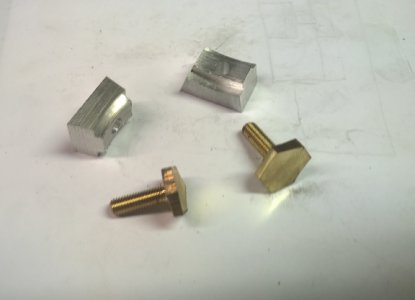
table stops 5.jpg I drilled a clearance hole for 10-32 in the center of each block and this is the finished parts.
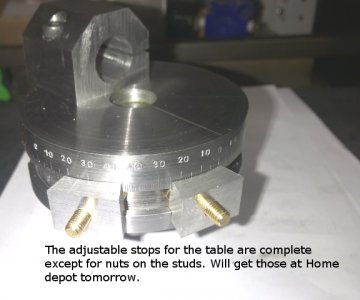
table stops.jpg After 4 hours of work, I have some very nice table stops. I will go to home Depot tomorrow and pick up some pretty knurled brass nuts to hold the blocks in position.
 
Great job!! When can we see it in action?
 
I am waiting on the drive belt and then I will test the spindle. I should be here by Monday
 
I would like to get a copy of your drawings also would be very interested in your stamping article


Sent from my iPad using Tapatalk
 
Back
Top