The Stars Have Been In Alignment For Me This Week. Just Got My First Lathe, A D/r 11x36, 25-100

Coming dear.

Here you go.

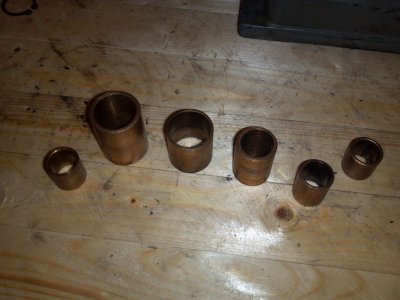
I have finished the shafts. As I said before, I have replaced all the shafts in the gear box. Take a look at the bushings I replaced. Can you see anything amiss?
2014-02-10_11-36-05_322.jpg

Yep. You are correct. Not one single oil hole in any of them.

So now we know why I had to replace ALL the shafts in my gear box, as well as all the bushings. At some point, some enterprising person rebushed the gearbox, but failed to drill any oil holes in the bushings. So, now the gearbox has all new shafts and bushings WITH oil holes. Things should run much smoother now.

I found I had to turn down the outer diameter of all the bushings to get the proper intereference fit. Most were in the area of .007-.010 over the diameter of the housing hole. While the bushings fit the shafts before installation, they all required reaming after installation. I bought a cheap set of adjustable reamers from Harbor Freight to do the job. If you have another option, don't do that. They are of unbelievably poor quality and did a rough job of reaming most of the bushings. I expect that at some point in the next several years, after I have acquired proper reamers, I'll do the job again.

I also found that two of my shafts turned out just a hair out of concentricity on the bearing surfaces. I was unable to turn those two shafts between centers, as I should have. I dialed one end in on the 4-jaw and had the other on a pretty worn dead center. The two shafts turn with little resistance and will do for now, but I will replace those two shafts in the future as well. Learning as I go.

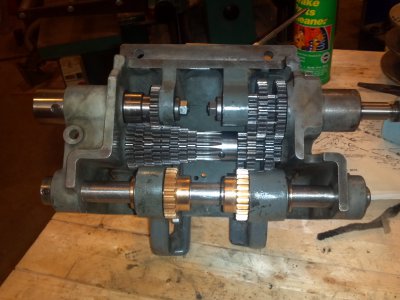
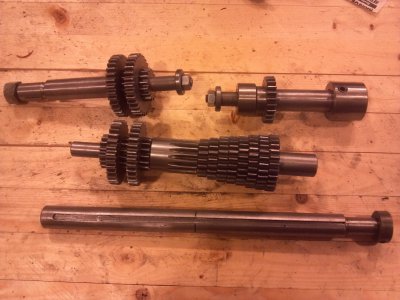
Here you can see the new shafts with the keys and gears temporarily installed.
2014-02-08_16-33-16_765.jpg

I will probably be reassembling the gearbox this week, unless I get a couple warm days, in which case I'll try to get a fresh coat of paint on it first.

2014-02-10_11-36-05_322.jpg 2014-02-08_16-33-16_765.jpg
 
Well, OK!

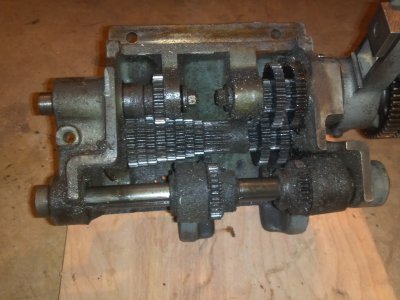
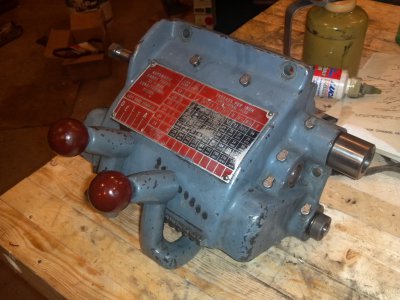
The quick-change gearbox is back together and looking good. I'm still sanding and prepping the rest of the castings, in hopes that a few warm days will come along in the next week or so. Doesn't look hopeful, though.

2013-11-21 18.22.55.jpg2013-11-23_19-36-38_712.jpg2014-02-11_14-49-19_661.jpg2014-02-11_14-49-31_805 (1).jpg

Before and after shots. Looks better after, even without paint!

2013-11-21 18.22.55.jpg 2013-11-23_19-36-38_712.jpg 2014-02-11_14-49-19_661.jpg 2014-02-11_14-49-31_805 (1).jpg
 
Tony, it looks good. now lets hope it does not make any gear noise when running. Tim
 
Yep. Looking forward to getting it going. Right after I finished threading end of the last shaft, the gearbox on my SB9A locked up. Don't know what happened and I haven't had time to take it apart to see. Luckily, I was able to disengage the tumblers and finish the remainder of the work on the shafts (keyway cutting) and resizing the bushings without a power feed. Once I get the DR back together it will be the South Bend's turn for overhaul.

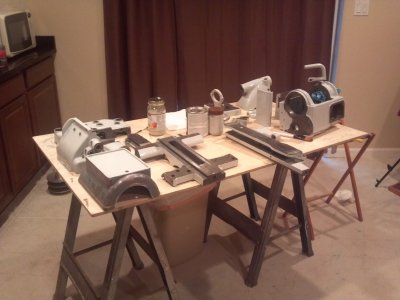
Talked my wife into letting me do some painting in the basement. Fumes don't seem to bad with this paint. So, next week I'll bring some of the main castings up to the house for a fresh coat of paint. I'll probably just paint the headstock castings and the carriage, and maybe the taper attachment for now. The rest I can paint later, after I get the lathe back together and after the weather warms up I'm not going to paint the bed or cabinet yet. Those will come later.
 
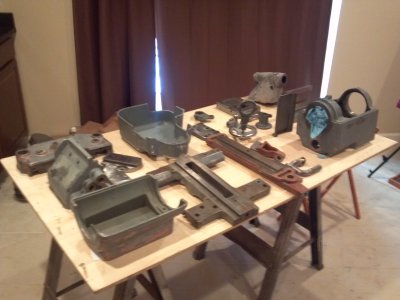
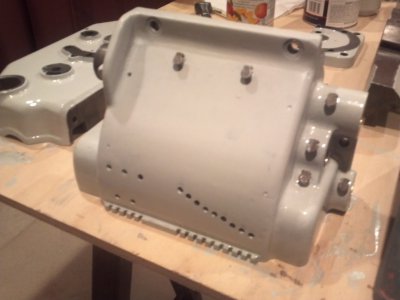
Spent several hours last week prepping all the castings and other parts for paint. Got them all hauled up to the house and set up on a temporary table in the basement.

2014-02-19_10-41-33_992.jpg

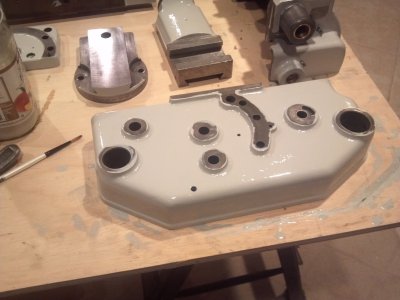
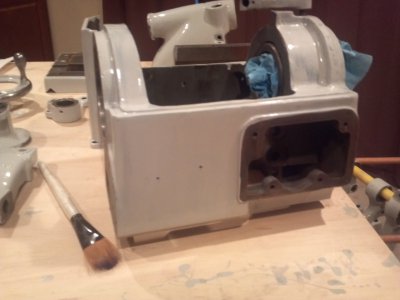
I mixed a pint of paint (Majic Tractor, Truck, and Implement enamel, from Tractor Supply, in Light Ford Gray) with reducer and catalyst yesterday morning and started painting. I read all the instructions on all the cans before mixing, but somehow missed where it says on the paint can to reduce for spray application. The instructions on the reducer simply said to add to the paint to help it flow and improve finish. Anyway, it went on pretty thin with the brush, but flowed to level pretty nicely. Paint instructions also indicate 24 hours between coats. I waited the 24 hours, gave everything a rub-down with 00 steel wool, then started to apply the second coat. I started with a couple small parts for test pieces and it seemed everything was fine, but then I started seeing problems after painting the apron again. I found that on some parts the second coat was causing the first coat to soften and wrinkle. Guess it needs more than 24 hours at 70 degrees. I stopped painting and decided to let everything sit another day. I may end up having to strip and repaint a couple parts, like the apron.

The instructions also indicate that once the hardener is mixed in, the paint's pot life is about 8 hours. I had to quit painting before I finished yesterday, so I cleaned the brushes and sealed the remainder of the paint in a plastic peanut butter jar. Even with the hardener mixed in, it was still usable today, 24 hours later, to finish most of what I didn't get to yesterday, as well as for a second coat on several parts. I must not have mixed enough hardener in, although I calculated it all and measured it accordingly with a syringe. Today I learned that once the paint starts "kicking", from the hardener, you might as well call it a day. It just starts going on so sticky you can't even go back over a single brush stroke, even though the paint in the can appears fine. I wasted most of the pint I mixed. Could have done it all, two coats, with about 1/2 a pint. Still, I have another pint left (bought a quart can), so I'm fine.

When I bought the paint, I actually wanted the Massey Ferguson gray, which is much darker, and a much closer match to the original DR colors, but they were out of it, so I went with the Light Ford Gray, which is very close to the lighter color of some of the later DR lathes. It looks nice. I think it will be fine. I've certainly seen colors I like a lot less (to say it nicely) on lathes and other machinery.

A couple other things I learned. I bought three brushes: 1", 1/2", and a 1/8" fine point detail brush. Figured I'd cover big areas with the larger brush and do details with the fine brush. Turned out that the wide brush left brush strokes that would not flow out. Also, I found that painting around the borders of all the machined areas with the detail brush simply took too much time. I was afraid the paint would start kicking before I got all the parts covered (ended up not being the case, though). I ended up using the 1/2" brush for everything. Got some paint on the machined areas, some of which I wiped away with a lint-free rag with a bit of Mineral Spirits on it, but in other places I didn't want to risk getting the rag into the finish, so I'll clean up those places with a razor blade and files, once everything is cured and hard.

Like I said, I may end up stripping a couple parts and repainting them. Luckily, I noticed the problem before I started on the gearbox and the headstock casting. I still haven't painted the end gear cover or the headstock cover. I'll get those tomorrow when I mix a new batch of paint for the second coat on the other parts.

I have to keep reminding myself, "It's not a show car!" Even with the problems I would rate my paint job a "10" (from 10 feet away it looks pretty good).

2014-02-20 17.25.16.jpg2014-02-20 17.25.28.jpg2014-02-20 17.25.40.jpg2014-02-20 17.25.49.jpg

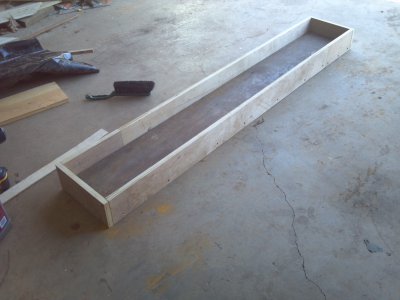
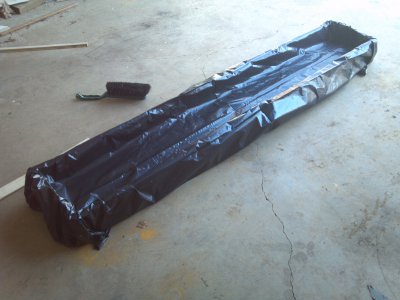
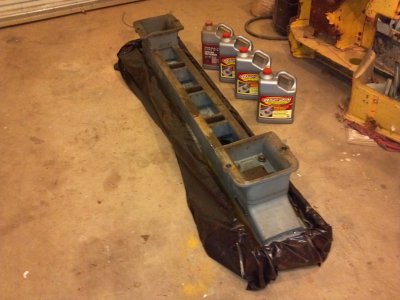
I also made a derustification box for my lathe bed. I screwed together some scrap lumber I had in the shop and made a wooden box-pan. I then split a heavy-duty (4-mil) garbage sack and lined the box. I laid a couple pieces of 1/4" wood in the bottom to keep the ways off the bottom, so the "Evaporust" will circulate all around the bedways. This evening my son helped me lay the bed upside down in the box. Now I need to wait for another warm day, so the stuff will work. I bought 3 gallons of Evaporust, at $22 per gallon, for the job. Good thing that stuff is re-usable.

2014-02-18_14-38-50_985.jpg2014-02-18_14-42-13_725.jpg

The bedways on my lathe aren't pitted with rust, but they are rust-stained. I figured that since I have it all apart, and am painting the castings, I might as well try to remove the rust stains from the bedways. We'll see how it goes.

Sorry about the fuzzy pictures. I'm using my phone camera and it seems to be having problems.

2014-02-19_10-41-33_992.jpg 2014-02-20 17.25.16.jpg 2014-02-20 17.25.28.jpg 2014-02-20 17.25.40.jpg 2014-02-20 17.25.49.jpg 2014-02-18_14-38-50_985.jpg 2014-02-18_14-42-13_725.jpg
 
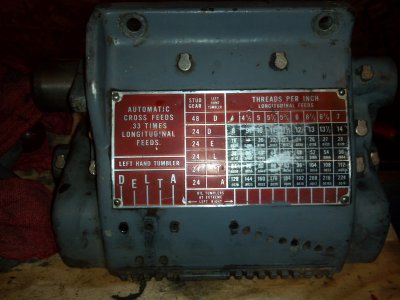
You'll notice from the pictures that I removed all the label plates before cleaning and painting. Some of the drive screws I was able to remove by prying them up with a sharp chisel. Others I slotted the head with my dremel and a cutoff blade and simply screwed them out. On the screw threading plate on the gearbox, I broke off two of the drive screw heads. I tried drilling them out, but they just won't drill. Not sure what to try next. They are the lower left and upper right drive screws, so even if I don't get them out, the plate will stay in place with the other two, but I sure would love to get them out and make things right. Any ideas would be appreciated.

The only thing I can think of to do is to drill them out with a small hole saw I have, which is for drilling broken screws out of wood, then epoxy a plug in the hole and drill that for the drive screw.

Help please!
 
The pictures are fine and I like the Ford paint. You'll be very pleased when you're finished, I'm sure.

Great job!

Thanks for keeping us updated.
 
You'll notice from the pictures that I removed all the label plates before cleaning and painting. Some of the drive screws I was able to remove by prying them up with a sharp chisel. Others I slotted the head with my dremel and a cutoff blade and simply screwed them out. On the screw threading plate on the gearbox, I broke off two of the drive screw heads. I tried drilling them out, but they just won't drill. Not sure what to try next. They are the lower left and upper right drive screws, so even if I don't get them out, the plate will stay in place with the other two, but I sure would love to get them out and make things right. Any ideas would be appreciated.

The only thing I can think of to do is to drill them out with a small hole saw I have, which is for drilling broken screws out of wood, then epoxy a plug in the hole and drill that for the drive screw.

Help please!

My buddy mjhenks ground off the heads on his logan and had to use some carbide drills to get them out.
 
If you check with local machine shops, they may be able to refer you to someone who can burn them out with an EDM.
 
Thanks for the ideas. I think I'll try the carbide drill bit first.

Temps warmed to 70 degrees today, so I went ahead and poured the Evaporust into the derustificator. It took about 3-1/2 gallons to fill it above the machined undersides of the ways. I'll leave it overnight and we'll see how it turns out tomorrow.

2014-02-21 11.48.27.jpg

2014-02-21 11.48.27.jpg
 
Back
Top