I just happened upon a video that clearly illustrated what the radius on a carbide insert does in pushing the part and tooling apart.
You can clearly see for every cut he takes after the facing cut, that a burr is raised on the face of the material. This is primarily due to the radius and how it interacts with the material.
This is fascinating to see. I'm learning to work with my insert tools, they're efficient taking deep cuts.
When I changed over to this HSS tool (which was in the lathe when I bought it), it felt like the aluminium turned into butter


I've ordered an 80mm Sanou independent 4-chuck. Neither the bolt circle, nor the inside edge matches the flange on the Hobbymat, so this weekend's project was to start making a flange for it.
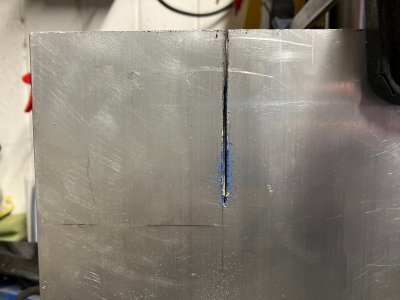
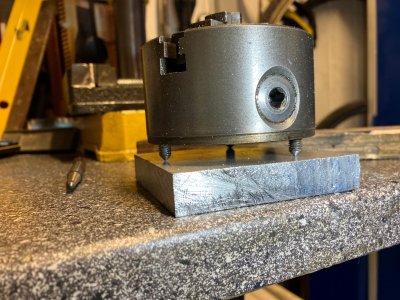
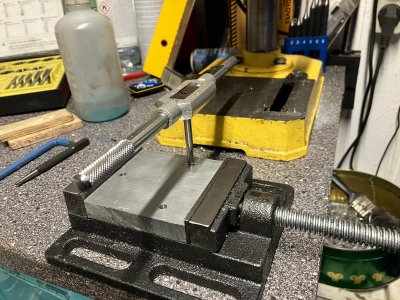
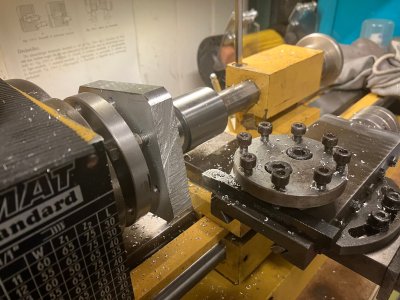
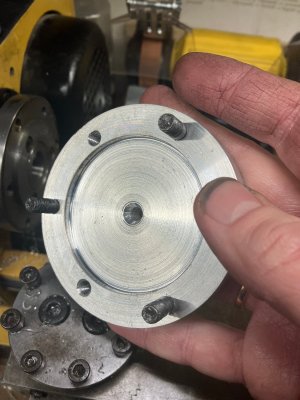
I started cutting out an 80x80 block out of a scrap piece of 15 mm aluminium plate with my hacksaw and used the original chuck to mark the location of the holes, which I threaded and fitted with short rods in so that I could mount the cutout directly on the lathe's chuck flange.
Unfortunately, while the diagnonal of about 115 mm is fine for the 65 mm spindle height, the motor cover turned out to be in the way, so I needed to offset my block forward from the chuck flange by about 7-8 mm. I centered it using my live center and tightened nuts on either side then took small cuts hoping that nothing would give until I could bolt the block more solidly directly on the flange, again using my live center to center it on the flange before tightening the nuts tightening it firmly onto the chuck flange.
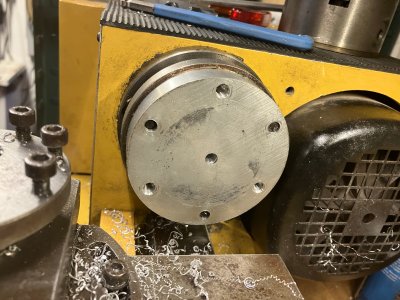
Unfortunately, my drill press let me down and one of the holes ended up being about 1 mm offset, so I ended up having three correct and three useless holes, and I still need to drill three more holes when I get the new chuck in the mail - I'll be super careful with them, but first, however, I'll have to see if I can reduce the quill play in my cheap, old drill press, or if I need to request a budget for a better one from the ministry of finance...
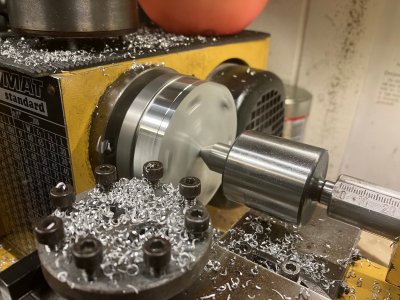
But a good success with a (for me) fairly complicated project getting the inner edge correct so that the disc fits without play. The inner cut was made with a boring bar with an insert tool. Next time, if I redo it, I may try to face it using a HSS tool

I did think about whether it was the back relief that caused the effect. I get exactly what you mean


