Starting The Refurbishment Of My 1947 South Bend 9a

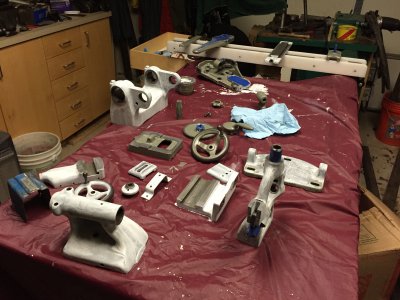
Started painting parts today. Got a coat of primer on most of the parts. I still need to disassemble the compound and cross slide and get them cleaned up. I am trying it this time with a 3/4" artist style paint brush, as I've seen recommended by other people. I sure don't care for how the primer has gone on. The primer sets up so quick it doesn't flow out the brush strokes. I expect I'll sand everything smooth with light sand paper and just go to the color coats. Wife doesn't like the smell, though, so I'm going to have to move out to the workshop. Hope my little heater can keep it warm enough for painting.

The last lathe I did, I used an industrial paint (Tractor Supply) with hardener and decided to go without primer. Didn't have any problem and the paint went on well. This time I'm using an oil base Sherwin Williams paint with no hardener, so I figured maybe primer was a good idea.

IMG_1853.JPG
 
I'm well into the painting. Yesterday I got the first coat of color on about 1/2 the parts - most of the small parts. I got the headstock and tailstock primered. Still lack primer on the saddle and cleaning and primer on the bed. This week I'll get the first coat of color on all the parts and hopefully start putting things back together next week. Looking forward to getting it back to working condition. The dual-sheave motor drive pulley has a broken large sheave, so I am going to make a new pulley. Already have the round for it, just need to get the lathe back together so I can make it. I have decided to take the dual-sheave countershaft drive pulley to a machine shop and have it bored for the 7/8" countershaft. I will also have the shop take a look at the countershaft support bearing and see what their opinion is as to whether it should be bored and bushed or left as-is. Otherwise, I have been very pleased at what I found as I took the lathe apart. The bed has some wear, as do the surfaces under the saddle and tailstock, but not enough for me to worry about for the accuracy I need for my projects.

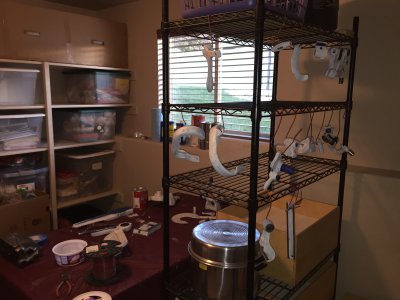
As for paint, I chose to follow what some others have done and used an oil-based Sherwin Williams paint with the recommended primer. This paint is not two-part, so it has no hardener. I'm hoping it is hard enough to last a while and resist chipping, wear, and oil penetration. It wasn't cheap, so I hope it lasts. Anyway, I like the color. I have compared it to the color I'm finding on the bed as I clean off the grease and they are a pretty close match. I have been brushing on the primer with a 3/4" artist's natural bristle brush. The primer sets up so quick it doesn't flow out and self level. On parts where I thought it might show, I have sanded the primer with 220 grit wet/dry paper, then painted the top coat in the same way. The color coat flows out, but not completely. Still, it looks nice. I haven't take the time to sand/fill/sand/primer rough castings or spray on the finish. I did a lot of that with my last lathe restoration, but for this one I have accepted the fact that this is an industrial machine and I will be making it very dirty and oily. It is not a show car.

Can't wait to get it back together.

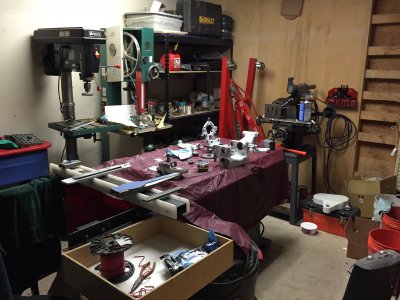
In one of the pictures you'll notice my new Burke #4 horizontal mill in the background. It's not big enough to do the work on the countershaft pulley and support that I need, but I'm looking forward to using it to mill out an MLA T-slot cross slide and some other accessoriesIMG_1856.JPG IMG_1857.JPG for my lathe.
 
Talked to a machinist about my countershaft issues. His opinion was that the bore will be fine in the low rpm application it is for and that it will likely outlast me. So, that's what I'm going with. Had him bore my countershaft pulley to 7/8". I still need to drill the shaft for the #6 taper pin and cut the shaft to length. I'll have to wait until I get the lathe back together to do that. I'll use the old shaft and pulley to run the lathe while I finish the new countershaft. By the way, I bought a new motor drive pulley. Mine has a broken large sheave.

Pics later, when there's actually something interesting to take a picture of.
 
Making progress on the painting. Maybe two more afternoons. It's cold in my workshop, so I have to turn the heaters on in the morning, so I can paint in the afternoons and evenings.

I replaced the countershaft with a length of 7/8" TGP 1045, had the dual-sheave drive pulley's shaft bore bored from 3/4" to 7/8". I'll have to use the old drive pulley and shaft to start with, once I get the lathe together, so I can trim to size and finish the new shaft, then I'll install the new dual-sheave pulley and finish the conversion from 6-speeds to 12-speeds.

So, if all goes well, by the end of next week I'll have the lathe back together and ready to work.

I'll post some photos tomorrow.
 
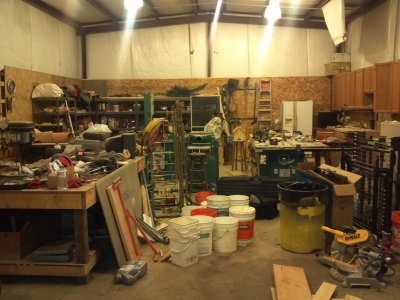
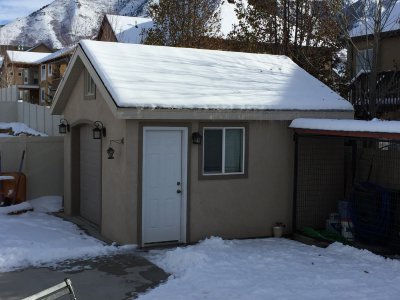
Well, for me it's rather small. It would be nice if it were only my machine tools in there, but I came to Utah last year from Virginia, where I had a 35X55 workshop with a nice wood stove in it. In that workshop, I had a space for my auto mechanics tools, a space for my welding outfits, a space for all my cabinet shop tools, and a space for my leatherwork, and still had space for my machine tools. I miss that shop!

Still, it's nice to be closer to the kids and grandkids and that makes it worth the sacrifice. I can do with my little 10X12 work to be closer to the kids.

2013-01-03_23-13-28_542.jpg
 
Believe me, that was praise. My work shop is 9' x 17', pretty close to yours. I sure wish it was as well-organized as yours.
 
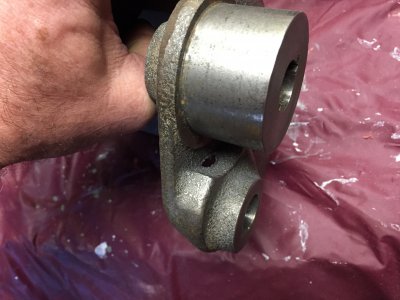
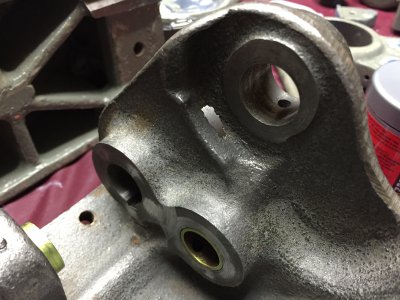
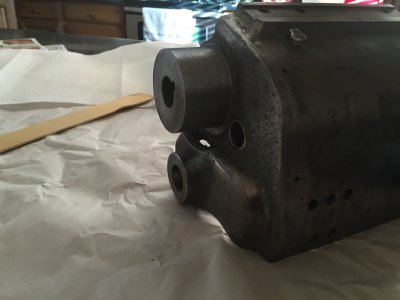
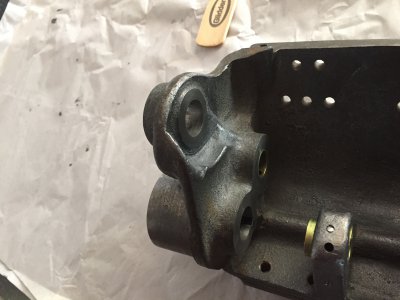
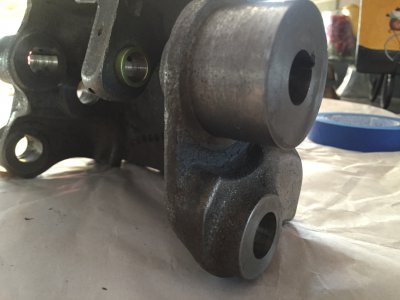
After taking the gearbox apart, I found a casting flaw that left a big hole right over the gear tree shaft. I figure that's how the swarf got in that locked up the 16-tooth gear on that shaft...which occasioned the whole overhaul thing. Anyway, I degreased the casting and applied a little PC-7 epoxy to the hole. Turned out nicely. You can't even tell it was a hole. the PC-7 looks just like the cast metal. I'll protect the epoxy patch with paint on both the inside and outside and it should last the life of the lathe.IMG_1874.JPG IMG_1875.JPG IMG_1877.JPG IMG_1878.JPG IMG_1879.JPG
 
Nice job, the casting hole just disappeared!
-brino
 
Back
Top