-
Welcome back Guest! Did you know you can mentor other members here at H-M? If not, please check out our Relaunch of Hobby Machinist Mentoring Program!
You are using an out of date browser. It may not display this or other websites correctly.
You should upgrade or use an alternative browser.
You should upgrade or use an alternative browser.
Some work on a TX650.
- Thread starter th62
- Start date
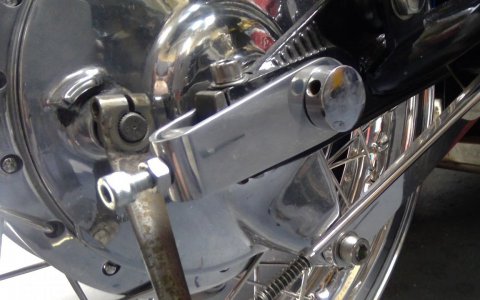
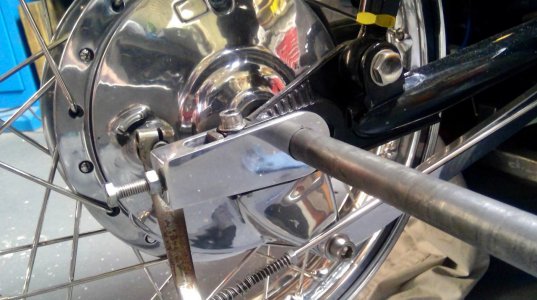
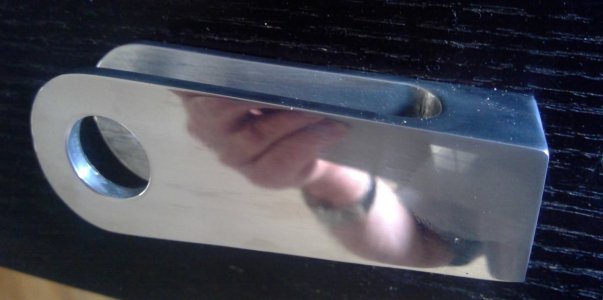
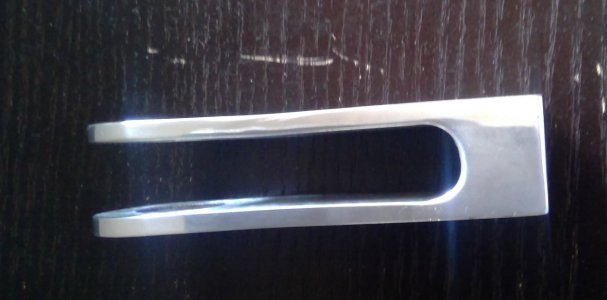
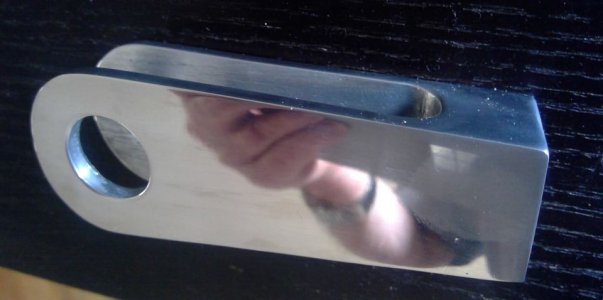
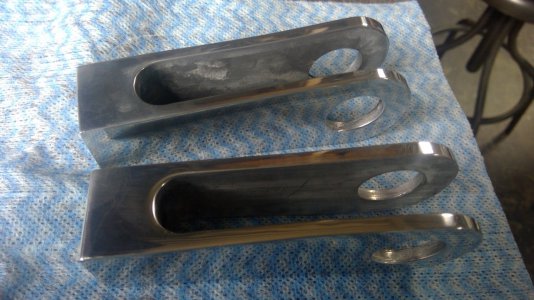
I finally had a win. Initially I made the adjuster with a 15mm slot to fit over the swingarm axle mounts. That didn't work too well, scratched the hell out of the paintwork. Next I tried putting a step in the slot, 15mm where the axle slips through and 16mm for the rest, but couldn't get a decent finish inside the slot. So today I milled the slot out to 16mm for the whole length, papered it reasonably smooth, then put it in the vice and stepped it by bending the ends in to around 15.5mm. Seems to work pretty well, so I'll try making another tomorrow the same way. I think I'm going to have to powder coat the frame though, the acrylic lacquer just scratches and chips too easily.
Attachments
Have you tried Rustoleum Appliance Epoxy (which isn't an epoxy)? That is used by many of the cafe racer folks. I tried it for a GL1000 rescue and RD400c touch-ups over etching primer. Seems to hold up well. You can always 2K clear coat over it with Spraymax.
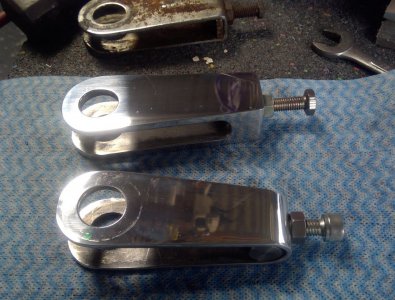
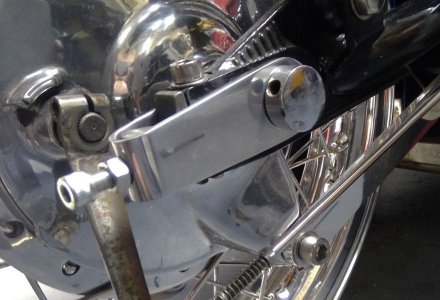
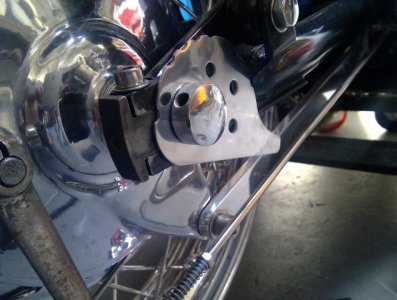
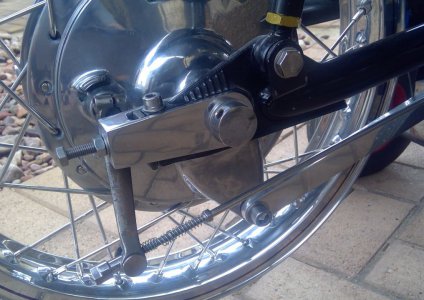
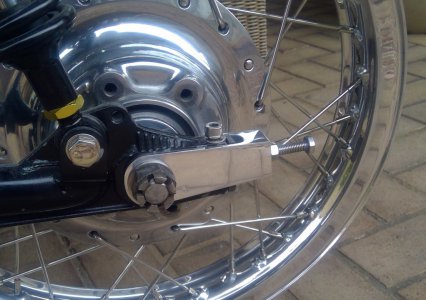
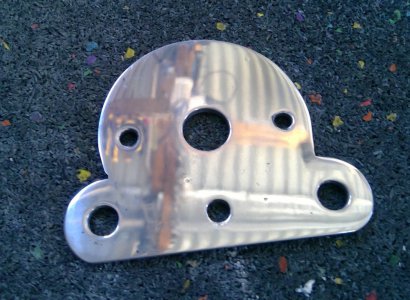
I've been messing around with chain adjusters the last few days: I made a fabricated one from ally and stainless which didn't look too bad, then a snail cam which looked bloody awful then a billet one. The billet chain adjuster won, so I made a second one and bolted them up.
Attachments
Couple of small jobs.
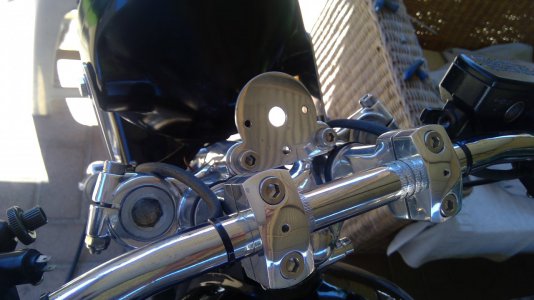
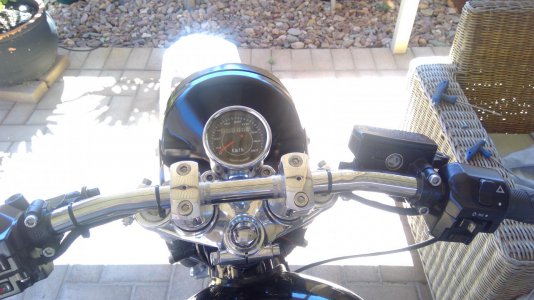
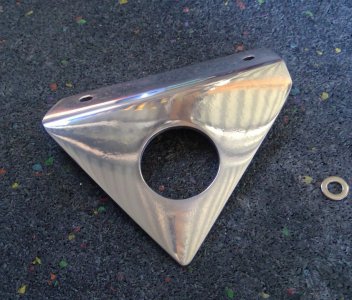
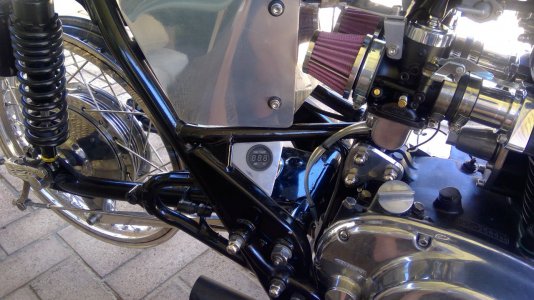
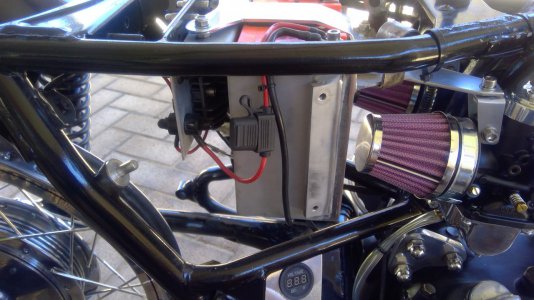
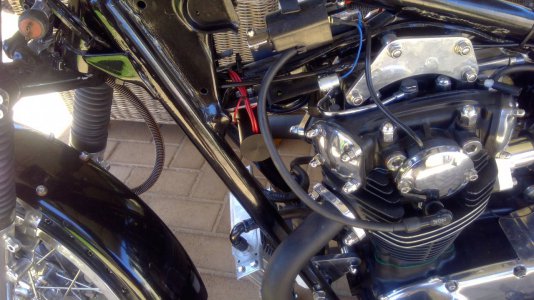
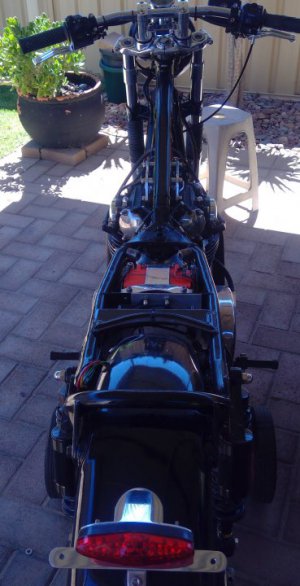
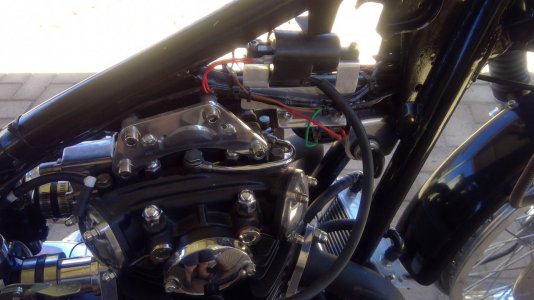
I did away with the tacho and voltmeter up top, simplified it by just mounting the speedo on the top tree, I'll put some idiot lights in the headlight bucket.. The voltmeter is now below the right hand side panel. I'll either connect it to the battery via a toggle switch or connect it to the brake light wiring.
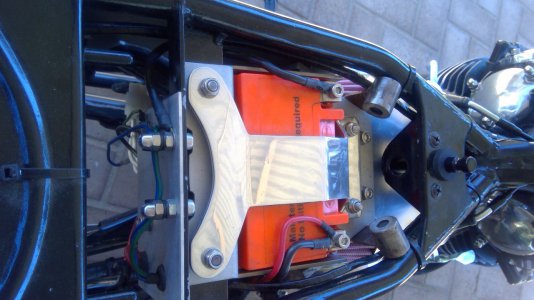
I designed and taped up a couple of harnesses a while back, decided to go with two: One for ignition, plus the neutral cable, the other for lighting. A much simplified system for fault finding. Four wires in one, six in the other, although I think I'll delete the neutral cable, don't see any need for that or the tacho. It still needs a little tidying up, a bit raggedy at the moment.
Scraping the barrel for fabrication and machining work now, only have to finish off the wiring and fit brake lines, chain and sprockets and mufflers, nearing the end, what'll I do when I finish. This build has been very enjoyable, learnt lots of new cuss words.
Attachments
-
 WIN_20220126_10_50_39_Pro.jpg148.4 KB · Views: 5
 -
 WIN_20220126_10_53_12_Pro.jpg144.9 KB · Views: 6
 -
 WIN_20220126_10_59_44_Pro.jpg180.7 KB · Views: 6
 -
 WIN_20220126_11_07_51_Pro.jpg147.9 KB · Views: 6
 -
 WIN_20220126_11_20_03_Pro.jpg223.8 KB · Views: 5
 -
 WIN_20220126_11_50_46_Pro.jpg163.6 KB · Views: 5
 -
 WIN_20220126_11_50_34_Pro.jpg179 KB · Views: 5
 -
 WIN_20220126_11_49_18_Pro.jpg213.3 KB · Views: 5
 -
 WIN_20220126_11_48_15_Pro.jpg62 KB · Views: 5
 -
 WIN_20220126_11_48_53_Pro.jpg145.5 KB · Views: 5
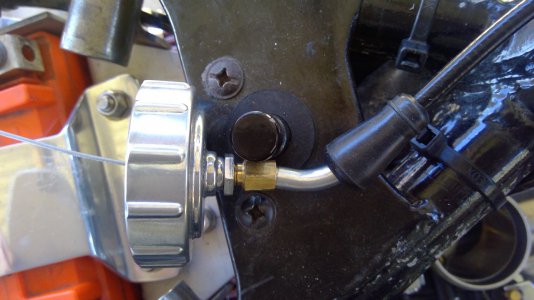
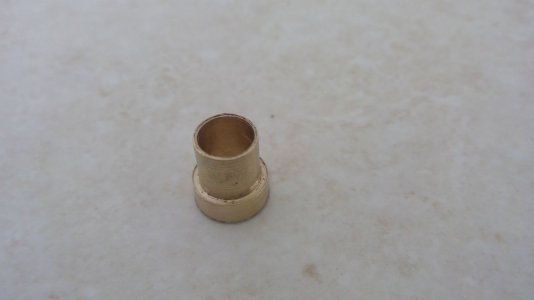
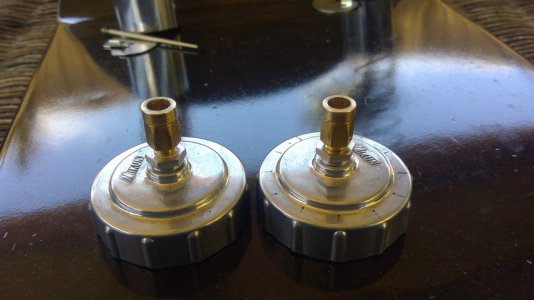
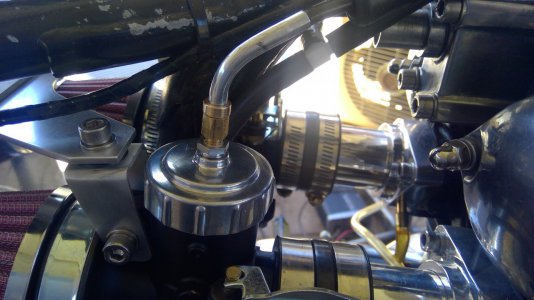
Nobody does anything properly these days. I bought some VMs a month or so ago and found the cable ends that sit in the adjusters on top of the carbs are a very sloppy fit inside the brass adjusters, so today I pulled them out and took some measurements. The hole in the brass adjuster where the cable end sits is 7mm, whereas the cable end is only 6mm doesn't sound like much but that 1mm allows the cable end to flop around inside the adjuster. I spun up a couple of brass sleeves that were 6mm inside and 7.05 on the outside then pressed the sleeves into the adjusters, I couldn't risk making the fit any tighter as the walls of the sleeve were only .5mm thick. All worked out well, now the cables are a good fit, as they should have been from the shop. Why doesn't anybody supply good fitting accessories anymore?
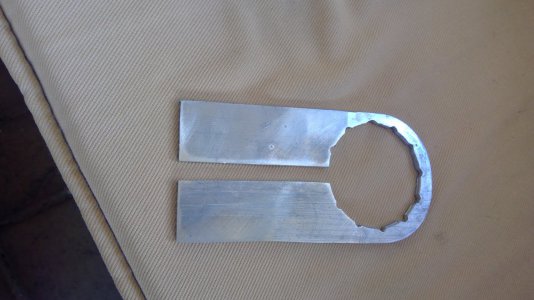
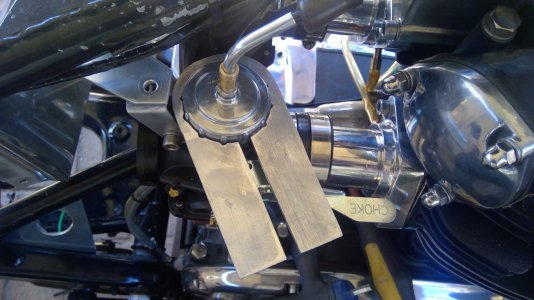
Whilst I was at it I made a Spanner to fit the carb caps so I could tighten them reasonably tight. The spanner is aluminium so as not to scratch the polished caps too much. Previously, when I made the throttle cable, I made the inner cable a bit too long , so the adjuster in the throttle was at the end of it's adjustment, that also had to be fixed by removing the nipple, cutting 8mm off the cable and refitting the nipple.
After putting everything back together I started the bike and synced the carbs at idle, then increased the revs to around 3k and synced again, all good, or so I thought. Then I found as the revs rise upwards of 4-5k the left inlet tract on the left pot loses vacuum putting the carbs out of sync at higher revs. So, I synced the carbs at 4-5k revs then took it back to 3k revs and damn it, the sync is out again. Sync at idle remained constant and even More mucking about to find the problem.

