-
Welcome back Guest! Did you know you can mentor other members here at H-M? If not, please check out our Relaunch of Hobby Machinist Mentoring Program!
You are using an out of date browser. It may not display this or other websites correctly.
You should upgrade or use an alternative browser.
You should upgrade or use an alternative browser.
So, I bought a BP..
- Thread starter ttabbal
- Start date
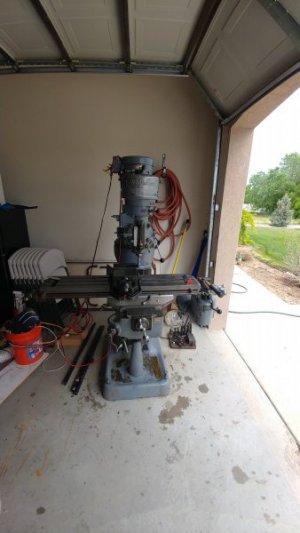
Well, it's back together. I spent some time tramming it up and installed and indicated the vise. Everything is +/-0.0002. Drove myself a little nuts with the tenths indicator. Probably not needed, but it was partly practice.
And, of course I had to make first chips. Just a simple squaring cut with a 3/4 roughing and a 3/4 4 flute. I discovered that I lack a collet that can hold a 3/8 shank, so I can't use my smaller end mills. Even at 40 thou DOC the rougher barely made any noise.
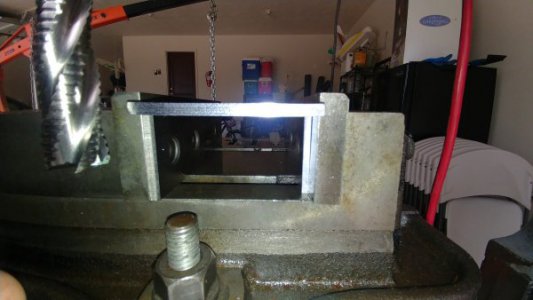
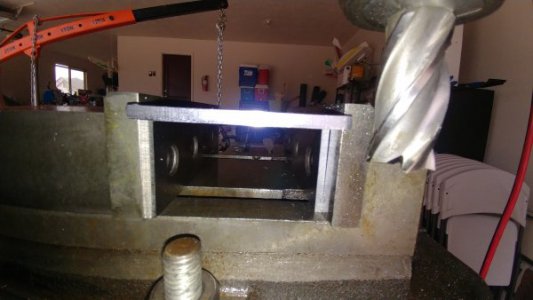

And, of course I had to make first chips. Just a simple squaring cut with a 3/4 roughing and a 3/4 4 flute. I discovered that I lack a collet that can hold a 3/8 shank, so I can't use my smaller end mills. Even at 40 thou DOC the rougher barely made any noise.


I have a pair of VFDs, the power feed is the old style with a 3 phase motor and a gearbox. I figure if I have to reverse the spindle using the back gear, I don't want to reverse the power feed.
I haven't decided on mounting them. I am leaning towards removing the fuse box on the back of the column and mounting them back there on a plate. Then using remote mounted controls where the drum switch used to live.
DRO is definitely at the top of the list.
I haven't decided on mounting them. I am leaning towards removing the fuse box on the back of the column and mounting them back there on a plate. Then using remote mounted controls where the drum switch used to live.
DRO is definitely at the top of the list.
I decided to take apart the auto quill feed bits to soak in evaporust and fix whatever is wrong with it. Getting the reverse trip ball lever out is a pain. I made a 5-40 screw out of 12L14 and it threads but that doesn't want to come out. Any ideas for removing it? I was pulling hard enough that I was concerned about breaking the homemade screw.
5-40 sucks to thread...
5-40 sucks to thread...
- Joined
- Nov 5, 2016
- Messages
- 1,420
My suggestion would be to wiggle the feed reverse trip plunger and/or the quill stop screw up and down while pulling on it and see if that helps. I would also spray in some good penetrating oil and let that work on any crud that might be in there. It should come out as long as the trip plunger isn't hanging it up...
Good luck,
Ted
Good luck,
Ted
And the power quill feed parts cleaned up, lubricated and reassembled. Mostly. My machine is missing the parts inside the fine feed. The spring, ball, and a key I'm trying to identify. And the direction selector, but I did get the broken off screw out.
The mechanism works locks in and trips when pushing the screw down. So I think if I get those missing parts I should be good to go.
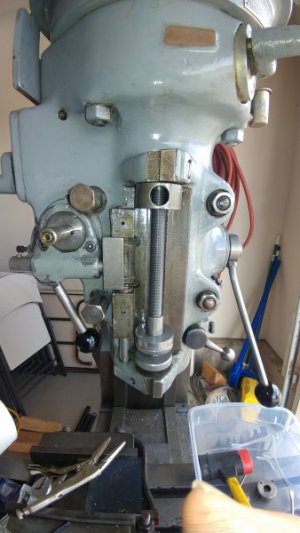
The mechanism works locks in and trips when pushing the screw down. So I think if I get those missing parts I should be good to go.

Got the parts in (they spent some time in Arizona for some reason) and the quill feed works great! I also got one of those clamp-on stops so I don't have to spin that micrometer nut as much for times I don't mind a loss in precision. I tested both up and down, the stop system trips easily. I'm quite surprised how nice the old parts look after a soak in purple power then evaporust.
The lower hole for the scale is stripped out (boooo!!!), but I sprung for a new scale which looks nice on there. I might tap it and use a larger screw, haven't decided yet. I'm also considering using one of the little quill DROs. It should go nice with the 3 axis I just ordered using the ebay 20% off coupon.
I really need to get the conduit run so I can get the electrical in the garage fixed up and move things to where they need to be.
After much swearing and a project installing new circuits in conduit, and moving the mill to its new spot...
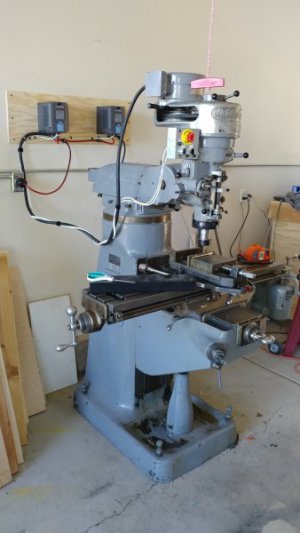
Got the controls put together, wired and configured on the VFDs. Direction and speed control for the spindle, just on off for the power feed. The emergency stop stops both VFDs. The spindle start/stop works just under 2 seconds, so power tapping might be possible.
And the tormach ring light fits nicely.
Just need to adjust the leveling feet.
