-
Welcome back Guest! Did you know you can mentor other members here at H-M? If not, please check out our Relaunch of Hobby Machinist Mentoring Program!
You are using an out of date browser. It may not display this or other websites correctly.
You should upgrade or use an alternative browser.
You should upgrade or use an alternative browser.
So, I bought a BP..
- Thread starter ttabbal
- Start date
- Joined
- Mar 26, 2018
- Messages
- 8,666
I think you have a fine BP. It sure is pretty compared to mine. Regarding the table removal. They are heavy!!, if you can imagine a table of the same height as the bottom of the table, you just slide it over on top of the make shift table.
I was thinking of making a frame of metal, weld it up square and rest it on a set of HB 4 wheel dolly's.
Just an idea, there will be better plans to follow.
I was thinking of making a frame of metal, weld it up square and rest it on a set of HB 4 wheel dolly's.
Just an idea, there will be better plans to follow.
Whoa, who scraped it? Don't tell me you had grease in there with that finish!
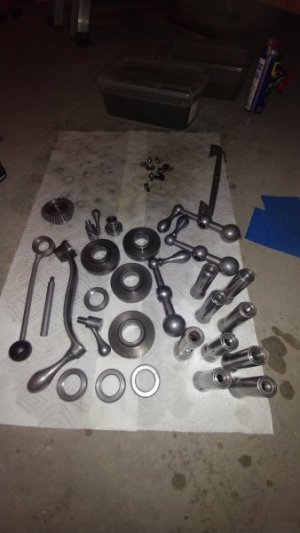
The guy I bought it from said it had been worked on. And yes, so much grease. I think he learned in the 40s and that's what they did then. So when he got it, he filled it with grease. And then it sat for 10+ years. I honestly think he didn't use it much after the work was done on it, so the grease didn't cause problems. I'm still working on it, got the knee lift parts installed, and the saddle with the new wipers all soaked with way oil. I'm going to pick up new zerks and some copper tube to make a oil fitting for the feed nuts. The rebuilding book mentions it and it seems much easier to get oil where it needs to be than to try to line up the table with the vise in the way to drip oil through the table. The passage that feeds the lower nut was also packed with grease... No idea how it got in there. Perhaps greasing the feed screw pushed it in there? Need to get those cleaned and oiled as well.
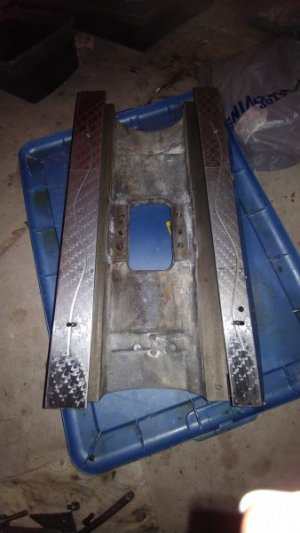
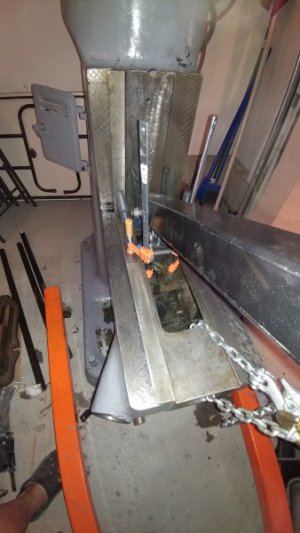
I used the engine hoist to remove the table with bolts in the T-slots. Thinking about it, perhaps not the best plan. I still need to clean it though. I think I'll make a wood box, line it with plastic and soak it like I did the other parts. That worked well and the custom box should keep the amount of solution reasonable.
A couple progress pics... Vise cleaned, oiled, and assembled.
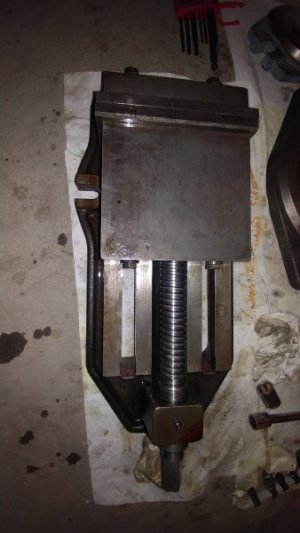
Turned a fitting for the feed nuts to make oiling easier once I add some copper tube etc.. It will be press fit once I solder the copper tube on, then I will probably need to grind it down a bit for clearance with the table.
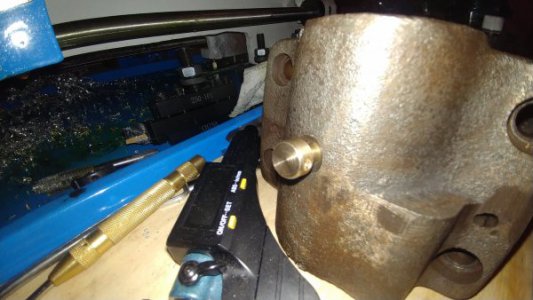
Close to getting the bottom end back together. Also split the nuts and faced them on the lathe. The table is soaking but starting to look like a mill table.

Turned a fitting for the feed nuts to make oiling easier once I add some copper tube etc.. It will be press fit once I solder the copper tube on, then I will probably need to grind it down a bit for clearance with the table.

Close to getting the bottom end back together. Also split the nuts and faced them on the lathe. The table is soaking but starting to look like a mill table.
Ok... Table cleaned up better than I have any right to ask for...
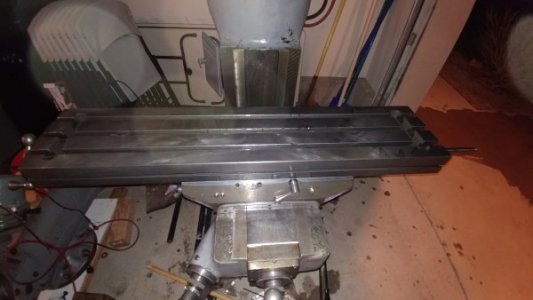
Backlash is about 0.007" on X and Y. Everything moves smooth and tight. I think I might tighten the Y gib a little, but I am going to wait and see how it feels with the vise on the table.
Now to clean up the power feed and get it back on there.

Backlash is about 0.007" on X and Y. Everything moves smooth and tight. I think I might tighten the Y gib a little, but I am going to wait and see how it feels with the vise on the table.
Now to clean up the power feed and get it back on there.
Bottom end is back together and working great. Adjusted the gibs and such to get nice smooth travel over the whole range. The power feed is reinstalled and working well.
Cleaned up the belt housing, what a mess. About 1/8" of mixed crud in there. Scraped it off, then scrubbed with wire brushes, steel wool, and scotchbrites to clean it out. It felt like a mix of grease, oil, random garage dirt, and some material from the brake. The parts are silver again!
I did run into a set screw with a stripped socket head. It's #10 "1254 - Socket Set Screw" on this diagram.
http://www.machinerypartsdepot.com/store/1478157/page/552090
I would order it from them, but the shipping would kill it and I don't really need anything else at the moment. It also didn't seem to "set" anything really as removing the screw it was holding wasn't any harder than removing the one I was able to remove the set screw for. I can likely remove it and replace it. But is it worth the bother? They are used to hold the "Cam Ring Pin" in place, or are supposed to anyway. If you happen to know the thread spec, that would be helpful info as well. My guess is it's a #2, but I neglected to mic it.
- Joined
- Nov 5, 2016
- Messages
- 1,420
I don't know for sure, but it might very well be a standard size you can get at your local hardware store. Mike up the OD and either use a thread pitch gauge or count the threads per inch on a scale. That's what I would do anyways...
Good luck,
Ted
Good luck,
Ted

