-
Welcome back Guest! Did you know you can mentor other members here at H-M? If not, please check out our Relaunch of Hobby Machinist Mentoring Program!
- Forums
- GENERAL TYPES OF METALWORKING MACHINES
- ANTIQUE & VINTAGE MACHINERY
- MISC ANTIQUE & VINTAGE MACHINERY
You are using an out of date browser. It may not display this or other websites correctly.
You should upgrade or use an alternative browser.
You should upgrade or use an alternative browser.
Show us your old iron!
- Thread starter lazyLathe
- Start date
- Joined
- Nov 21, 2012
- Messages
- 793
Love the 5x20 lathe! I suspect everyone here thinks I'm a "old machine hater" --not true at all. That lathe is sweet and I would love make things on it. So, how come jawed chuck and not collets? What type of spindle does it have?
I didn't purchase it with collets and the precision of the chuck is quite impressive so I left it as is. The chuck has to be spot on since the lathe will spool up to 3000 rpm. It has a D1-3 camlock spindle nose on it with a 1 5/16 bore diameter. Although it says it is 5 inch, this is the English measurement and it is more like 11.5 x 20 (by the American method of lathe sizing). I have more info here:
http://wanderingaxeman.blogspot.no/2013/09/colchester-chipmaster-review.html
I have not really seen a comprehensive set of photos or user's opinion on the internet of the Chipmaster so I felt I owed this beautiful little machine that.
Paul.
- Joined
- Jul 26, 2013
- Messages
- 584
Did you find them kept outside? The are truly wonderful looking machines now!
Hello Chester,
I tried to answer your question, twice, this morning but the gremlins that have been at play on this site made it all vanish.
The drill press had been outside for a few months and, although you see a lathe in the background, the Bertram lathe was purchased at another location. Both machines were so liberally coated in oil, grease and grime that there wasn't even a hint of rust anywhere and all nuts, bolts and screws came apart easily.
As with most machines of this vintage, grease has been used on the oiling holes at some point.... hardened grease renders these oiling points useless, so I highly recommend to anyone purchasing old machinery, to go through the process of tearing down and cleaning all of the oiling holes and passageways before using the machinery.
The drill press just needed a tear-down, cleaning and a coat of paint and it was good to go. The lathe, on the other hand, needed a fair bit of dental work. I was showing my brother the lathe and sped her up in high gear, when suddenly, teeth were flying everywhere; with the two of us taking cover.... :yikes:
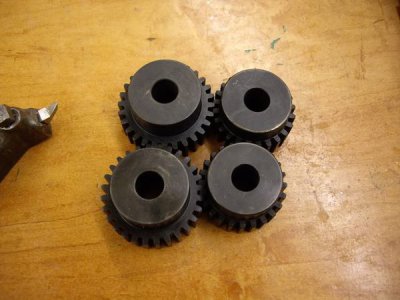
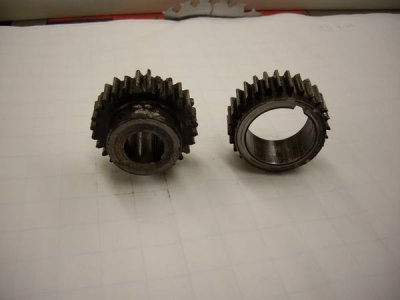
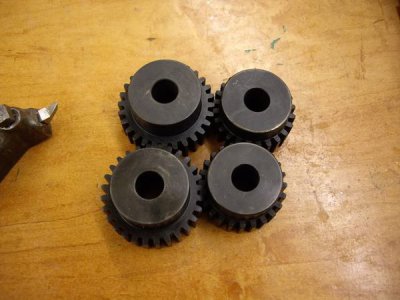
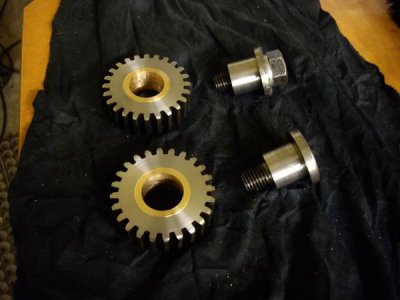
Both tumbler/reverse gears as well as the spindle gear and driven gears were toast. I ended up bringing in the crippled gears to a local distributor for Boston Gears and had them measure and order 4 stock gears.
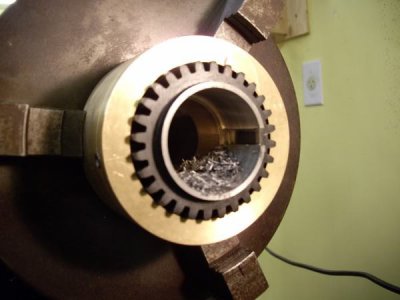
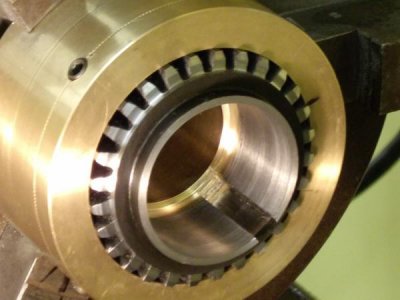
The stock gears still needed to be faced, bored, bushed, counter-bored and keyed. I was somewhat intimidated at first, since I was brand new to machining, but with the helpful advice from folks like you, I managed to get them machined and learned a great deal at the same time. This whole process has given me a great deal of confidence in going forward. If we didn't have such a great community of online forums like this, my learning curve would be much steeper and longer...
Here's a few pics of the process....
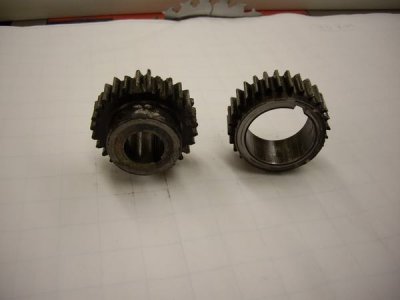
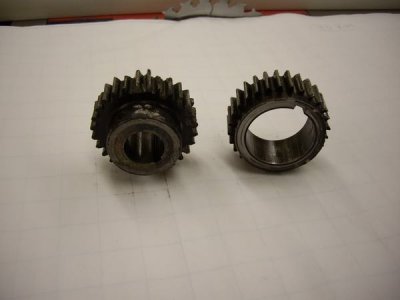
The spindle and driven gears... post "spitting out of teeth" ...
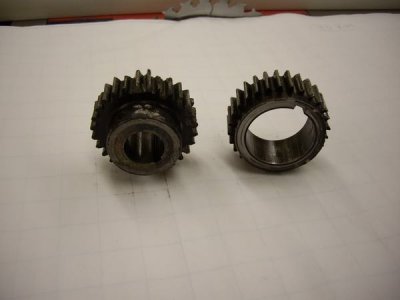
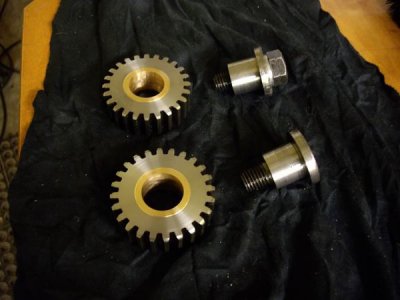
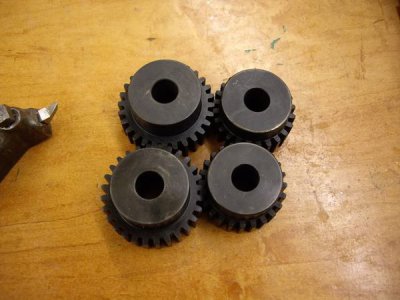
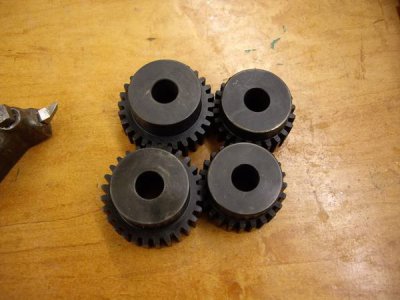
Four new gears...
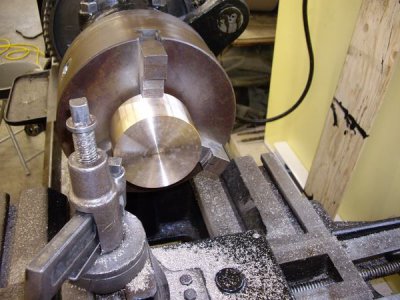
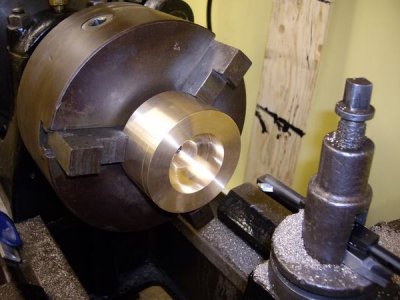
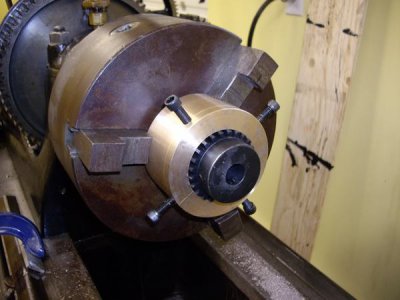
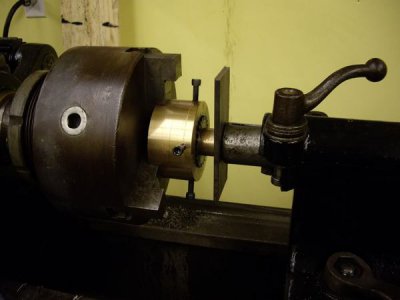
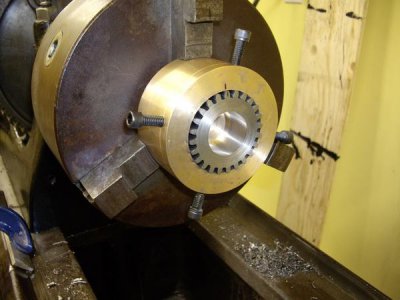
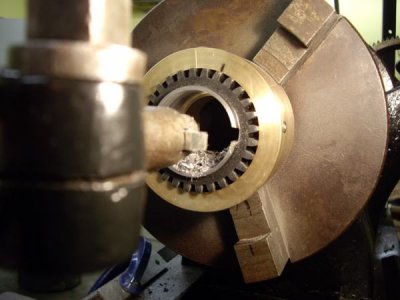
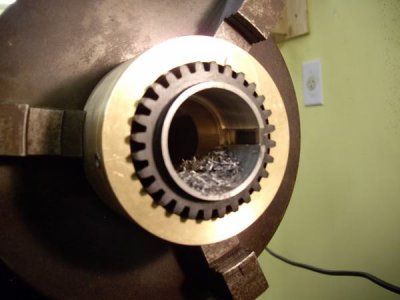
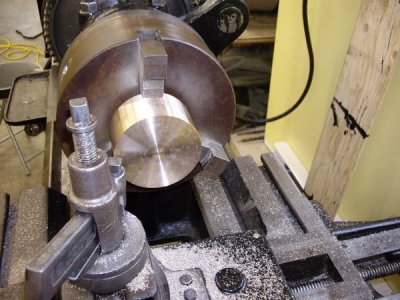
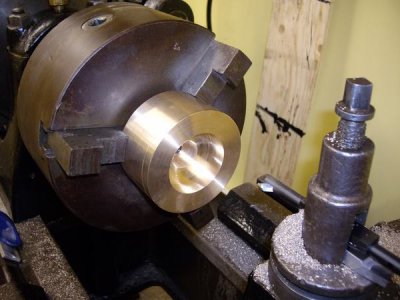
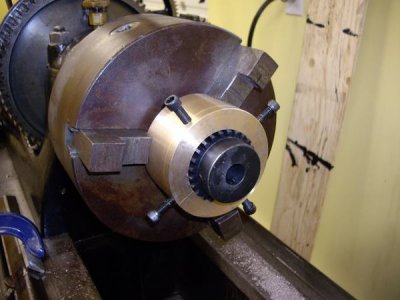
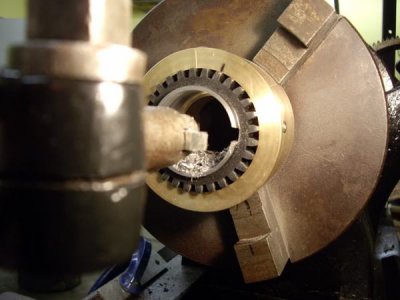
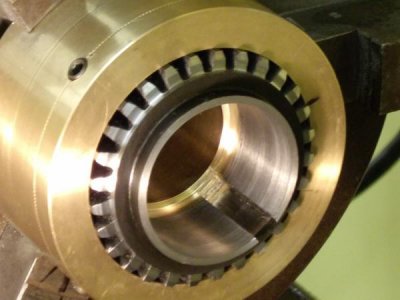
Making a "pot chuck" to ensure concentricity of the gear tooth diameter to the bore, in a 3-jaw chuck...
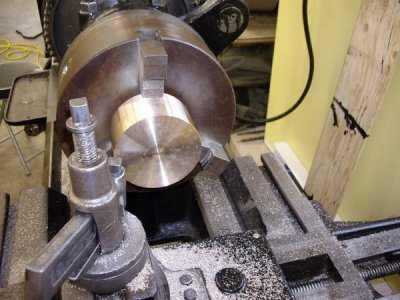
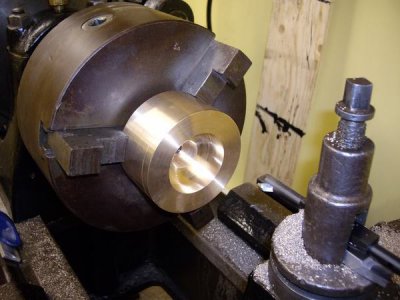
Here's the start....
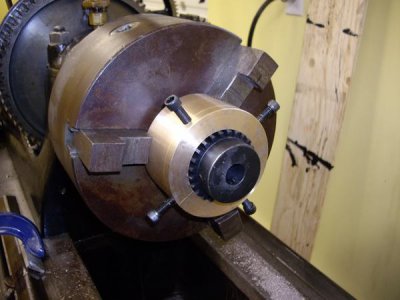
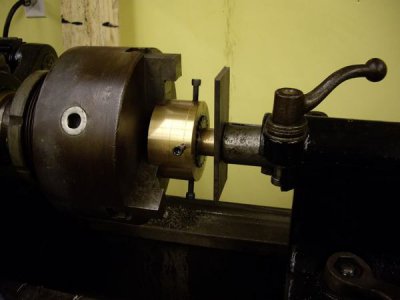
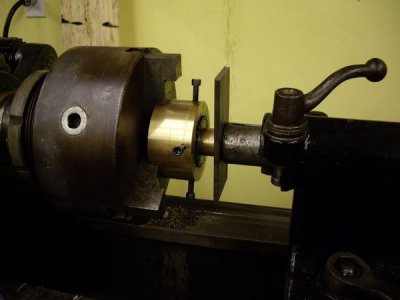
Pushing in a bushing with the tailstock ram...
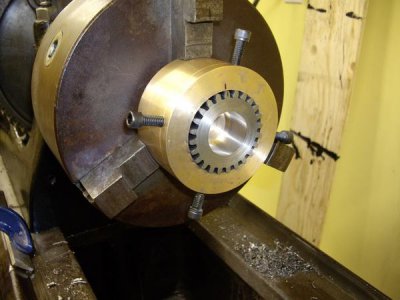
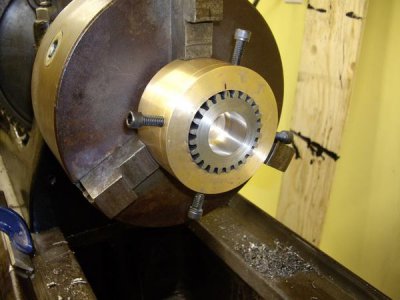
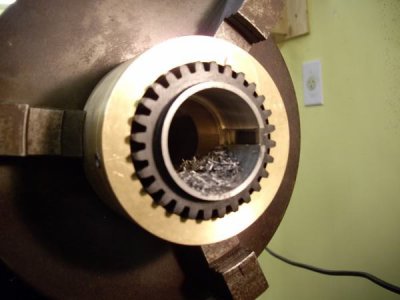
Bushed and counter-bored...
Oops.... wrong pic....
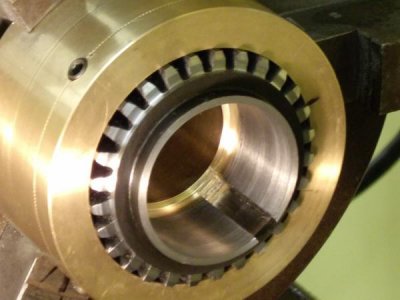
Bushed and bored...
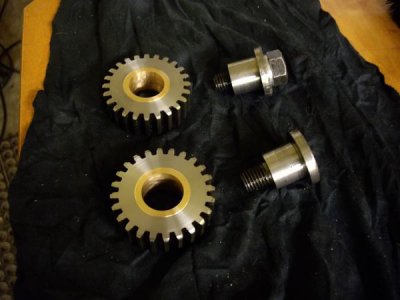
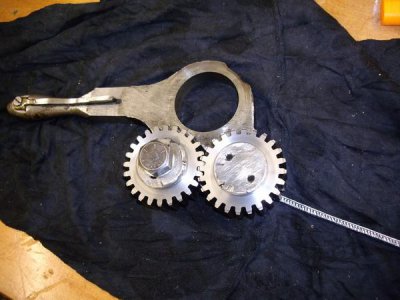
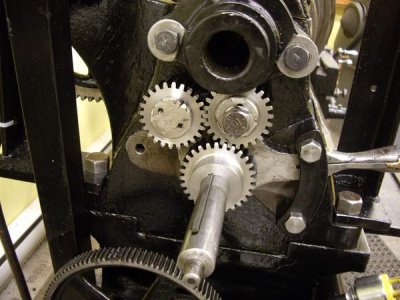
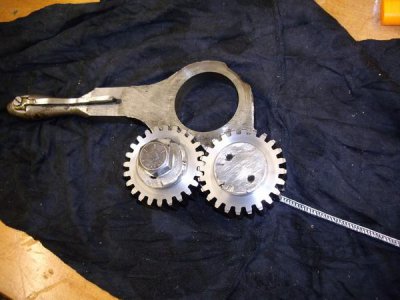
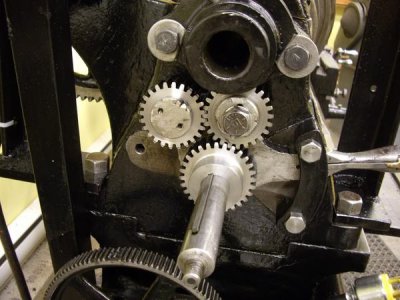
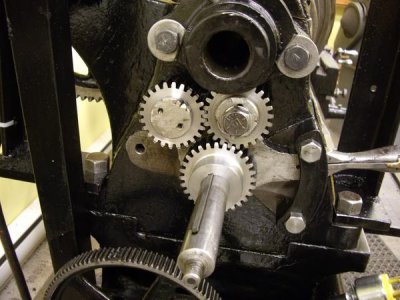
Tumbler/reverse gears machined and installed...
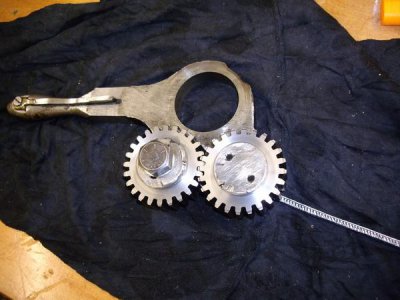
Spindle gear being keyed on the lathe...
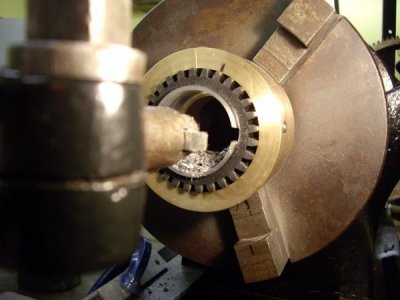
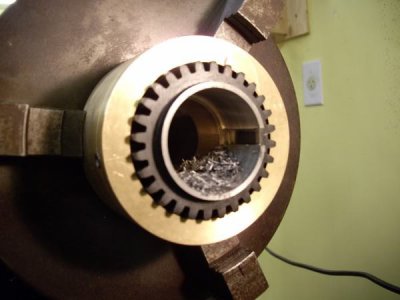
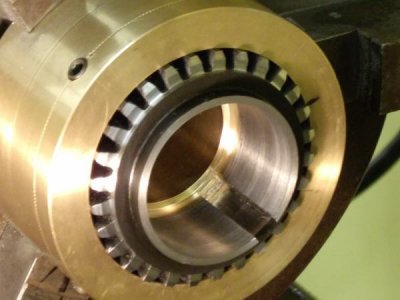
All four gears machined and installed....
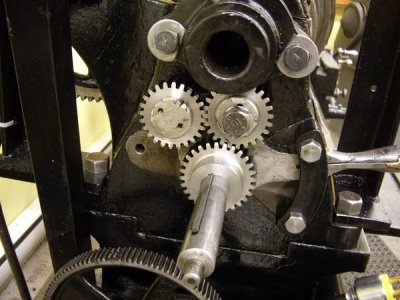
I was very happy with how it all turned out.
Cheers....
Brian
- Joined
- Mar 5, 2012
- Messages
- 315
wow, some real nice tricks you used. I don't understand how you did your keying on a lathe, would like to learn this. Thanks ChesterHello Chester,
I tried to answer your question, twice, this morning but the gremlins that have been at play on this site made it all vanish.
The drill press had been outside for a few months and, although you see a lathe in the background, the Bertram lathe was purchased at another location. Both machines were so liberally coated in oil, grease and grime that there wasn't even a hint of rust anywhere and all nuts, bolts and screws came apart easily.
As with most machines of this vintage, grease has been used on the oiling holes at some point.... hardened grease renders these oiling points useless, so I highly recommend to anyone purchasing old machinery, to go through the process of tearing down and cleaning all of the oiling holes and passageways before using the machinery.
The drill press just needed a tear-down, cleaning and a coat of paint and it was good to go. The lathe, on the other hand, needed a fair bit of dental work. I was showing my brother the lathe and sped her up in high gear, when suddenly, teeth were flying everywhere; with the two of us taking cover.... :yikes:
Both tumbler/reverse gears as well as the spindle gear and driven gears were toast. I ended up bringing in the crippled gears to a local distributor for Boston Gears and had them measure and order 4 stock gears.
The stock gears still needed to be faced, bored, bushed, counter-bored and keyed. I was somewhat intimidated at first, since I was brand new to machining, but with the helpful advice from folks like you, I managed to get them machined and learned a great deal at the same time. This whole process has given me a great deal of confidence in going forward. If we didn't have such a great community of online forums like this, my learning curve would be much steeper and longer...
Here's a few pics of the process....
The spindle and driven gears... post "spitting out of teeth" ...
Wow, some nice tricks there. I don't understand how you did your keying on a lathe, like to find how you did this? Chester
Four new gears...
Making a "pot chuck" to ensure concentricity of the gear tooth diameter to the bore, in a 3-jaw chuck...
Here's the start....
Pushing in a bushing with the tailstock ram...
Bushed and counter-bored...
Oops.... wrong pic....
Bushed and bored...
Tumbler/reverse gears machined and installed...
Spindle gear being keyed on the lathe...
All four gears machined and installed....
I was very happy with how it all turned out.
Cheers....
Brian
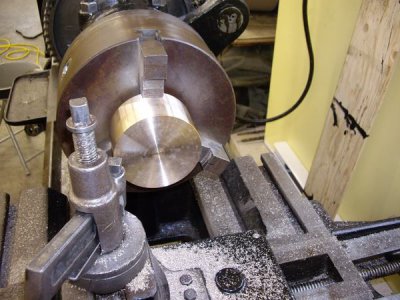
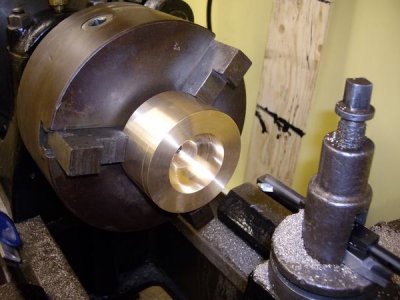
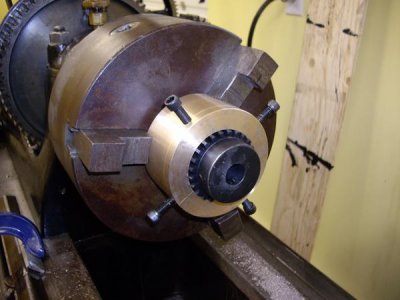
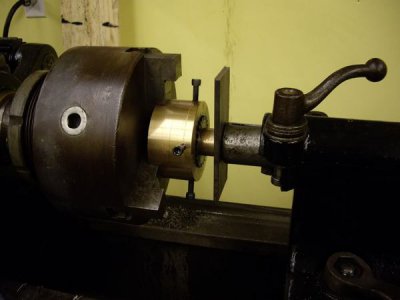
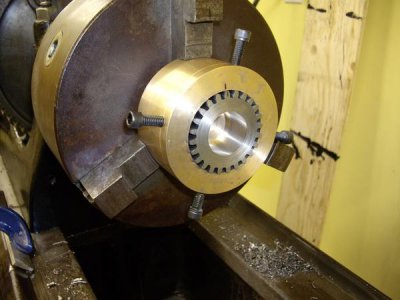
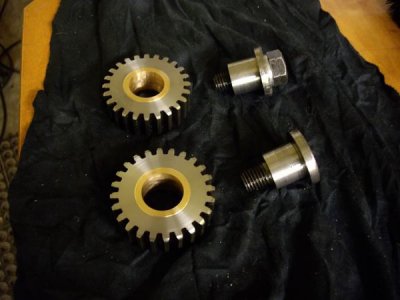
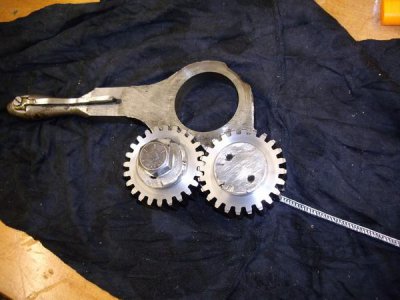
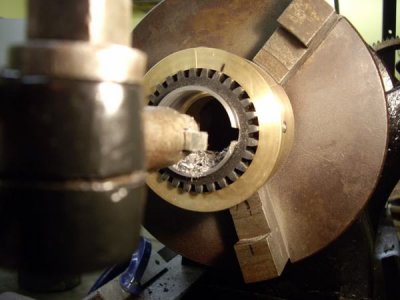
- Joined
- Jul 26, 2013
- Messages
- 584
wow, some real nice tricks you used. I don't understand how you did your keying on a lathe, would like to learn this. Thanks Chester
Hello again, Chester,
This method of keying is a little time consuming, but it worked for me. I used the stout boring bar that I was using to bore the gear with, and replaced the cutter with a 1/4" HSS tool blank with just a 7 degree back rake with the cutter at right angles to the boring bar. This size of cutter was ideal, as the keyway needed to be 1/4". Next, I put the lathe in back gear and unplugged it... (No Power for this operation) other that your muscle power. In addition, I lightly drove a wedge between the cone pulley and the casting to eliminate any movement of the spindle.
After bring the boring tool bit into light contact with the bored gear, I rotated the boring bar in the holder until I could see that both tips of the tool bit were leaving an identical scratch on the bore of the gear. In other words.... your cutter must be square to cut properly and to have the keyway concentric.
Once I had it set up properly, I fed the tool only about .001 at a time and used the hand feed wheel to run the carriage in and out of the bore. There will be some spring, so take a few passes with each advancement of the tool until your ears tell you to advance again. This keyway took me about 5 minutes to cut.
As others have cautioned..... If your lathe is very small, this could cause damage to the pinion gear or rack. The lathe I was working on was rather large.
Brian
- Joined
- Mar 10, 2013
- Messages
- 324
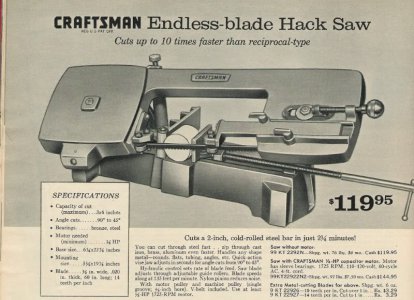
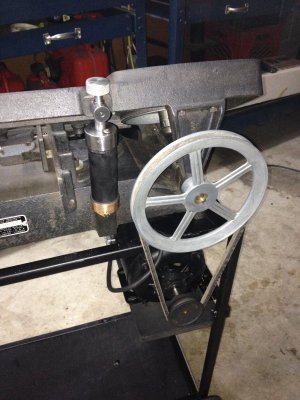
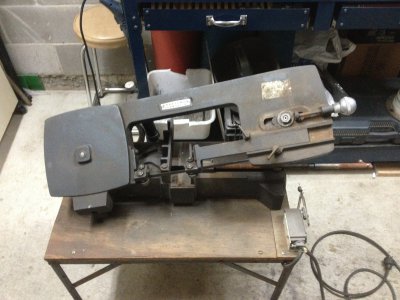
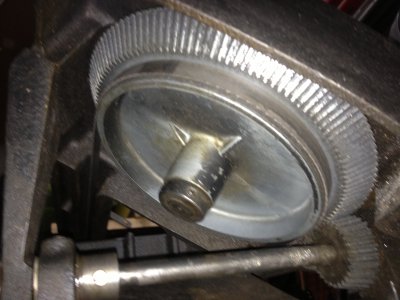
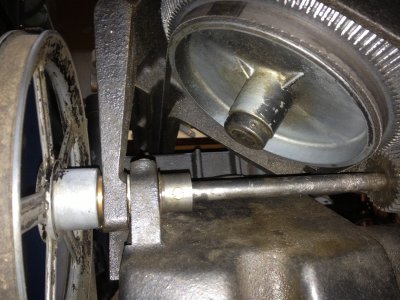
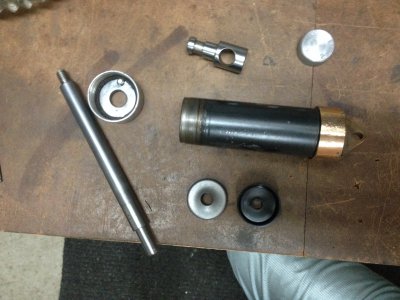
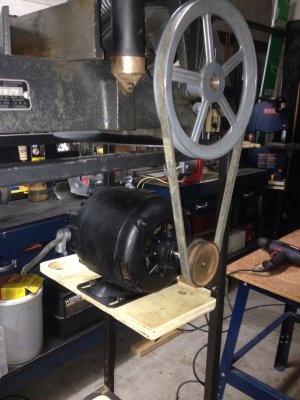
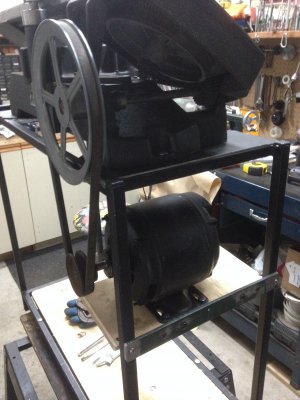
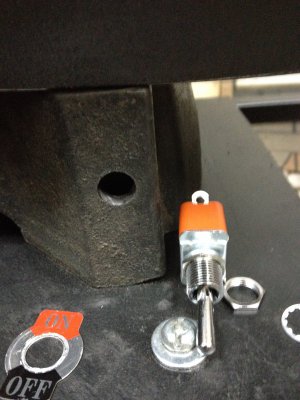
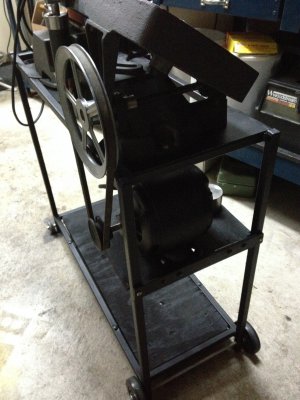
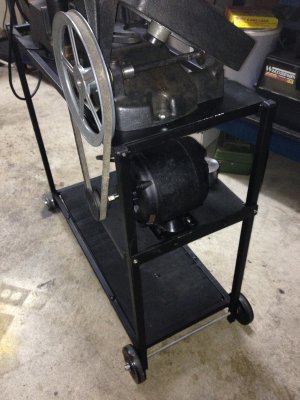
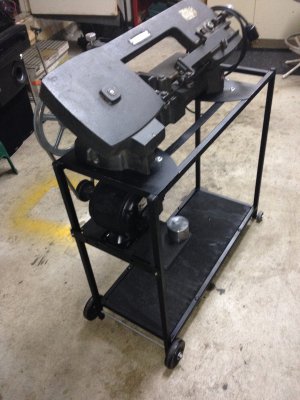
It's not a lathe or mill but I just got this off kijiji last week for $45. off the original owner.
This model was purchased in 1956 & made in the mid 50's by Atlas and a few others but Craftsman had these made for a long time. Sears still sells parts for these as well. It uses a 1/2" x 60" blade.
It is in such good condition I refurbished it.
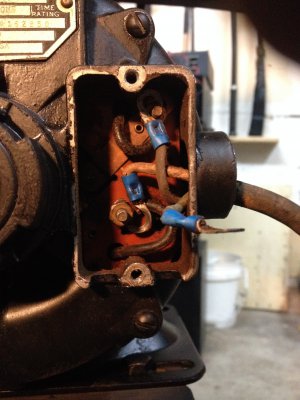
First I rebuilt the drop cylinder. It didnt work before. I polished the cylinder valve on my 7 x 8 lathe, made a new knob and polished the rusty parts. I cleaned the vise screw, Rebuilt the 1/4hp motor, rewired it with a proper drop switch. The piece of steel on the motor plate is for added weight on the drive belt if needed & a little sand blasting to clean a few parts. I then made a stand with wheels from a 40 gal fish tank stand.
I spent another $20 on new switch and a new cord / plug, wheels & paint. With about 10 hours to finish the saw.


Hi, I would guess you could so do this on a milling machine, if like me,who has a small SB lathe. I always thought you needed a key cut machine to cut a key, once more I am wrong. I thank you for your tip, would have never came up with this. ChesterHello again, Chester,
This method of keying is a little time consuming, but it worked for me. I used the stout boring bar that I was using to bore the gear with, and replaced the cutter with a 1/4" HSS tool blank with just a 7 degree back rake with the cutter at right angles to the boring bar. This size of cutter was ideal, as the keyway needed to be 1/4". Next, I put the lathe in back gear and unplugged it... (No Power for this operation) other that your muscle power. In addition, I lightly drove a wedge between the cone pulley and the casting to eliminate any movement of the spindle.
After bring the boring tool bit into light contact with the bored gear, I rotated the boring bar in the holder until I could see that both tips of the tool bit were leaving an identical scratch on the bore of the gear. In other words.... your cutter must be square to cut properly and to have the keyway concentric.
Once I had it set up properly, I fed the tool only about .001 at a time and used the hand feed wheel to run the carriage in and out of the bore. There will be some spring, so take a few passes with each advancement of the tool until your ears tell you to advance again. This keyway took me about 5 minutes to cut.
As others have cautioned..... If your lathe is very small, this could cause damage to the pinion gear or rack. The lathe I was working on was rather large.
Brian
- Joined
- Jul 26, 2013
- Messages
- 584
Hello Chester,
Great idea... !!! A milling machine quill would have a good deal of strength both axially and laterally. I never would have thought of that....
Of course, a good sized arbor press and a set of broaches would do the job nicely, but this gear had a 2" bore, so one would have to manufacture a custom bushing to suit.
Great thinking outside of the box, Chester.
Brian
Brian, your ideal of using a boring cutting tool is thinking out of the box! Only because you mention a small lathe mite not work made me think about a Milling machine. Take the points, your ideal is great, never would of came up with that. I Thankyou once more, Chester

