Servo Punch Press

JimDawson

Global Moderator
Staff member
H-M Lifetime Diamond Member
Joined
Feb 8, 2014
Messages
11,176
A customer asked me to build a special high speed punch press for punching some plastic parts from a strip. I can't go into any product detail, but I can give the general specifications for the machine.

Target speed: 600 hits/min, more realistically 300 or so I'm guessing.
On-the-fly infinitely variable feed length from 1 inch to 6 inches
Easily adjustable for different punch patterns.....More on this later.
Because it's punching plastic, a push-pull feed system
1.8KW servo drives on both the feed and crankshaft drive.
Touch screen operator interface.
2 axis Galil motion controller

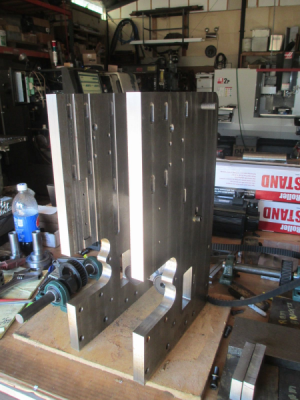
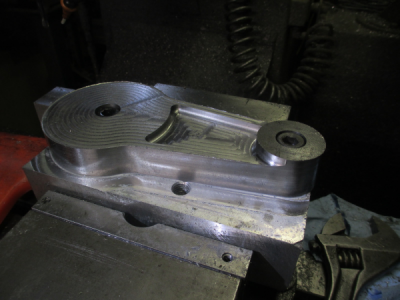
Just a teaser picture...I'll post more later

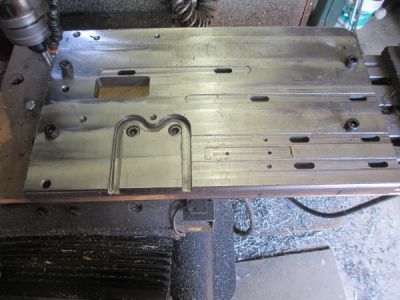
One of the side frames 12x20x1 A36 steel
1536272287686.png
 
A customer asked me to build a special high speed punch press for punching some plastic parts from a strip. I can't go into any product detail, but I can give the general specifications for the machine.

Target speed: 600 hits/min, more realistically 300 or so I'm guessing.
On-the-fly infinitely variable feed length from 1 inch to 6 inches
Easily adjustable for different punch patterns.....More on this later.
Because it's punching plastic, a push-pull feed system
1.8KW servo drives on both the feed and crankshaft drive.
Touch screen operator interface.
2 axis Galil motion controller

Just a teaser picture...I'll post more later

One of the side frames 12x20x1 A36 steel
View attachment 275030

Subscribed!


Sent from my iPhone using Tapatalk
 
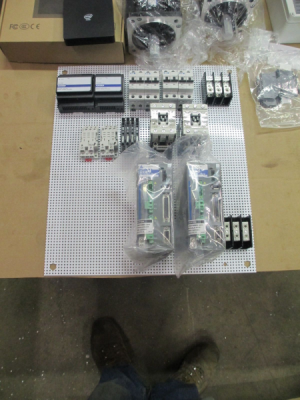
A quick overview of the electrical
The basic panel layout, DMM DYN4 1.8KW servo drives, and the rest of the hardware is from Automation Direct
1536336509398.png
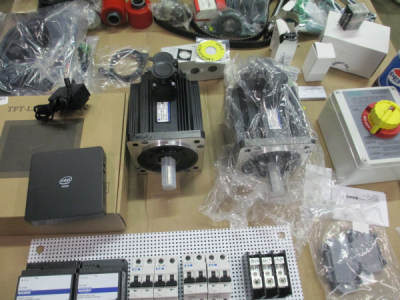
The DMM 1.8KW servo motors, and other bits & pieces
1536336550754.png

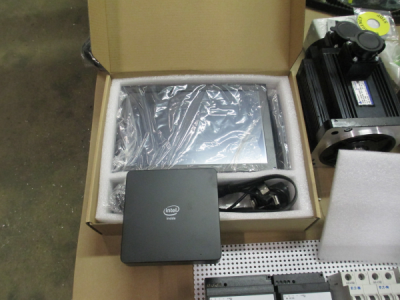
The fanless micro computer w/Win10 and a 10 inch touch screen.
1536336584664.png
 
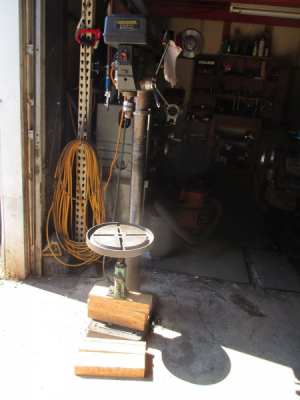
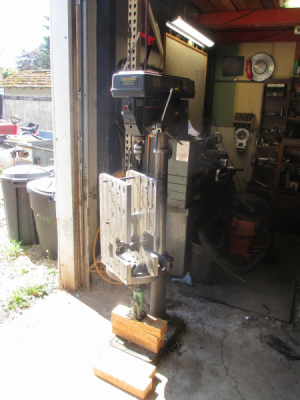
I had to drill & tap four 3/8-16 in the top of the frame to secure the top cover plate. The only machine I have with enough height to handle 22 inches is the old Harbor Freight drill press. It normally has a counter sink in the chuck for deburring, almost never actually drills holes.

1536365150828.png

So first beef up the DP table a bit, don't want to break it off when I set 150 lbs of iron on it.
1536365361195.png

I got the holes drilled & tapped and I didn't kill the DP :)

1536365413980.png
 
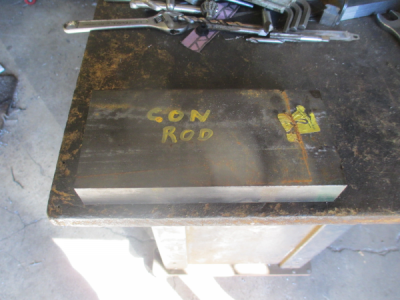
The next part is the connecting rod. Material = 4150, so we start out with a chunk 8 1/2 x 4 x 1 1/4.

1536592896371.png

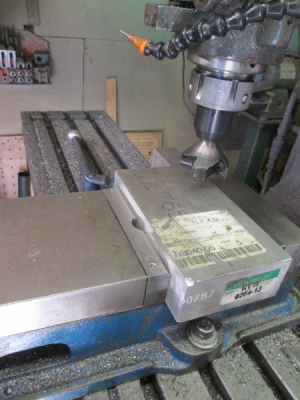
First mount up a ''spoil plate'' in the mill vice to bolt the work to. The aluminum is just a piece of stock I had on the shelf, when done with this project, it will go back on the shelf and get used for something else.
1536593185284.png

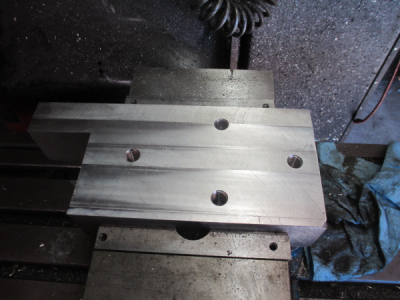
Face off and drill & tap 1/2-13 mounting, the side holes will be used later. Since there are several operations, I spent quite a bit of time ''machining'' the part in my head to get the order of operation and work holding correct. I set the stock on top of the aluminum aligned it and clamped it down, and set the 0,0 at the top right edge. Then I scribed a line and witness marks to be able to locate the part again. This insured that the holes in the aluminum and in the stock agree in location. This 0,0 location will not change until the job is completed.
1536593404286.png

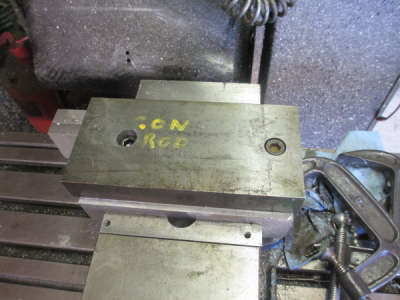
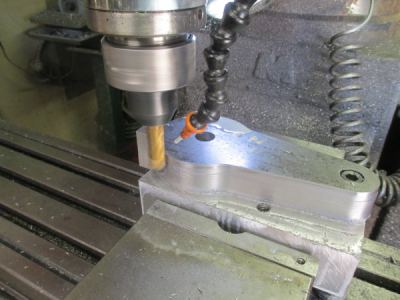
Since the entire outside needs to be profiled it gets bolted down at the bearing and pin ends. That allows access to the entire outside and for other operations. The bearing bolt is counterbored deep for a reason.
1536593510096.png

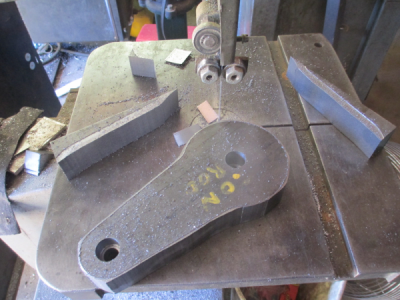
Then I took a 0.010 deep pass to mark the profile, then unbolted the part and over to the band saw to remove the bulk of the material to save spindle time.
1536594069987.png

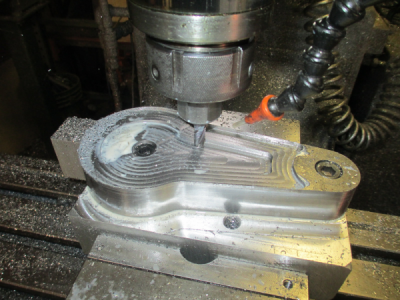
Then back in the mill to run the roughing passes. The bolts don't have a lot of clearance, but I'm sure the part did not go back on exactly the way it came off, but it doesn't matter, the OD will clean up to size on finishing and everything else will be relative to the current location. Using a 1/2 rougher, full depth, with about 0.050 width of cut.

1536594397727.png

And the finishing pass, 5/8 Harbor Freight 4 flute. It's what was in the holder. :)
1536594594516.png

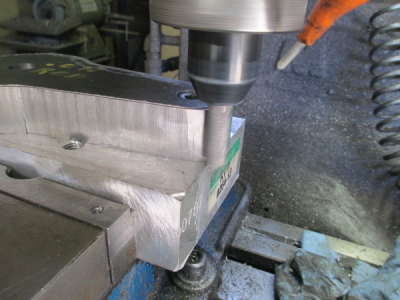
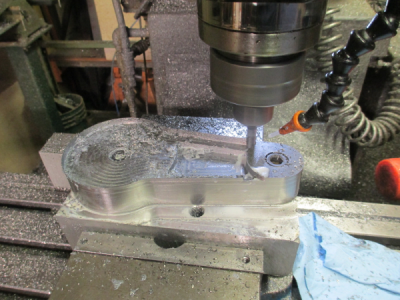
The crank end is 18mm thick, but the pin end is 1.25 so half of the difference needs to be removed from each side of the rod. So remove 0.270 in two pocketing passes with a 3/8 rougher. Now you see why the bearing end bolt was counterbored deep.

1536595042648.png

Then pocket out the center web another 0.250 deep just to remove some mass, and do some other cleanup in preparation for machining the radiuses with a 1/4 ball end mill.

1536595290550.png

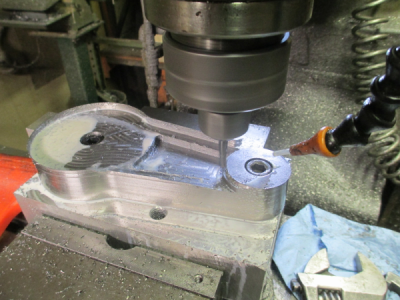
Machining the radiuses, don't want any sharp corners that would cause stress risers.
1536595403549.png

And the first side is finished. Now it gets flipped over and the same operations are performed on the other side.
Then once that work is done, the bearing and pin holes will be bored.

1536595519777.png
 
Hi Jim,

If that were me drilling the holes in the top of that hunk of metal, I would have put it on the foot of the drill and dropped the head down to suit !
Reminds me of drilling out holes that were too small in a propshaft spider that was already welded up.
 
Hi Jim,

If that were me drilling the holes in the top of that hunk of metal, I would have put it on the foot of the drill and dropped the head down to suit !
Reminds me of drilling out holes that were too small in a propshaft spider that was already welded up.

That would work. The problem with doing that on that particular drill press is that the head won't drop without extensive modification. :)
 
Hi Jim,

Oh thats a bugger ! My floor standing drill press at the time was a "Fobco Star" 1/2" with a column that passed through the drill head. That made it easy to lower it, right to the floor if needed. I originally had three of them, two floor standing and one bench mount. I kept the bench mount one !

The number of times I wish I had kept one of the others. Annoyingly the floor standing ones were a couple of years newer with 16 mm chucks, and bigger tables.

Edit: Sorry it is the bench one with the 1/2" chuck.
 
Back
Top