rung fu clone RF-45 ZX45 cnc conversion

CNC, the better, faster way to destroy tooling.

I may have posted this in another thread but... anyway. For my first CNC project on my mill, I was working on a bracket for the limit sensors. Material was 16ga, CRS sheet. I purchased 4 brand new 4 flute HSS end mills (I figured I should order extras). I then proceeded to destroy them all in the space of about 30 minutes... Trial by fire...

I managed to finish up with a 2flute, but it was painfully slow.

My advice is to purchase cheap end mills until you get the hang of things, cause your probably gonna break quite a few. Once you get the hang with the cheap stuff, the good stuff will work that much better ;)
 
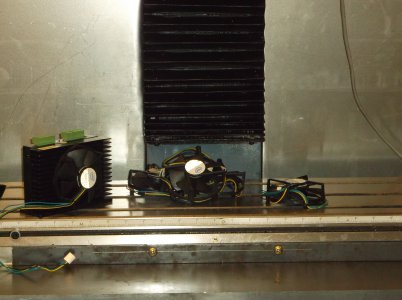
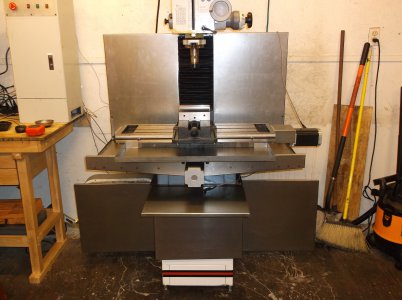
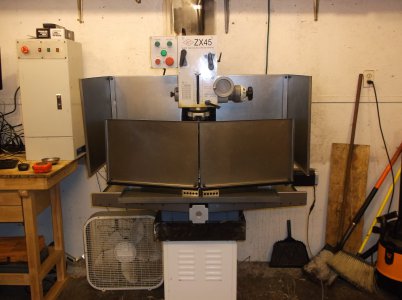
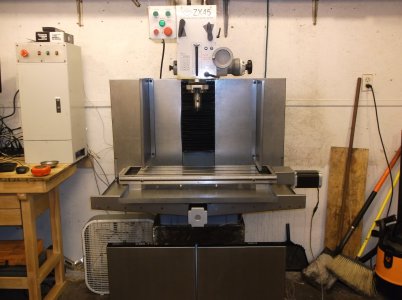
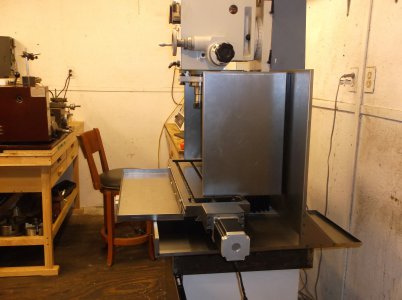
I got a little done on the enclosure and the cooling fans for the controllers came today $2.95 each new.
the light sensors for the alarm circuit also came.
steve

DSCF0293.JPG DSCF0294.JPG DSCF0295.JPG DSCF0296.JPG
 
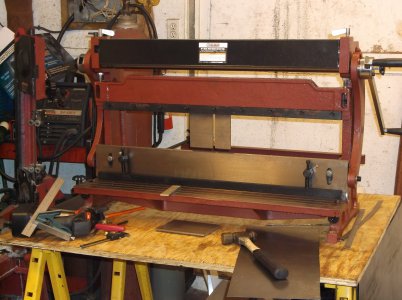
Pretty cool brake you picked up there. The enclosure is coming along nicely.

What gauge and material are you using?


M
 
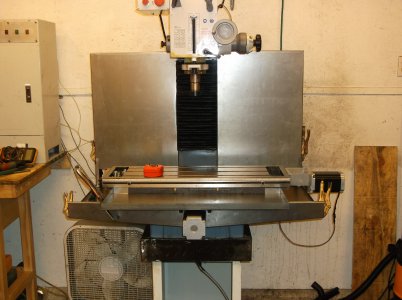
i'm using 20 guage and going to spot weld it together. I figured out that to put the entire mill in an enclosure that would allow full travel it would be about 76x48 and that would take up a lot of room for travel i will only be needing once in a while. so i decided to make it a tormach style of enclosure and some moveable shields. I have never used a box brake or spot welder before . the cutting and bending is going well i hope the spot welding goes as easy. the welder is a harbor freight so i will have to be real careful about duty cycle. i'll practice on scrap before i start on the enclosure.
steve
 
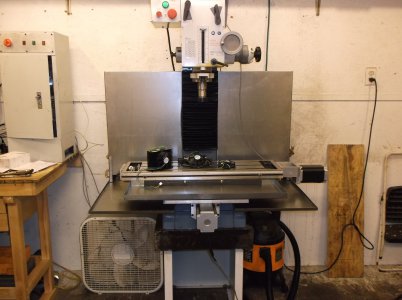
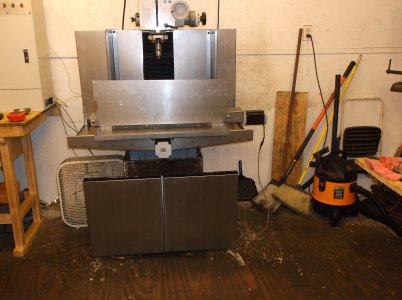
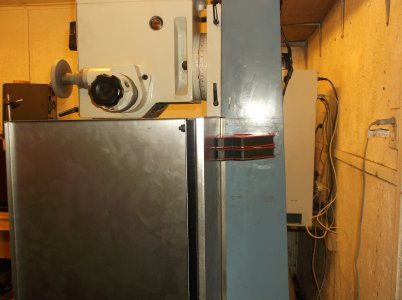
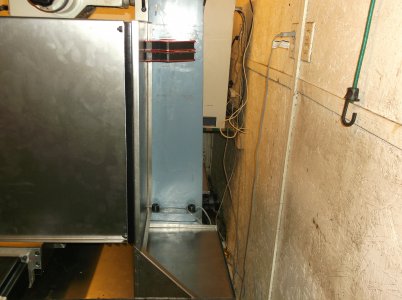
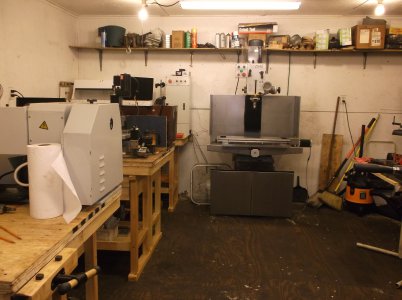
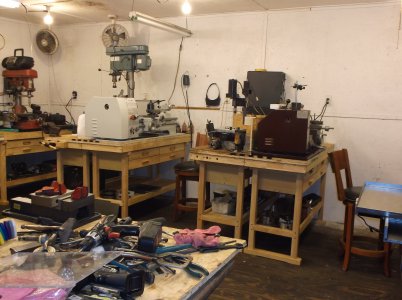
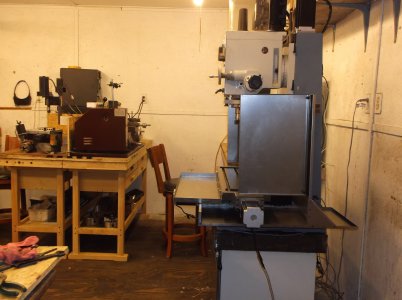
here is what i have decided on for an enclosure for now. it is removable panels of different sizes. i didnt want to restrict the machines work envelope by confining it in a ridgid enclosure. there will be more panels made as needed when i get a working flood system set up. the entire setup can be removed in minutes if needed and reshaped per projects needs. the drain holes and sealing the seams has to be done yet. I also included some pics of how the shop is shaping up.
steve
[video=youtube;7dxWv7PMS1c]http://www.youtube.com/watch?v=7dxWv7PMS1c[/video]

DSCF0330.JPG DSCF0333.JPG DSCF0334.JPG DSCF0335.JPG DSCF0336.JPG DSCF0337.JPG DSCF0338.JPG DSCF0339.JPG DSCF0340.JPG DSCF0341.JPG
 
my mill got it's first wet test today I added the flood cooling and i made a 3/8" wide by 1/2" deep pass with a corncobb 5/8 mill at 2.0 ipm in mild steel. it did it well but it sure makes me nervous to make big cuts. that was as hard as i want to push her ( the machine did nothing wrong i just dont want to cause undue wear ) I like a lot of faster shallow cuts. the enclosure worked well and the stream kept the chips clear. in deep pockets i will need to add air probably i dont think there is enough pressure to push the chips up and out. i need more coolant mix i had 1 bottle of cool mist that said it makes 1 gallon. i needed 1-1/2 gallons to test the pump so i added more water and got rust :lmao::lmao::lmao: thats probably why they say it makes 1 gallon. I also added the cooling fans to the drivers for x and y it was an easy add on just 2 wires from the 15v power supply. i was playing with different microstep settings and now i'm trying 800ppr, i make a lot of very small parts and slow feeds for small endmills and the mill had a sound that would drive you nuts, 800ppr sounds better at low feed rates. it doesnt seem to matter what i set it at there is always one place you will find that the harmonics really get going. hopefully it is at a feed rate i dont normally use much. if i step up from 2 to 50 it will be in there somewhere depending on the ppr. the highest i ran so far was 5000 at real low rates that sounded like static in a radio... the thin stand it on needs about 4 bags of sand in it i think leaning against the sides. the z axis just purrs what ever setting it is at.
steve
 
I am happy to say i am done with this mill until i have or build a 4th axis to install. all of the problems i have been having came down to one mistake in my original setup. being of the more is better club i had set the controllers to 7.5 amps for the 1600 motors when they only draw 3.5 well with no real paperwork to understand how this controller works i have figured out through trial and error after error that i was "sending" 7.5 amps and that was causing the alarms to trip and motor heat. after setting the driver to 3.5 and resetting my steps per inch back up to 5000 per inch she is quieter at any speed and never faulted once in 5 hours of repeated cycles. I tried to make it fault and could not. she is ready to go to work building the parts to cnc my 9x20 lathe and it will be nothing like this build. acme screws and simple circuits.
any information anyone may want including cad drawings are available just ask i'll be happy to send anything you may need.
I also built an air mist cooling system to go with my flood system today out of parts i had around an old engine cleaning siphon gun.
the best i can figure including metal i purchased the new mill and all required parts, shipping and tax i got it done for about 4200
steve
 
That is a sweet enclosure and a great looking set up all the way around. Sound like you got it dialed in and hummin right along now too. Congrats on a great build.
Bob
 
Back
Top