Repouring a Babbitt bearing headstock

Why not just push the headstock to the center of the bed or atleast far enough over to put a fixture on either end of the headstock to hold the spindle square to the bed in all directions?


Regards-Carlo
Edit: I didn't see your other posts. I have figured something along the lines of a line boring fixture would've been your best bet in pouring and machining the new Babbit to correct tolerances and alignment.
 
Last edited:
Yes, but the lathe may well outlive you. ;)

As to having enough threads, read any of the collet closer instructions. The closer sleeve replaces the threaded collar. You made the spindle longer, and I just couldn't see any reason to do that except to avoid the necessity to remove the collar. But you are correct. If you never intend to use any collets, short term it's a moot point.
 
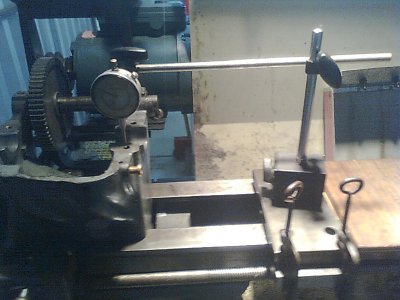
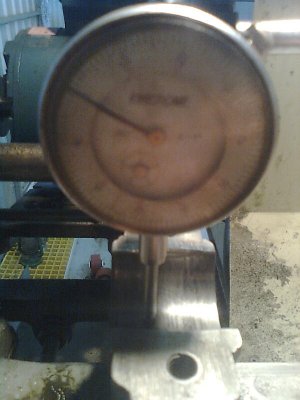
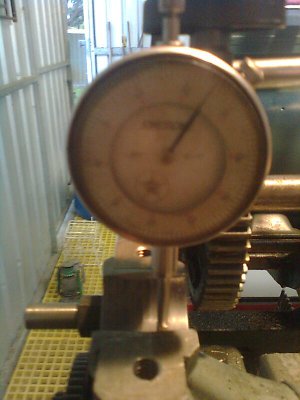
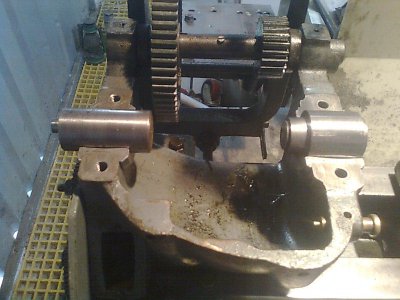
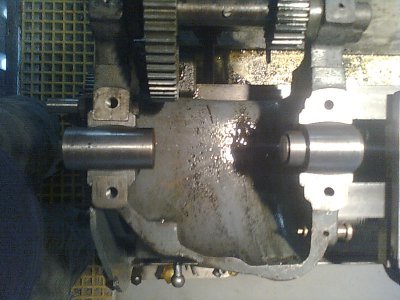
I actually didn' have to repour/modify the babbit. As it turns out there was no real wear in the journals. Found a couple of pieces of scrap PG bar to place in the journals to check cap clearances. Set up a dial gauge over the bare(caps off) headstock to check difference between the two(.125"+/- .00025"), and checked the bottom of the journal along its length(+/- .00025"). May have had a little wear in the caps, due to the original spindle being undersize .002" at left end, .006" at right end. After running in ended up with just under .0015" clearance in right journal after all the oil has drained away. It's done some relatively heavy turning and some interupted cuts and doesn't appear to be getting any worse.
Oh and apologies for hijacking the thread!
 
Gentlemen;
This is a really interesting thread, as I also have an H36, 10" Atlas with Babbitt bearings (76 years old!). I pulled the bearing caps off, cleaned up the journal surfaces, and put in some Plasti-gage to see what my clearances were. If I did it correctly, the clearance was .0015 on both journals. Not being a bearing expert, I'd like some reassurance that this is OK, and that I need not concern myself with headstock replacement issues. Thanks in advance,
Lou O.
 
Lou,

All of my actual experience with babbit bearings has been in vehicle engines with forced oil lubrication. So I don't have any feel for what's OK in an Atlas. Go to Downloads, machine manuals, Atlas, Atlas lathe manuals, and Repairs and Technical Bulletins. Look for Atlas Babbit Spindle Bearings,pdf, and download it. I extracted this from an early edition MOLO. This says that the proper fit will have a slight drag when you try to turn the spindle under no load conditions (belts slack and change gears in Neutral or disconnected). I assume that that is with oil in the oil cups. And this is with one bearing cap loose and one torqued down. If you don't get that feel with either journal tight, you need to remove a shim from one side, re-torque the journal, and re-check. But read the screed first.
 
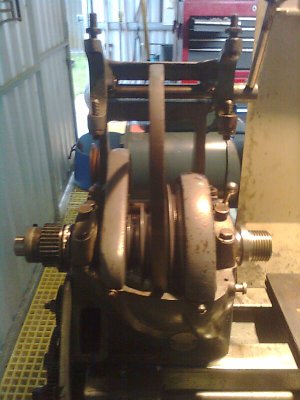
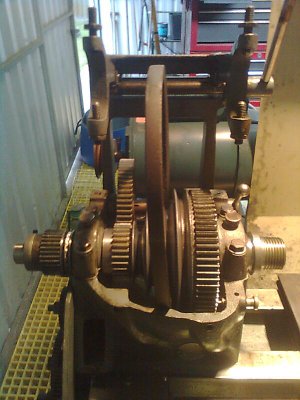
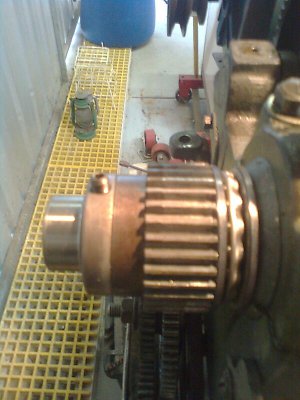
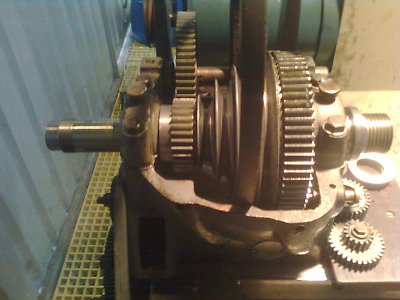
101.jpg 102.jpg 103.jpg 104.jpg 105.jpg 106.jpg 107.jpg 108.jpg 109.jpg 110.jpg
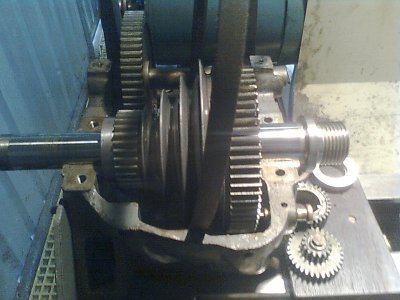
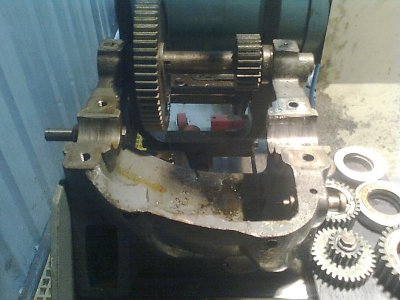
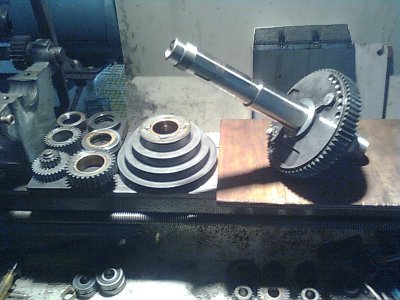
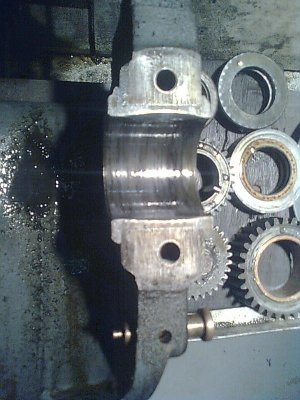
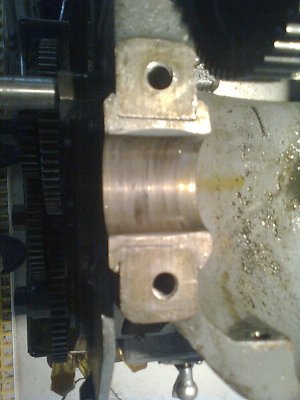
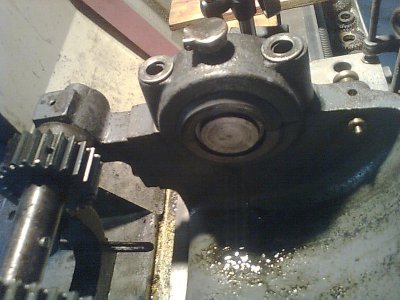
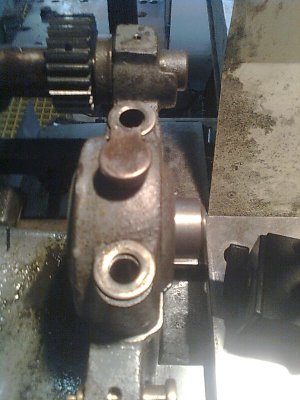
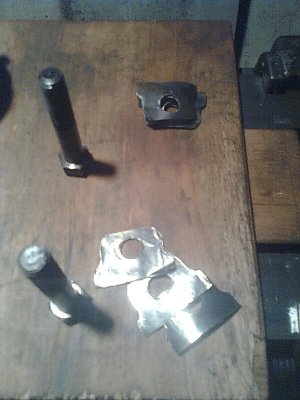
Journals aren't overly flash, some light scoring, dark and polished areas. Measuring overall parallelism of journals and height difference(.125"). Bit of correct size material to check fit in journal and clearance of caps, then cut shims to suit. Make new spindle.
Bearing in mind, old spindle was really bad. Babbit wasn't worn at all. Pays to check.
 
.0015" should be OK, if your spindle is in good shape and you still have some shims under both caps.
 
Tim;
Thanks for the reply. When I first took the bearing caps off to do the Plastigage thing, there were no shims on the front bearing, and only 3 shims on one side of the rear bearing. I measured with the Plastigage once, to get a feel for where the bearings were originally. The rear bearing had more clearance, so I took out 1 of the shims and measured it again, with the result on both journals very close to .0015. So, my only option now is to maybe face off the bottoms of the bearing caps, if I need to close the gap further. At this point, as long as the lathe alignment is true, I'll probably be alright for another 10 years anyway without any changes. Do you concur?
Lou O.
 
Lou,

I would first remove one more shim from one side of the left bearing cap and repeat the plastigauge test. You should get the same results. Then after removing all of the plastigauge, check the spin feel with first one pair then the other pair of bearing cap bolts loosened. If it spins freely, as it should, I would use very fine wet-or-dry paper on a good surface plate to try to reduce the clearance slightly. Never under any circumstances would I try to use a mill to reduce the clearance.

The bearing care instructions in the MOLO were written long before Plasti-gauge was invented. And my only actual experience is this area is with Land Rover petrol and diesel engine crank and rod bearings, Which are a different set of circumstances since those engines ran with typically 30 to 50 PSI oil pressure. So I have no idea what Plasti-gauge indicated clearance corresponds to "a slight drag". You will have to determine that experimentally. On the bright side, should you find that you have gone too far with the sanding, you can always add shims to increase the clearance again. :)
 
Back
Top