POTD- PROJECT OF THE DAY: What Did You Make In Your Shop Today?

Daughter & I did another struggle with 3D printing. Ended up with a plugged nozzle. The plug had turned the ABS plastic into charred solid rock. I had a hell of a time getting it clean. Acetone didn't touch it. When we left tonight the test print was at 40% and looking good. Ender 3 machine, cost about $150 6 months ago. How do they manage to make such things so cheap? The motion control is very good.
 
Interesting post, Bruce. I've spent most of the day on a similar challenge. One of my son's has a rack that holds foot pedal switches for his electric guitars. I'm sure there's a fancy name for these pedals but I have no idea what it might be. His rack is about 18" x 5" and will comfortably hold four or five of these foot pedal. I'm making one twice as big - two rows about the same size on a single rack - to accommodate more switches. The frame was easy, and I have a large enough piece of leftover 16 or 18 gauge sheet metal that will suit his purposes fine. What I DON'T have, however, is a stomp shear. So I got creative. I set up a fence on my mill and used step block clamps and 1-2-3 blocks to rip two 1-3/4" x 18" strips. Tomorrow I'll need to measure for a center strip that's about twice as wide. I'll post some pictures when I get closer to done.

Stomp shear would have saved quite a bit of work. Wanna sell yours? And deliver it? And set it up? And stay for dinner?

Regards
The fancy name is "Stomp Box" but Pedal will do just fine....

John
 
The fancy name is "Stomp Box" but Pedal will do just fine....

John
Based on the noise coming out of the amplifier, 'Stomp Box' seems to me to be far more descriptive of a label than 'Pedal'. Thanks for the clarification.
 
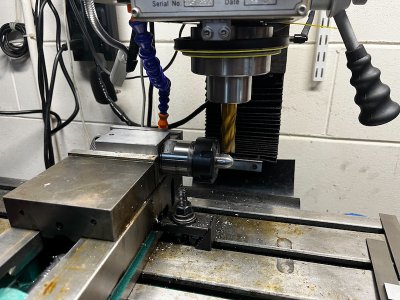
5C collects are at the other house :rolleyes:... but I remembered I had bought this 5C to ER32 adapter... That did the trick to hold the part in the square collect block.

IMG_6081.jpeg
IMG_6083.jpeg
IMG_6084.jpeg

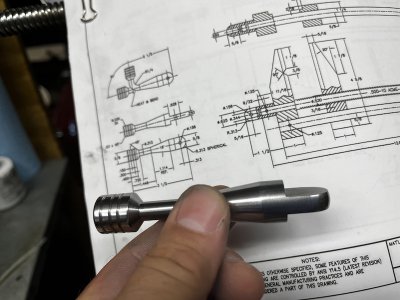
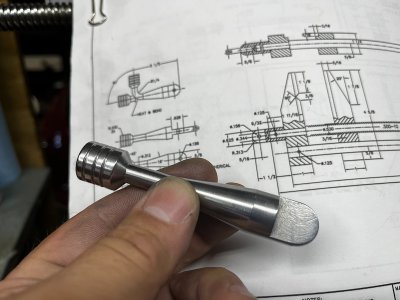
I am dreading making that bend... I will just work on the other section of the handle for now. That one should be easier to work...
 
Stomp shear would have saved quite a bit of work. Wanna sell yours? And deliver it? And set it up? And stay for dinner?

Regards
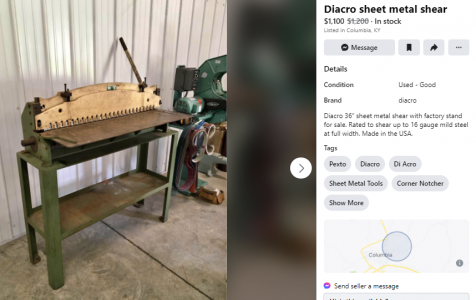
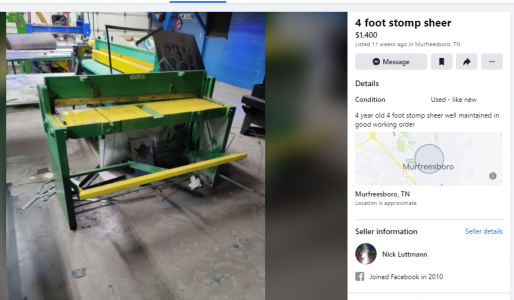
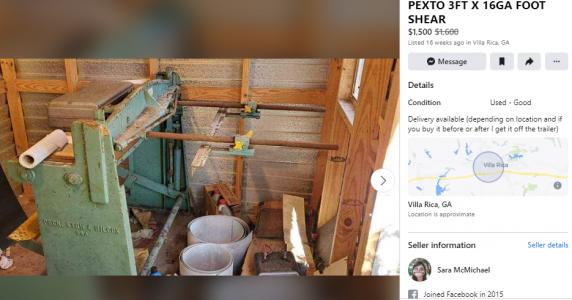
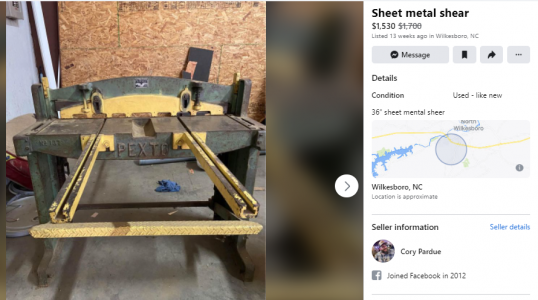
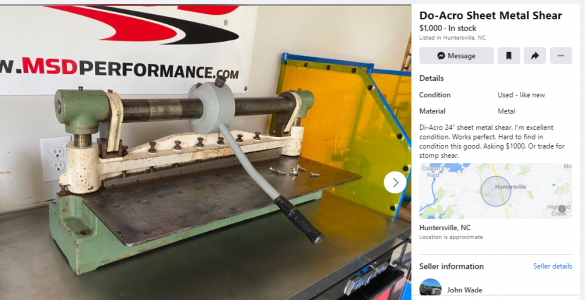
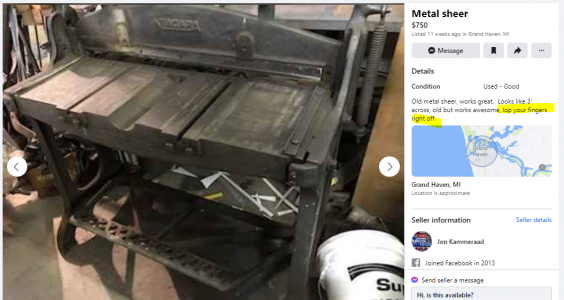
Thanks for the offer! The shear does come in handy. I paid $700 for the Tennsmith around 10 years ago; Craig's List ad as I recall. It's missing the back gauge and front supports but came with an extra set of blades. Facebook Marketplace links don't attach, but if you do a search in the Atlanta area, here are a few options! Always fun to try to spend someone else's money on tools! Check out the ad at the bottom!

Bruce


1654088089050.png

1654088199502.png

1654088339950.png

1654088386825.png

1654088444533.png

I LOVE the truth in advertising on this one in MI! It seems the thing to do is to remove the front guard on shears? I looked at probably a dozen ads on FB MP and saw MANY examples with the front guard/hold down clamp removed. The guard/hold-down clamp obscures your view of the cut, but . . . I mounted a couple of LED strip lights on mine that shine down between the shear blade and the hold-down clamp.
1654088927841.png
 
How does that work for the compound, if you move it, or rotate your qctp


Sent from my SM-G900V using Tapatalk
I haven't used the SDM feature on mine. Rotating the compound would change the math. @macardoso did a reply explaining his process. He sets up the tools for repetitive jobs once the compound is set (as I recall from the post).

Bruce
 
I am dreading making that bend... I will just work on the other section of the handle for now. That one should be easier to work...
The part is looking really good. Since so much material has been removed where the bend is going to be, I would not worry too much about bending it. Heat is your friend, the redder the bedder.....................
 
I haven't used the SDM feature on mine. Rotating the compound would change the math. @macardoso did a reply explaining his process. He sets up the tools for repetitive jobs once the compound is set (as I recall from the post).

Bruce
As a fun aside, there are some cool DROs that let you add a rotary encoder to the compound, or manually enter the angle, and they do all the vector math to figure out the tool position.

I just redo my SDM table after moving the compound. The SDM table only gets used on 10% of jobs or so and I set it up from scratch each time I move the compound. Not hard to do, but not worth it if you move the compound several times while working on one part.
 
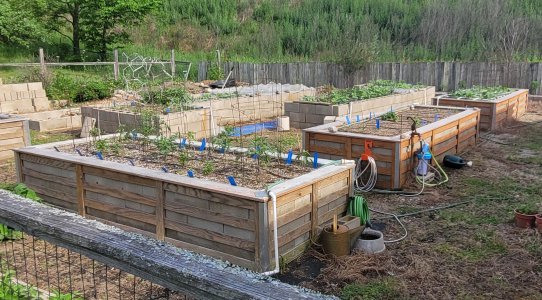
Interesting. Same thing around here. I go to the shop; she goes to her garden. She's a certified card-carrying Master Gardener. I'll try to post some pictures of her setup - several large raised beds, a chicken house, green house, outdoor sink, fire pit, etc. etc. etc.

I eat like royalty.

Regards
Here's our chicken house and some of my wife's garden.

Bruce


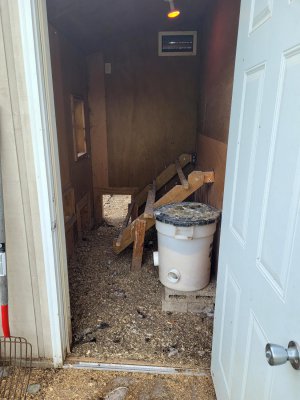
Coupe is 5' x 9'. There's a 5' x 15' dog kennel attached which we refer to as the "annex". It gives the birds some freedom if we need to leave them cooped up. This time of year the hawks are trying to feed their young. We've lost quite a few chickens over the years to spring feeding. You have to use your imagination a bit on one shot, but we lost one to a bald eagle a few years ago (cool)!
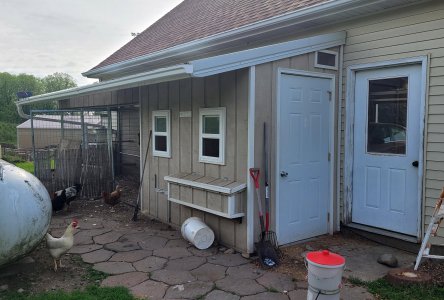
20220601_093431.jpg
Rain barrel runs to "chicken nipples" inside the coop.
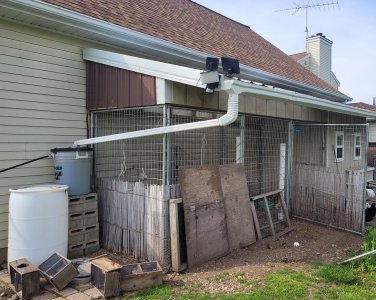
20220601_093449.jpg
The roosts are set up like a stairs stringer which is hinged at the wall. Makes it easier to muck out the coop, simply flip up the roosts to get them out of the way. The trash can is food, holds 80 lbs. There are PVC elbows in the sides angled down to about 2" from the bottom. It helps keep the birds from flinging food around.
20220601_093512.jpg
Spring hawk season from a few years ago. This one unfortunately (for him/her) got tangled in our electric fence. Nope, can't tell you what fried hawk tastes like!

image000000.jpg
Bald eagle "poofed" a chicken in our backyard

1544136778226_IMG_0096.JPG

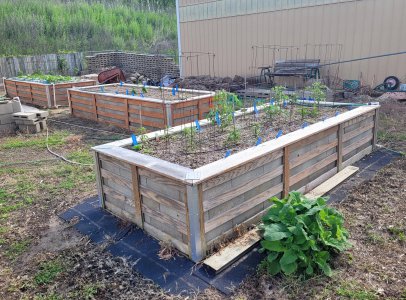
Wife's raised beds. The ones with the crate-look on the outside are finished. She's in the process of redoing the beds (long story)
20220601_093727.jpg
20220601_093613.jpg

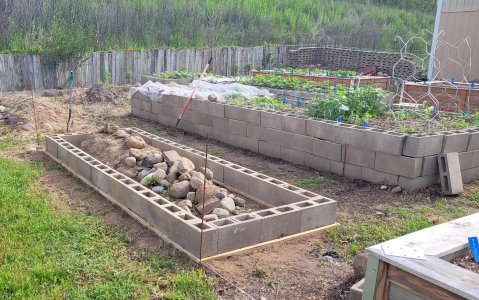
She's using 3/4" foundation-grade plywood for a base. Using 6" block for the side walls with 8" wide cedar planks for the top deck. She originally dry-stacked the block on a sand base. The walls started heaving after one year, hence the rebuilding.
20220601_093636.jpg
 
Back
Top