POTD- PROJECT OF THE DAY: What Did You Make In Your Shop Today?

Yes. I'm curious if you can get away with a simple coupler nut. Easy enough to make one for that matter.

First picture is a stock later model Logan dial. Early models had a hex bushing head like your lathe. The hole in the apron bushing is for a pin spanner. The inside of the bushing on a Logan contacts the power cross slide gear. Most of the holes end up on the bottom, but not all. The round bushing/index lubber line is easier to cover then the hex head bushings, but not impossible. Or just thread the end of the extension and replace the factory bushing. Many enjoy making their own dials, Mr. Pete shows making one for a Logan, Winky also made one for a Logan and made a screw extension. For this I've one the |Good| Kinda Quick| Not the Cheapest| route and picked up a Bridgeport mill table dial and carrier. Made a bushing for the dial carrier and it's done. Larger dials on a Logan will be blocked by the cross slide, some just eat the loss of bed width, others make an extension like in the second picture. You will only need a small extension to have screw length for the dial.

View attachment 513336


Here's a nice Hardinge dial mounted on a Logan, all be it reversed. It was posted here or maybe the Home Machinist forum. I didn't take good notes. This extension replaced the apron bushing.


View attachment 513335

This is what I came up with. :dunno:
Just need to find my crayons and get it lined up.

IMG_4711.jpeg
IMG_4712.jpegIMG_4714.jpeg

IMG_4713.jpeg


I’m getting good’r at this , It even spins true :p

View attachment IMG_4715.mov

Ex
 
Needed a hand die holder for my small round dies, I have both double hex and round dies in various sizes. The Snap-On small double hex hand die holder is pretty poor casting and I wanted something a bit better for the small round dies. I previously made interchangeable die and tap holders to use with the lathe and mill, but they are a bit big. I rummaged through my metal scrap box and decided to use the remnants of a 7/8" impact socket (I used the hex part for my vise handle). I needed carbide inserts to profile the socket on the lathe because it is hardened steel, drills/taps for for threading the holes for the handles and die set screws weren't too happy either. Surprisingly the surface finish of the metal socket was quite clean after turning it. Handles I made out of some O1, and then blackened the metal after I was done.

small round die hand holder.jpg
 
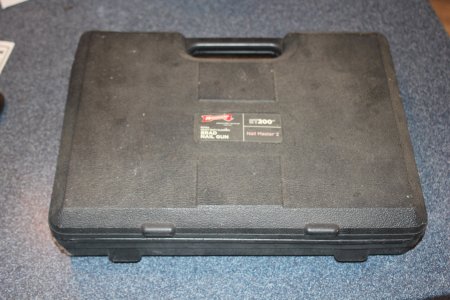
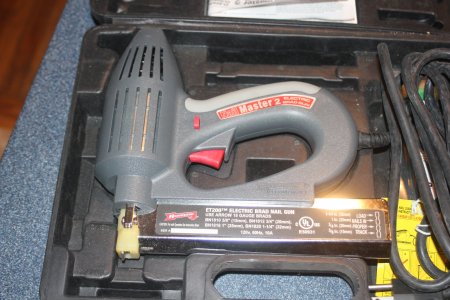
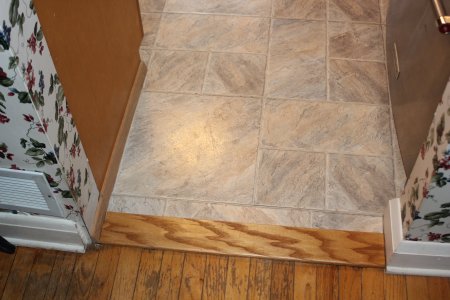
Woodwork in progress . This was only put off 10-12 years but figured I would do it while I have a path thru the garage to the saws . To keep Jeff happy , pics to follow when finished . OK , went fairly well . Not perfect but nothing in this house is . Little clear caulk and it'll be golden . :grin: Haven't used the nail gun since , the last time I could get to it . :dunno:
 

Attachments

  • IMG_2241.JPG
    IMG_2241.JPG
    490.7 KB · Views: 24
  • IMG_2242.JPG
    IMG_2242.JPG
    452.7 KB · Views: 24
  • IMG_2243.JPG
    IMG_2243.JPG
    543.7 KB · Views: 24
I wasn't sure this day would ever come. The crane might actually be done!

The last hiccup was the chain on the handwheel to move the bridge. The chain I bought a while ago was just a little off, and it skipped a tooth every once in a while. Broke down and took a chance that the next closest chain would work better. A $125 gamble... Luckily it worked.

I've used it a few times already now. Picked up a bridgeport with it, and the handwheel works perfectly for moving the bridge with the load. By design you can also just push the bridge or pull it with the chainfall chain and. A bit harder to move that way, but it will move. Being able to move the handwheel up and down the length of the bridge will come in handy!

Getting those drive chains in place was a real pain, but it does a great job keeping the thing clocked square to the building. Less chance of getting cocked and damaging a roller.

View attachment Done.mp4
 
Back
Top