- Joined
- Jun 12, 2014
- Messages
- 5,069
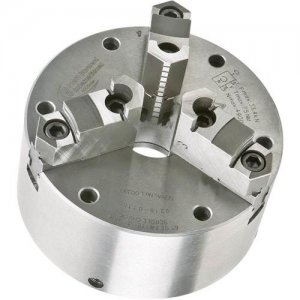
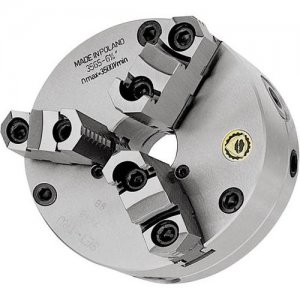
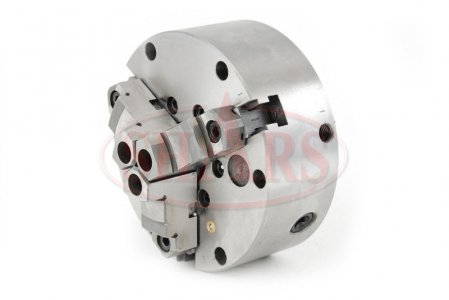
A consideration for individuals buying a new PM1340GT or similar lathe package is to consider including either a Bison Set-Tru, Pratt Burnerd SETRITE or even the something like the Grizzly or Shar's adjustable version's if on a budget. Note that some chucks are 6.31" (160mm) and some are 6" (152mm), so check all the specs.
The stock Taiwanese chuck that came with the PM1340GT is nicely machined, but mine had a TIR of 0.008" out of the box. A bit of tweaking and I was able to get this down to ~0.002" with a repeat reproducibility of ~0.003", which is about expected. There is variation, so some may be better or worse. A credit to the PM1340GT machining, the spindle nose TIR is almost unmeasurable at 0.0001".
So I decided to upgrade to a Set-Tru 6" three jaw chuck, they are also available in 2, 4 and 6 jaws to suit your needs. I narowed the choices down to the Bison Set-Tru and Pratt Burnerd SETRITE, mostly because I was looking for chucks with higher quality builds. The Buck, which is now made in Taiwan, was more expensive then either of these when you compared pricing with a backing plate. If you can afford it, buy once, as opposed to upgrading multiple times frm lesser quality. Normally I would have gone with the Bison version, but the Grizzly prices on both of the PB and Bison with a backing plate is very close. It is nice to see that Grizzly is carrying higher quality tooling, and I also noted that they carry Aloris and Dorian QCTP/holders at great pricing. I use a Dorian QCTP with Dorian and Aloris holders.
Anyway, so ordered the PB chuck with a D1-4 back plate from Grizzly, and got it fitted to the PM1340GT. The PB is nicely finished (although a few shipping dings), it uses uses a single pinion (Bison is 3) and comes with two piece jaws. Took about 30 minutes to adjust it, and the TIR is now ~0.0001" (see attached video file, resolution is 0.0001/division) with a repeat reproducibility of around 0.0003". Not that I can machine to those tolerances, with the previous chuck I had some problems hitting my target dimensions. Since I am a newbie at the lathe, having a bit tighter tooling tolerances seems help, and I appreciate good tools.
So, everything is a learning curve, and learning about good tooling is a process. The Set-Tru type lathe chuck was a pleasure to set-up and use. Definitely should be on the short list, I would give this consideration if you are looking at a packaged deal (including a chuck) when buying a new lathe.


 Since replaced with a Mitutoyo. Bill are the adjustments screws on the Pratt Burnerd different?