New Caretaker of Two 12” Craftsman Lathes

The 2-Step countershaft pulley has a chip out of the side of the larger groove but it should be OK to use. And the motor pulley is on the shaft of what appears to be a permag DC motor. All of the lathes in the bunch that Lon bought had DC motors, as the lathes were used for large coil and transformer winding.
OK. Let me successfully disassemble it, first. I have several irons in the fire so it could take a few days.

Hey wa5cab, had a chance to look at those pulleys yet? sent you a message.

Best,
Kelly
 
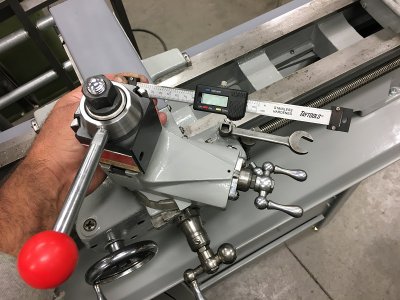
Back on the project. I bought a 32” and 6” iGaging absolute DRO. They are compact, looked like they’d package up nicely, and I figured good enough for what’s it’s for. I searched and found a couple good threads by forum members who had used them on mounting the cross-feed scale and decided to mount it in this position.
31 DRO Position.JPG

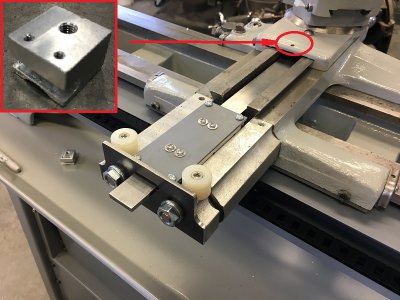
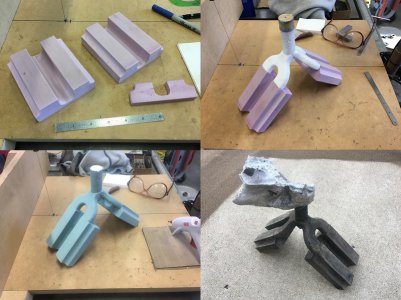
I don’t like how far it extends out the back of the saddle with this approach but it’s well protected, doesn’t encroach on tailstock positioning, nor risk getting whacked on the headstock side. Plus, there are a couple threaded holes on the backside of the carriage begging to be used to mount things. I figured I could mount both axis with one bracket but needed a piece of stock 4” wide by 1.25” thick, which I didn’t have, so a made a quicky lost foam pattern on the router table and cast a couple aluminum machining blanks for the scale mounts…..it’s nice to be able to put metal where you want it….
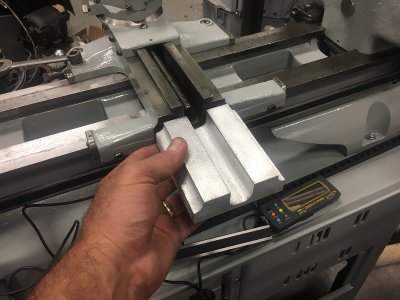
32 Casting Blank.jpg
33 Casting Placement.JPG

I wouldn’t have gone to the trouble but I get a lot of mileage out of this part. There’s are a lot drilling and tapping and little bits and pieces I made to mount the cross feed scale, but it works well and can come off quickly if ever needed.
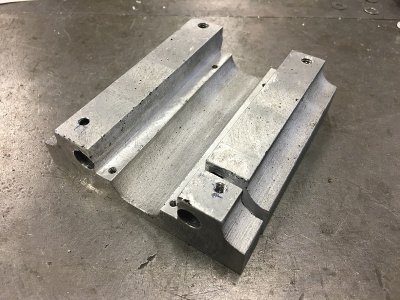
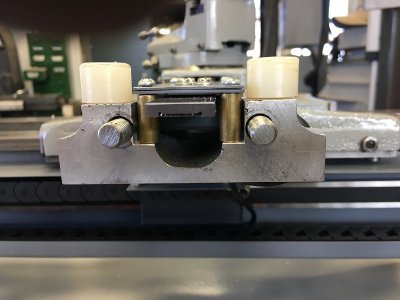
34 Machned Casting.JPG
35.JPG
36.JPG

I made an 18-gage sheet metal chip guard to cover it all up. I bought an AXA wedge QCTP. It came with 8 tool holders. Chinesium for sure, but seems pretty decent. Not much more to say other than machined the nut-blank to fit the lathe’s tool post holder.
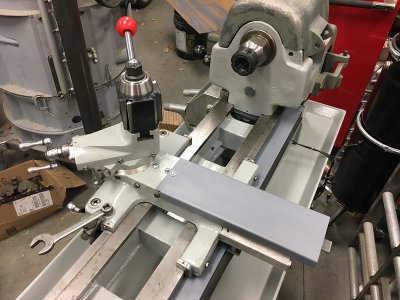
37.JPG

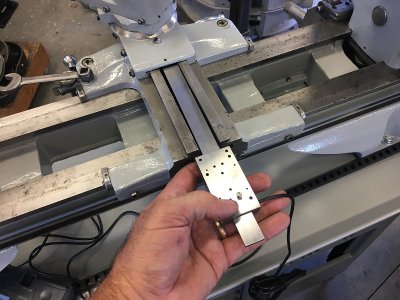
I debated enclosing the scale on the bed but ultimately decided to do so. The sensor on the bed scale mounts to the casting via a sheet metal bracket and travels with the saddle. I bought some chain drag cable carrier and here’s how everything mounts up.
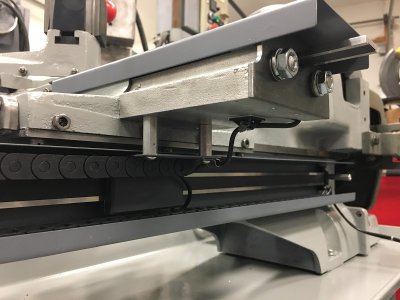
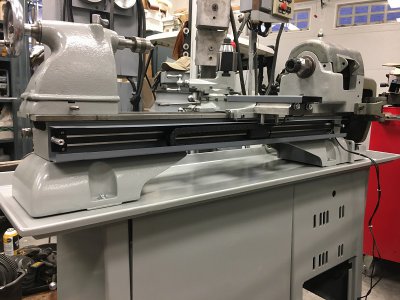
38.JPG
39.JPG

The cover for the guard has a piece of rubber sheet that deflects as the scale travels through it but otherwise keeps things sealed up.
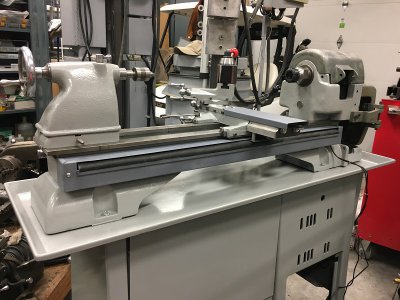
40.JPG

Making the hardware for mounting the DROs certainly took some time but I think it was worth the effort. I sketched up a bracket for the DRO display that mounts to the cabinet, but I may mount it to the wall. I’m going to wait to fab that up until I get the cast guards worked out and mounted.

I need to get the motor mounted and get the machine under power. -Still more to do.

Best,
Kelly
 
Last edited:
Kelly- that is beautiful work. That chip guard you made would make a fine place to mount an oil can?
Robert
 
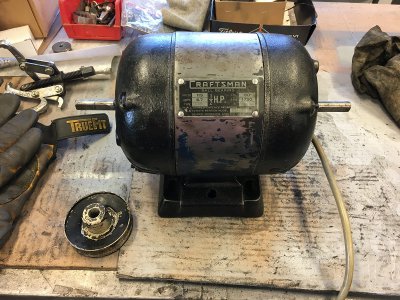
The only thing I didn’t get with the cabinet was the 2-step drive pulleys. I figure I’ll get tired of changing speeds on the pulleys and eventually buy a 3ph motor and VFD, but for now, I have the motor and countershaft pulley off the old lathe so I figure let’s get rolling. So I cleaned up the old motor.…..an oldie but a goody….

41 Motor.JPG

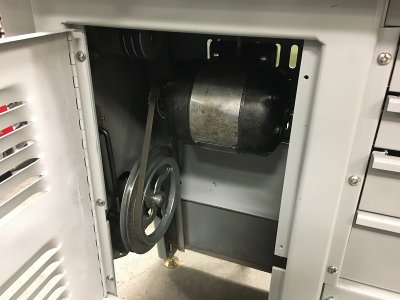
…..and mounted it and the pulleys….

42 Motor Mounted.JPG

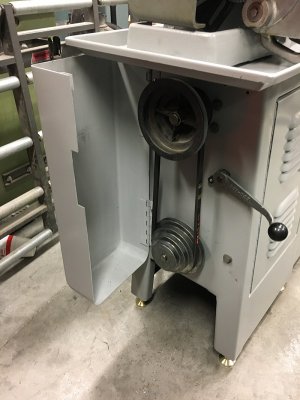
I was able to use one of the old belts for the countershaft but bought a new one for the outboard pulleys.

43 Pulleys.JPG

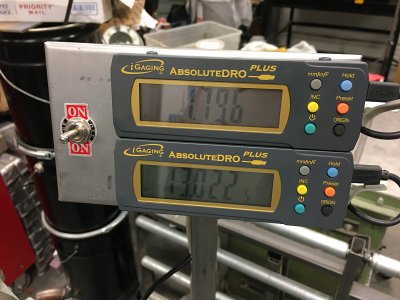
I made a temporary mount for the DRO displays and power switch.

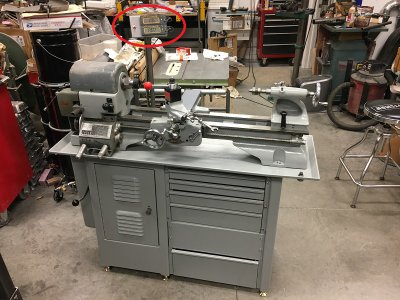
44 DRO on Lathe.JPG
45 DROs.JPG
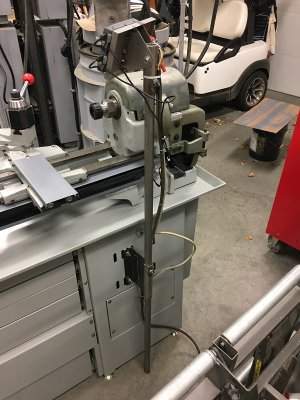
46 DRO Mount.JPG
Flipped the switch and we’re back in business and all seems well. I haven’t put a dial on anything yet but basically anything that can be adjusted needs to be after the complete tear down but major milestone in the project achieved.

Best,
Kelly
 
Kelly- that is beautiful work. That chip guard you made would make a fine place to mount an oil can? Robert

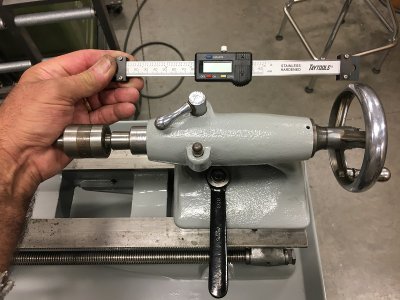
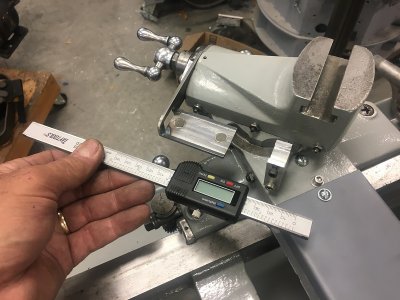
Thanks Robert. Having seen your work that's high praise and much appreciated. I have a number of accessories, bells, and whistles rolling around in my head. Bought this scale to use as a remote DRO for the tailstock and compound. I'll make the mounting hardware but not sure I'd use it enough for a permanent install or I would have added another iGaging DRO.

47 TS DRO.JPG
48 Compound DRO.JPG

Best,
Kelly
 
As usual, VERY nice Kelly!! I have not been on the casting forum (or anywhere else) in quite some time, congrats on retiring. When I started reading this thread, I wondered how long before you would show some foam. :) Did you pour your missing pulley as well?
 
As usual, VERY nice Kelly!! I have not been on the casting forum (or anywhere else) in quite some time, congrats on retiring.

Thanks Mr. Ed. Good to here from you and hope you are well. Stop in and say hello at THF when you get a chance.

When I started reading this thread, I wondered how long before you would show some foam. :) Did you pour your missing pulley as well?

They're coming. I posted over at The Home Foundry. Figured I just post the casting results and machine work here with a link back to those threads over at THF.

Take care,
Kelly
 
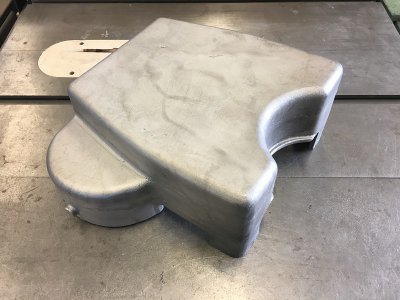
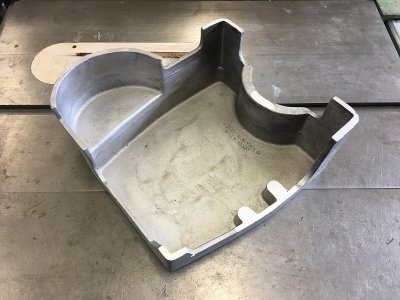
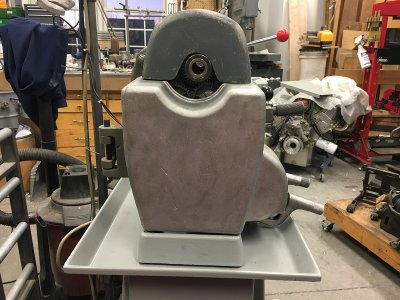
Made some more progress. I made a lost foam pattern and was able to cast the gear guard today. Here’s the resulting casting.

14 Cover Degated.JPG
15 Cover Degated.JPG

There’s a thread on the casting project here. You may have the join the forum to see the pictures.


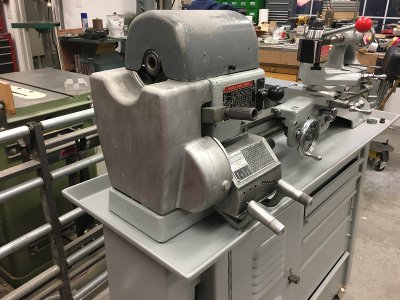
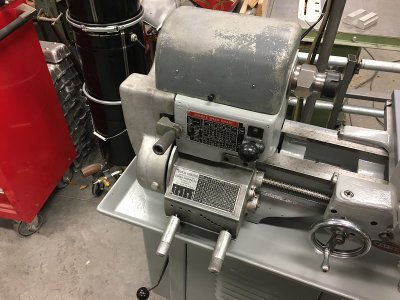
Here’s the guard fit up and in place.

49 Mounted.JPG
50 Mounted.JPG
51 Mounted.JPG
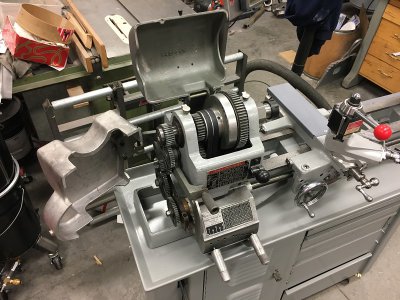
52 Open.JPG

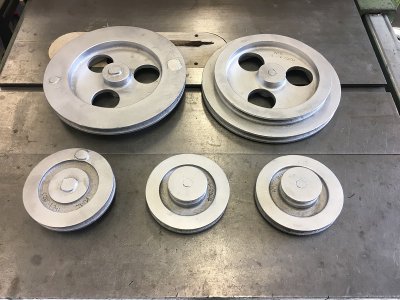
While I was at it, I cast some pulley blanks for the motor and countershaft.

53 Pulleys Degated.JPG

There's a separate thread here on the forum:


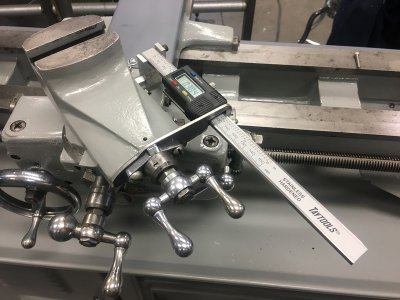
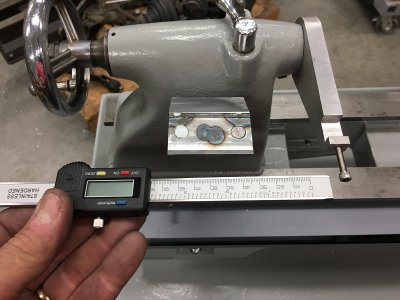
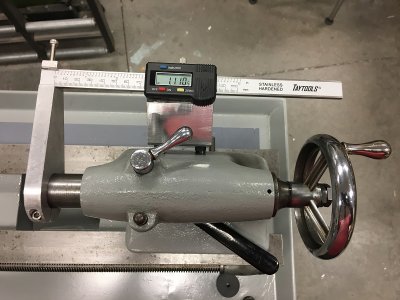
I also made tailstock and compound remote DRO mounting hardware. I figure I should have more than one post here on the forum and since I searched and found some good threads on this subject from other members and stole some of their work, I may make a more detailed post on the mounts so it’s searchable, but here is the result. The sensor registers in a grove and is retained with magnets and the scale is bound with a screw (eventually thumb screw). You can swap the DRO from tailstock to compound in about 15 seconds and can completely remove all hardware in about 5 minutes.

54 Compound DRO.JPG
55 Compound DRO.JPG
56 Tailstock DRO.JPG
57 Tailstock DRO.JPG

Be sure to tune in to the next episode of pimp my lathe…..LoL.

Best,
Kelly
 
Last edited:
I am still amazed by your lost foam work! How think are the walls of that casting anyway? It came out really well.
Robert
 
really impressive casting work! I mounted my cross slide igaging DRO in a similar way on my Atlas 618, though not as securely as yours. It keeps it clean and doesn't cause problems with the tail stock.
 
Back
Top