New bike project.

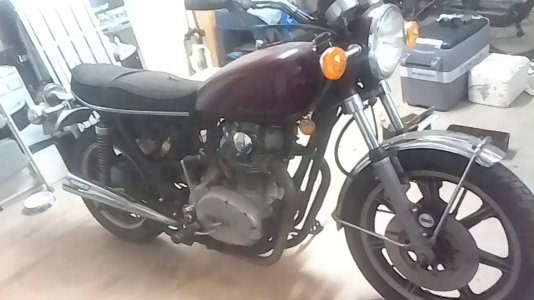
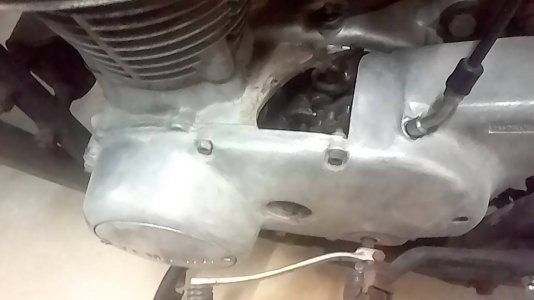
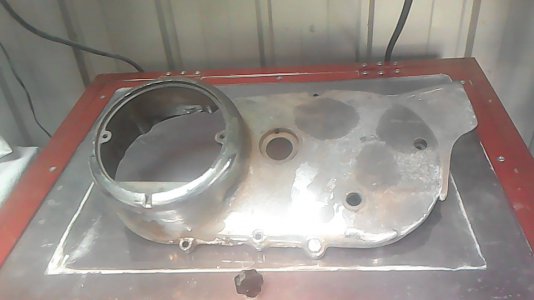
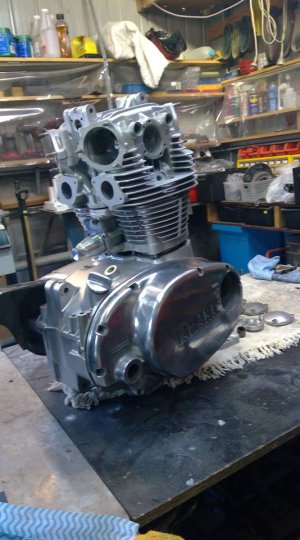
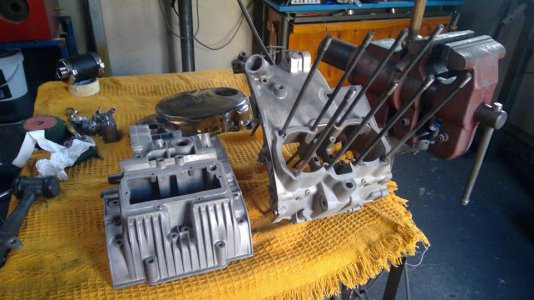
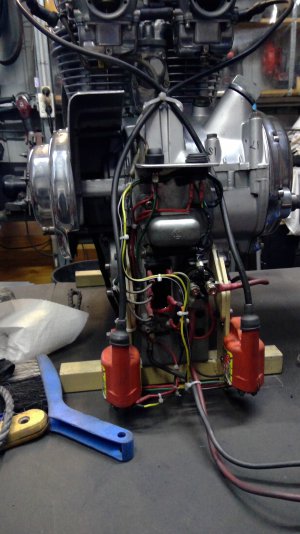
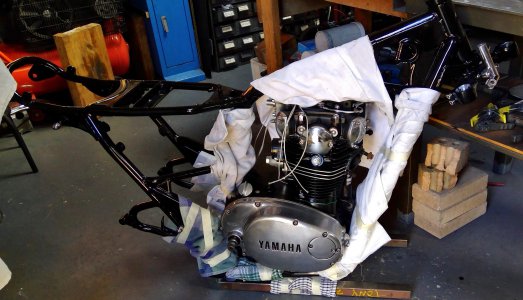
New project, a bike with a motor this time, I’ve been working on this for a while so done quite a bit so far. It’s been 20 years since I sat or worked on a bike, last one was a Triumph Bonny, they just cost too much these days so I settled for a 74 TX650 wreck and boy did it turn out to be a wreck. I have psoriatic arthritis so I’ve largely lost the use of my hands but I manage a few hours work on it every day. I’ll never be able to ride it thanks to the PsA so this will be a long term project: Every nut, bolt spoke, piece of steel was rusted through. Inspection also revealed the chain had come off at same stage, as well as removing the top section of the crankcase as in the picture, it also tore the top section of the gearbox drum shifter bearing housing off. After tearing the engine apart I sent off for a second hand set of crankcase.

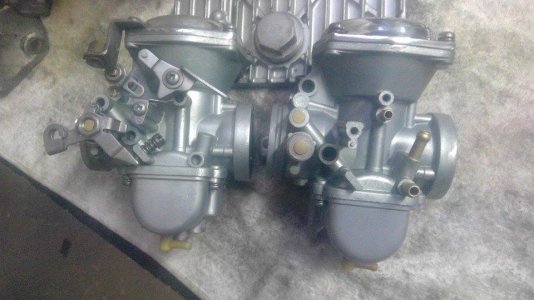
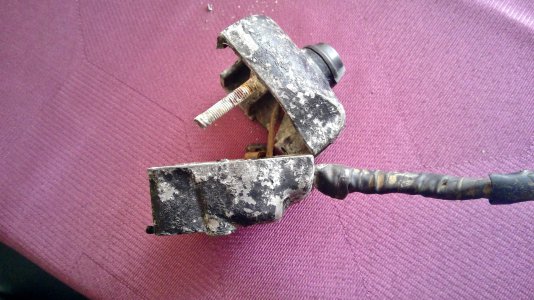
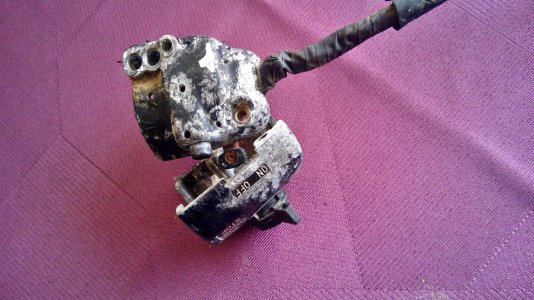
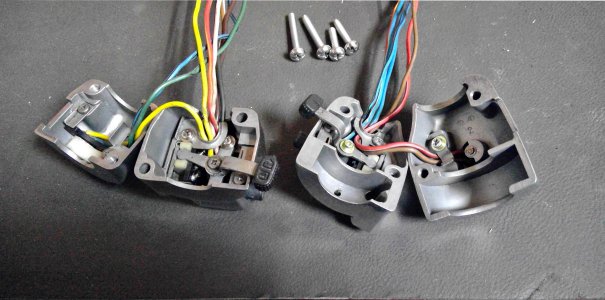
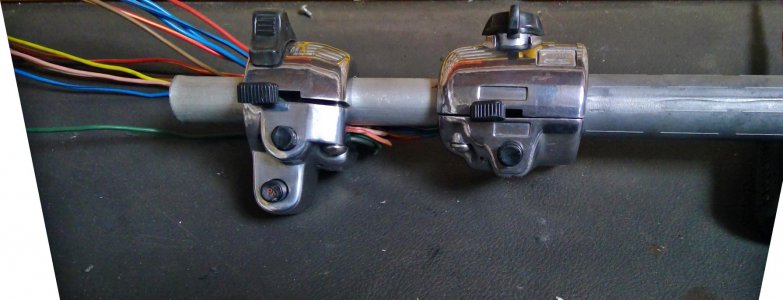
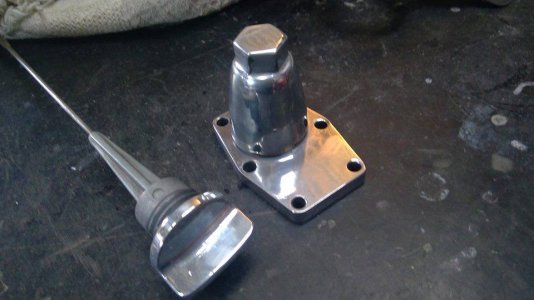
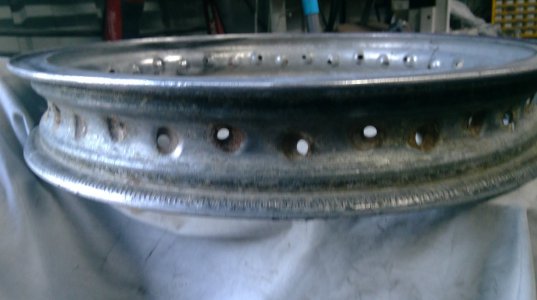
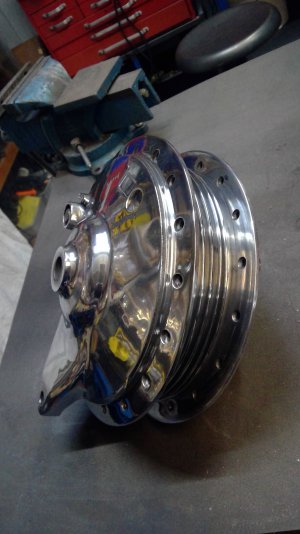
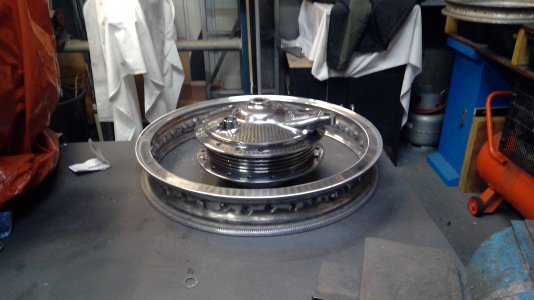
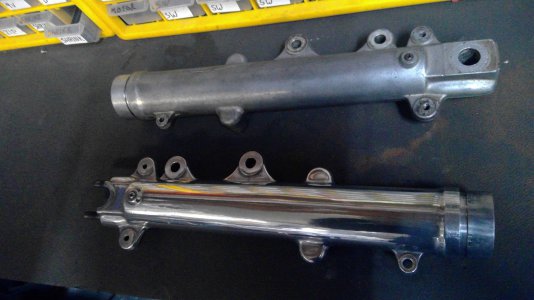
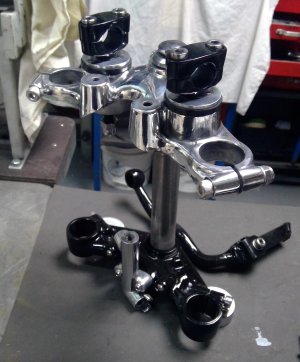
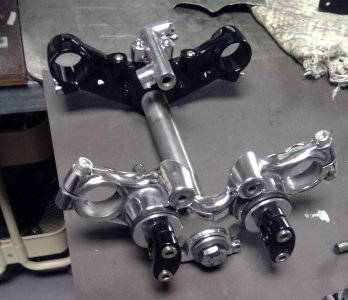
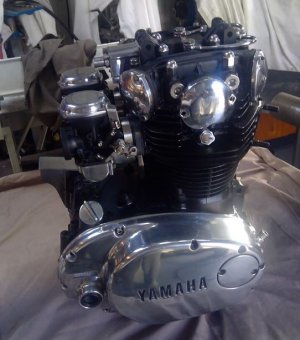
The bike came with an extra set of carbs, mag wheels and a pair of spoked wheels and a box of assorted bits and pieces. While I was waiting for the cases, I cut the rusted spokes off the wheels, stuck the hubs on the lathe, trued up the castings and then polished them using cloth wheels and progressively finer compounds. The rims, which were badly damaged from tyre irons and badly pitted from oxidisation, were repaired, ground and polished. While on a polishing kick I also polished the top triple tree, lower fork sliders, brake backing plate, brake fluid distributor, brake master cylinr and also bead blasted the switches and polished them up. Polishing on the buffer machine really hurts my hands so I have to loop a roop around my neck, tie it to the item to be polished to support it and then polish. It took quite a while to do the polishing as I could only manage an hour or under each day, any more and I’d be laid up recouperating for a few days. A very painful job for me, polishing. Some pics of the journey:
 

Attachments

  • yambarn.jpg
    yambarn.jpg
    88.1 KB · Views: 855,406
  • casehole.jpg
    casehole.jpg
    58.7 KB · Views: 152
  • carbs1.jpg
    carbs1.jpg
    70.8 KB · Views: 107
  • cover.jpg
    cover.jpg
    61.4 KB · Views: 93
  • cover2.jpg
    cover2.jpg
    60.1 KB · Views: 101
  • engine.jpg
    engine.jpg
    77.8 KB · Views: 104
  • electric1.jpg
    electric1.jpg
    148.4 KB · Views: 102
  • switch.jpg
    switch.jpg
    530.7 KB · Views: 103
  • switch1.jpg
    switch1.jpg
    672.8 KB · Views: 99
  • switch 5.jpg
    switch 5.jpg
    409.8 KB · Views: 92
  • switch 4.jpg
    switch 4.jpg
    189 KB · Views: 91
  • cases 1.jpg
    cases 1.jpg
    86.3 KB · Views: 87
  • dipcam.jpg
    dipcam.jpg
    55.6 KB · Views: 84
  • rim.jpg
    rim.jpg
    216.8 KB · Views: 87
  • WIN_20190808_17_09_25_Pro.jpg
    WIN_20190808_17_09_25_Pro.jpg
    574.2 KB · Views: 90
  • WIN_20190808_17_04_49_Pro.jpg
    WIN_20190808_17_04_49_Pro.jpg
    1.9 MB · Views: 91
  • sliders.jpg
    sliders.jpg
    362.8 KB · Views: 91
  • WIN_20190811_17_41_04_Pro.jpg
    WIN_20190811_17_41_04_Pro.jpg
    653.3 KB · Views: 111
Some painting today. Frame is still at the blasters, soon as I get it back, I'll paint that too. Undecided on tank, guards and side covers, probably black, perhaps with a little sparkle. Either that or metalic charcoal.
Attached Files:
 

Attachments

  • WIN_20200928_15_34_25_Pro.jpg
    WIN_20200928_15_34_25_Pro.jpg
    342.8 KB · Views: 24
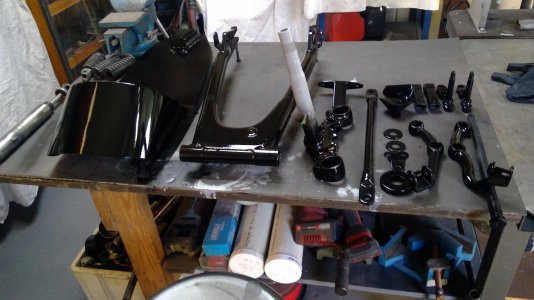
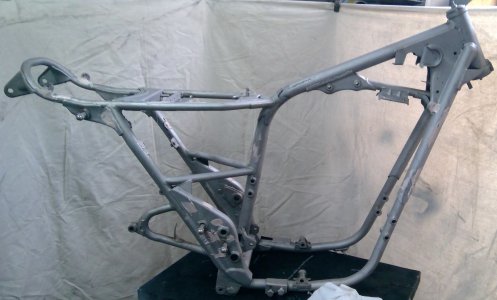
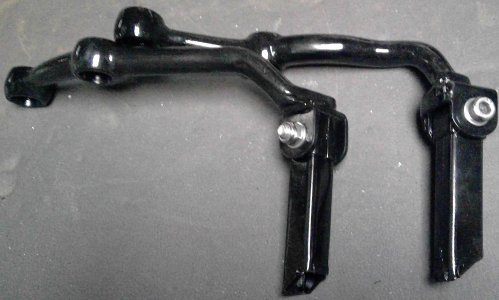
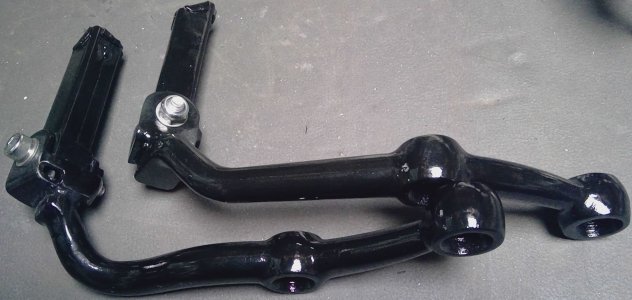
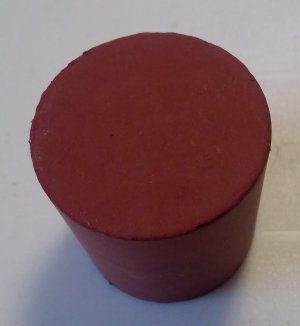
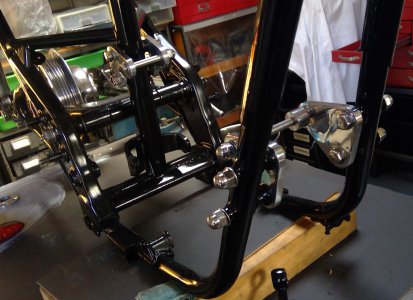
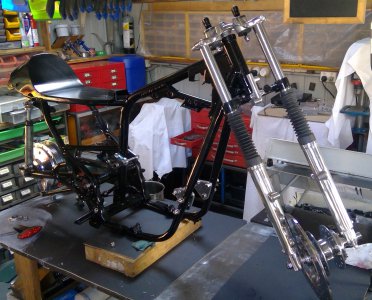
Some nice shiny triple trees. Couldn't get underneath the top triple tree for polishing so that's just a bead blast finish. Top had some difficult sections, but I managed to get in there with nylon fibre wheel and narrows mops. The large chrome washers under the handlebar mounts were rusted, so I spun up some aluminium ones and polished them. Lower triple tree had a rough cast finish, so I sanded the areas I could get to with the belt sander and nylon fibre wheel before painting.. Finally, I bought some stainless fasteners, cut them to length and polished them. When I find a magnetic sensor speedo I'll mount that on a polished aluminium plate and use the stock mounts. Triple trees look good so far. Picked up the frame from the sand blasters this afternoon and bogged up the rough areas, I filed most of the weld joints prior to blasting so that saved a lot of bog. Hard to know when to stop bogging on these Japanese frames, talk about rough. Paint day tomorrow, sand the bog down and apply a few coats of primer before I hit it with a top coat, then float coat it. I also removed the pins from the footrests, bead blasted everything, rammed a 16mm square bar down through the hollow pegs to straighten them, belt sanded the main bodies smooth, removed the casting joins and hit them with gloss black. Instead of Inserting pins, I polished up a couple of allen heads and fixed them with polished stainless nyloc nuts. Rubber peg mounts were buggered, so I bought a couple of rubber bungs from Clarkes. When I've finished the frame I'll shape the rubber bungs and insert them in the pegs.
 

Attachments

  • WIN_20200930_16_43_51_Pro.jpg
    WIN_20200930_16_43_51_Pro.jpg
    506.2 KB · Views: 23
  • WIN_20200930_16_45_33_Pro.jpg
    WIN_20200930_16_45_33_Pro.jpg
    416.7 KB · Views: 24
  • WIN_20200930_16_46_55_Pro.jpg
    WIN_20200930_16_46_55_Pro.jpg
    526 KB · Views: 21
  • WIN_20200930_17_42_00_Pro.jpg
    WIN_20200930_17_42_00_Pro.jpg
    596.3 KB · Views: 20
  • WIN_20200930_17_43_24_Panorama.jpg
    WIN_20200930_17_43_24_Panorama.jpg
    312.9 KB · Views: 20
  • WIN_20200930_17_46_45_Pro.jpg
    WIN_20200930_17_46_45_Pro.jpg
    102.1 KB · Views: 23
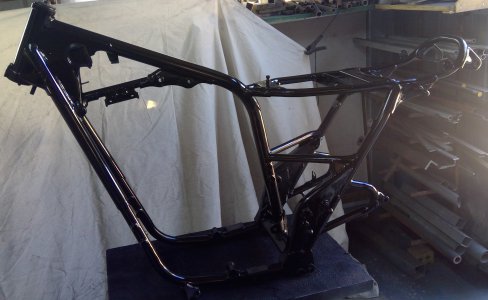
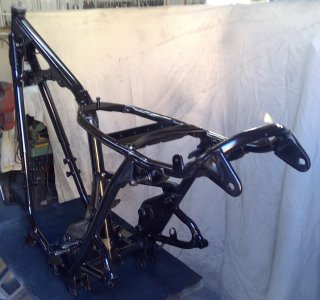
First colour coat on the frame today, I'll finish of with a final float coat tomorrow after scrubbing down. Managed to get the front down tubes pretty straight and smooth with a belt sander and bit of bog, but the area where the footpegs mount, what an abortionate mess, bits and pieces tacked on, welding looks like a five year old did it, folder marks all over it. What a bloody mess these frames are, bits and pieces tacked on everywhere, abysmal welding and fit. I'll have another go at flattening the area tomorrow. This abysmal frame is going to ruin this build.
 

Attachments

  • WIN_20201001_16_32_29_Pro.jpg
    WIN_20201001_16_32_29_Pro.jpg
    731.2 KB · Views: 19
  • WIN_20201001_16_33_19_Pro.jpg
    WIN_20201001_16_33_19_Pro.jpg
    476.8 KB · Views: 24
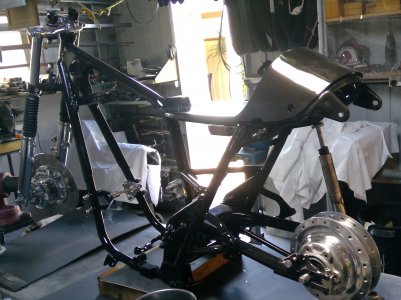
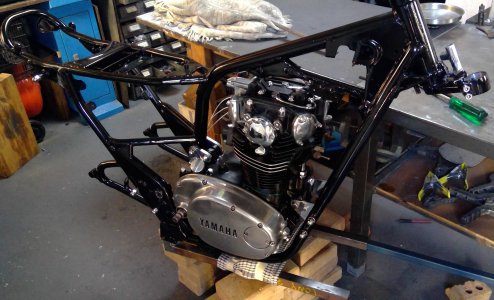
Looks a bit better with some paint on it. Have to slip the motor in now so I can knock up some exhausts. Should look - black!
 

Attachments

  • eng3.jpg
    eng3.jpg
    75.6 KB · Views: 22
  • WIN_20201006_15_37_25_Pro.jpg
    WIN_20201006_15_37_25_Pro.jpg
    596.5 KB · Views: 22
  • WIN_20201006_15_39_51_Pro.jpg
    WIN_20201006_15_39_51_Pro.jpg
    550.1 KB · Views: 21
  • WIN_20201006_15_44_34_Pro.jpg
    WIN_20201006_15_44_34_Pro.jpg
    782.5 KB · Views: 29
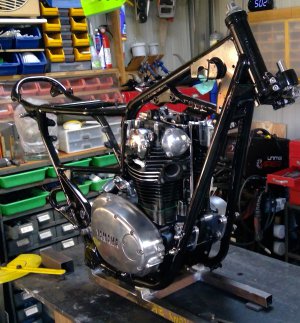
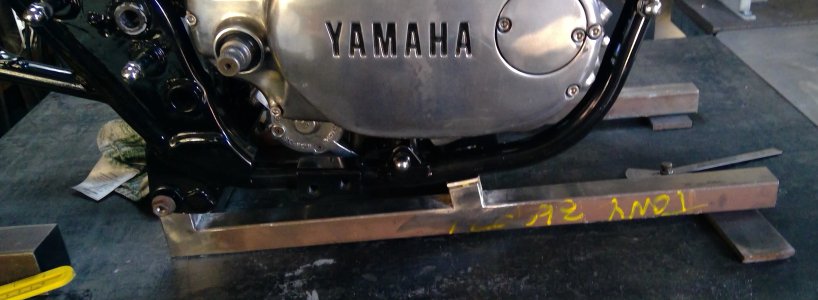
Managed to get the motor in without scratching the frame, now I can fabricate an exhaust and a few other bits and pieces. What a struggle though, I'm sure the Japanese have some sort of robotic device that installs the motor, but surely they realise at some stage the motor may have to be removed and not everybody has access to a a robot, what a stupid design. Next problem is to get it up onto the bench, then after that I'll have to remove the motor again at some stage to fix a leak at the bottom of the barrel. Getting the motor In wasn't the only struggle, the Japs in their wisdom use 10mm bolts, but the holes into which they fit are nearly 11mm, put the two lower bolts in place then you have to jiggle the motor around to get the upper bolts through the upper mounts. Probably easy for an able bodied person, unfortunately, RA has robbed me of my strength and much of the use of my hands, had to get the wife to help. I did make a stand to sit the frame on utilising the centre stand mounts, works well stopping the frame from wobbling around.
 

Attachments

  • WIN_20201009_16_11_23_Scan.jpg
    WIN_20201009_16_11_23_Scan.jpg
    842.1 KB · Views: 20
  • WIN_20201009_17_13_45_Pro.jpg
    WIN_20201009_17_13_45_Pro.jpg
    834.2 KB · Views: 24
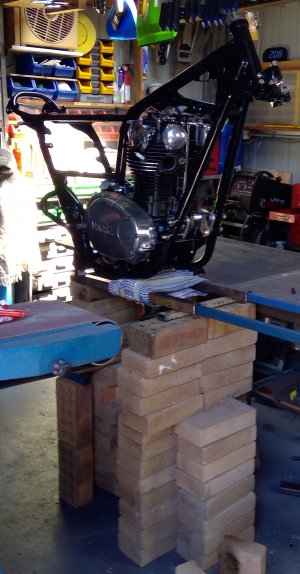
I managed to get the bike up onto the bench using a very technologically advanced method: Around 90 paving stones stacked on top of each other. I lifted one end, While the wife slid a few paving stones in then lifted the other end so she could slide a few more pavers in at the other end. Lifted it up one paver height at a time until we got to the right height then slid it across onto the bench. Wife got a little worried at times, the higher we got, the more wobbly it got. But we got there in the end. Helps if the wife is a good sport. I welded a frame mount together from 32mm tube and fitted that first to save some paint and keep it from rocking around all over the place. It bolts onto the frame using the centre stand mounts. Now I can start on an exhaust.
 

Attachments

  • WIN_20201010_14_09_08_Pro.jpg
    WIN_20201010_14_09_08_Pro.jpg
    558 KB · Views: 24
  • WIN_20201010_17_04_04_Pro.jpg
    WIN_20201010_17_04_04_Pro.jpg
    595.1 KB · Views: 23
  • WIN_20201010_17_04_32_Pro.jpg
    WIN_20201010_17_04_32_Pro.jpg
    498.8 KB · Views: 22
I managed to get the bike up onto the bench using a very technologically advanced method
Very effective and available tech. Reminds me of when my wife and I were building our first house. We needed to lift 3 24' home made beams (3 x 2x12 with 3/4 plywood in between) from the ground up to the top of the concrete piers. We used a very similar process. Took a long time but was effective.
 
You guys are pretty amazing. It took me three weeks to oil the forks and rebuild the front calipers. Decided i would never mess with forks again. Honda ST1100.
 
Back
Top