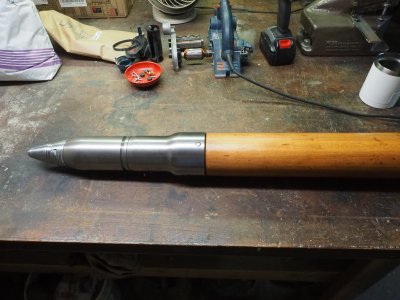
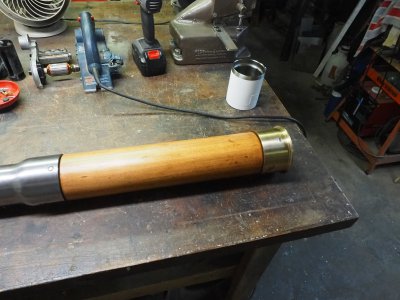
Naval Artillery Dummy Shell Refurb!

Weldo

Registered
Registered
Joined
Sep 7, 2019
Messages
674
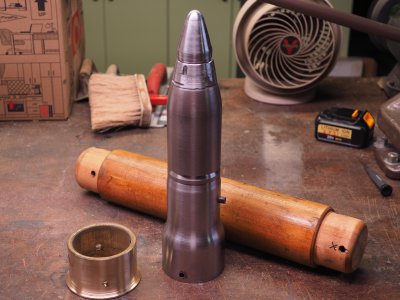
Hey guys! It's been awhile! I've been busy with other hobbies lately but I found some time to refinish my dummy shell!

So this thing's been sitting on my desk for years. It's one of the first things I ever bought on the internet, being into militaria as I was at the time.

It's a dummy/training round for a 3" gun, is all I know. I believe it was naval in origin, but I don't know for sure.

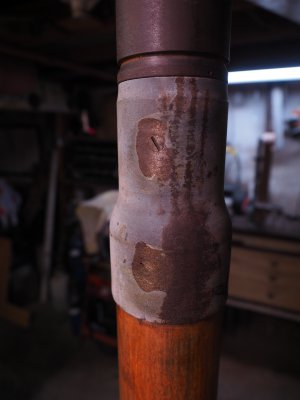
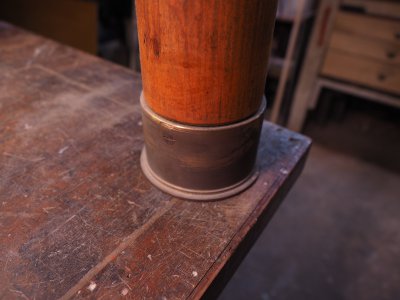
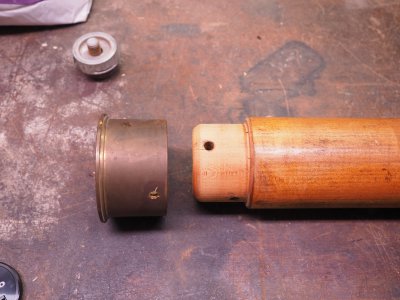
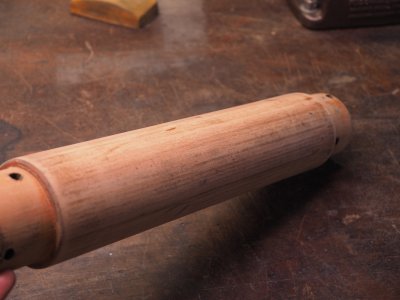
The body is wood, base is brass, and the upper parts, I think one part is steel and one part is cast iron.EM521106.JPG
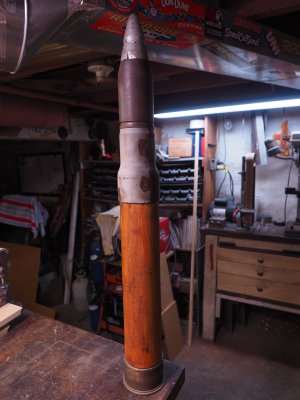

The part that would be the fuse is steel.
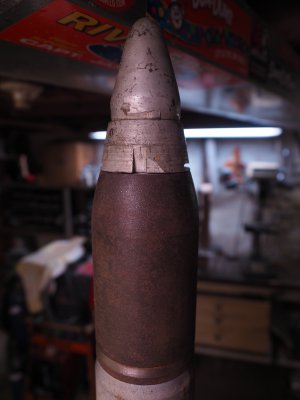
EM521107.JPG

EM521108.JPG

EM521109.JPG


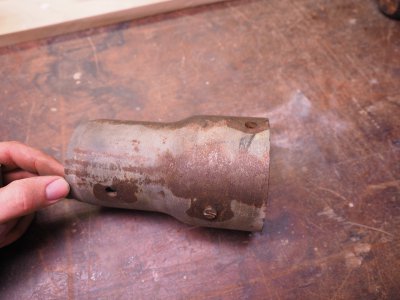
As you can see it's in rough shape! This is how it's looked ever since I got it, like almost 20 years ago...


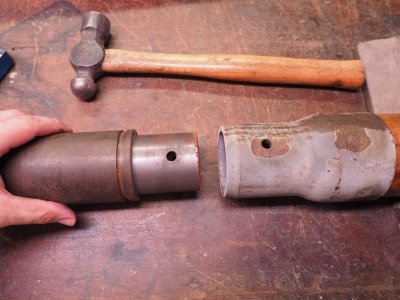
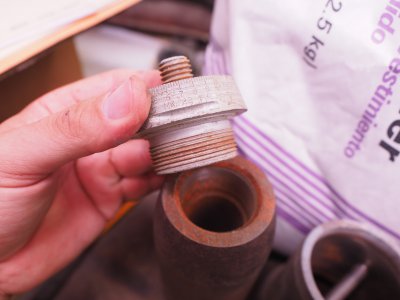
I begin the process of disassembly! There are obvious screws holding it together, but I found out just how damn tight they were! The impact screwdriver got only one of them out...
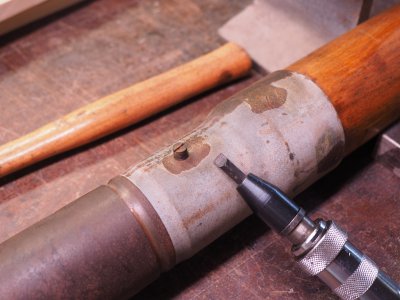
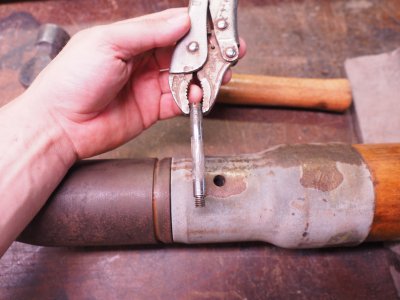
EM521110.JPG

EM521111.JPG

EM521112.JPG


I made a center punch mark to aid in reassembly.
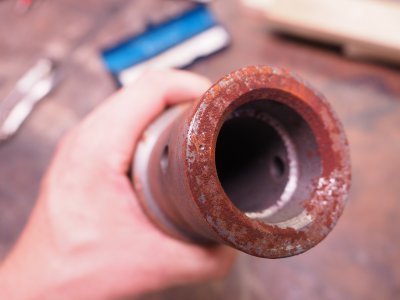
EM521113.JPG


The rest of the screws were more resilient.
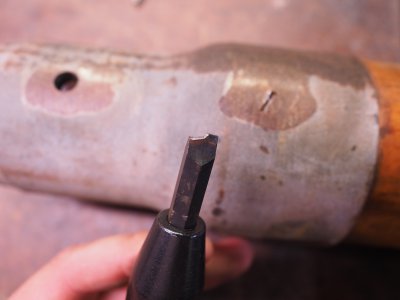
EM521114.JPG
 
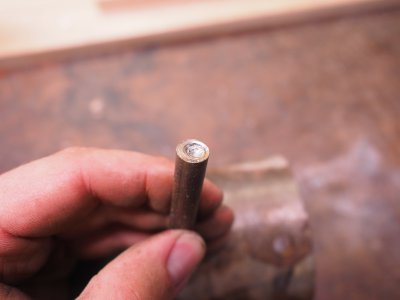
The remaining 4 pins had to be drilled out. I drilled the threads out as well as I could, using the optical centerpunch for as accurate a mark as possible.

EM521115.JPG


Of course the drill bit still wandered off course...

EM521116.JPG

EM521117.JPG
 
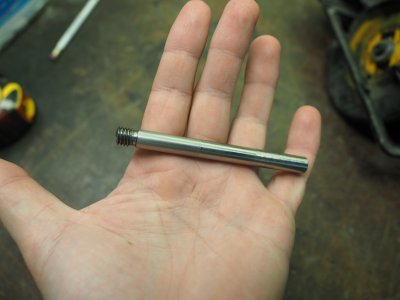
I had to make all new pins. It was 3/8" material with 5/16-18 thread. But since I drilled the threads out I had to make them 3/8-16 threads.

I bought a few rods of 3/8" 303 stainless, my first experience with it. What a pleasure to machine! I had no trouble cutting threads. I parted the rods off to a rough length, then machined a gullet at the base of the threaded portion, then just used a thread die on em.

This is what they looked like.

EM521371th.JPG


Getting it all to line up was tough because my drilling out of the threads was not very perfect. I ended up having to buy a long 3/8-16 tap and stick it through what would be the "head" side of the workpiece and cut the threads on the opposite side to assure alignment. I also had to drill out the "head" side to a little over 3/8" to allow some wiggle room. I used a W drill if I recall.

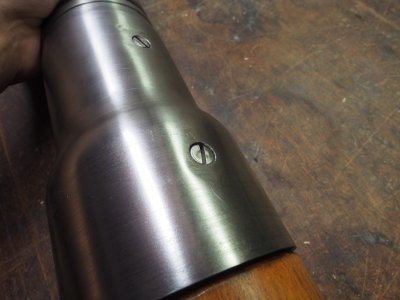
But after that it was smooth sailing! I installed the pins and noted how proud they were of the surface (I had left them about 0.125" long). I then trimmed em on the lathe and rounded them off with the belt sander.

I used my shaper for the first time to make the slots in the pins. It worked beautifully!

EM521373.JPG

EM521374.JPG
 
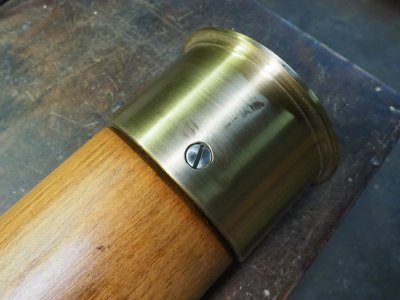
And here she is all new and shiny! I put two coats of polyurethane on the wood, along with some cherry stain.

It looks a lot better on my desk now! Very pleased with the result and it was a fun project!

EM521371.JPG

EM521372.JPG

And I'm excited I got to use the shaper to make actual useful parts!
 
Feels good to be back, sharing shop projects! I have a plan for another small one when the weather cools down.

I've got an old Lakewood box fan, it's so much better built than the cheap box fans available these days, but the bushings for the motor are oversized with age, causing the fan to make an annoying knocking occasionally. I'm having to disassemble it and lube it with way oil every two weeks to keep it quiet.

So I'm gonna convert it from old wallowed out bronze bushings to ball bearings. I plan to document it as well but I think it's gonna work out amazingly! Looking forward to getting going on that one!
 
Reminds me of the line of chrome plated 3inch ones that lined up on the quarter deck while in port. Also there was an ashtray made out of a 8 inch powder casing. This hung around the various fire control areas for a long time and it seems as no one used it or cared for it. Therefore I was sorely tempted to take it with me when I was discharged. However the thoughts of getting caught with it at the gate served as a deterrent to my thievery endeavor!
 
Back
Top