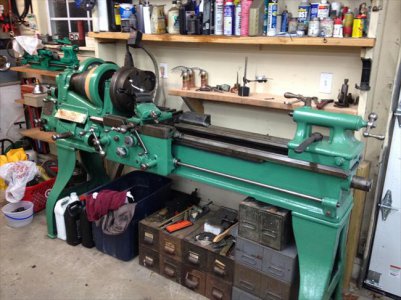
My "new" American Tool Works Lathe

Haven't done anything to this for a couple of days; have anther project that needs immediate attention and I'm also wanting to get the new shop light before I do much more to this anyway; sucks trying to work on a precision instrument with a flashlight.
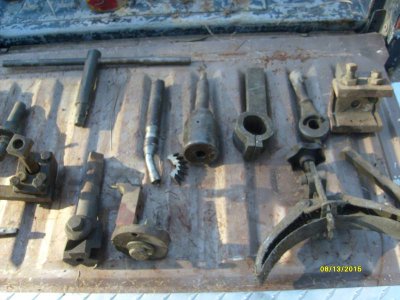
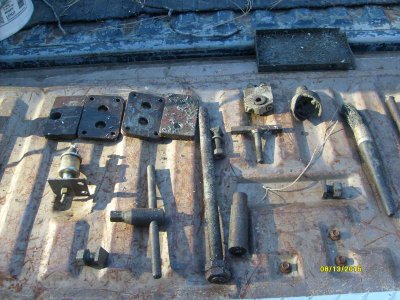
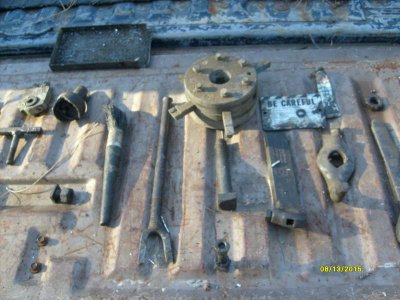
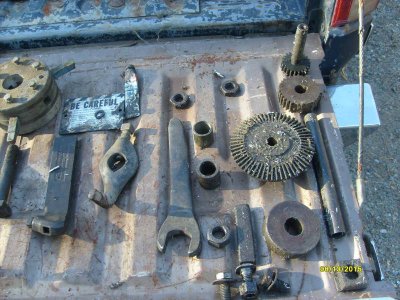
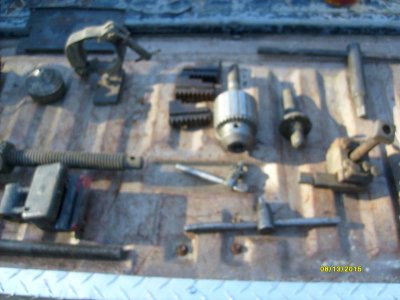
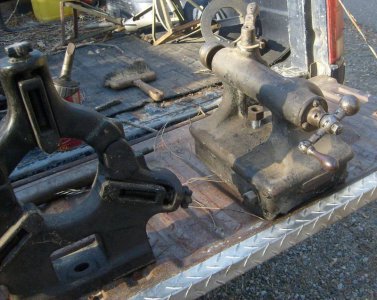
But just for fun here's the pics of the rest of the stuff that came with the lathe. I can even identify a small percentage of it! :big grin:
Chuck Knows The Way.jpg Mandrel.jpg Misc 2.jpg Misc 3.jpg Misc 4.jpg Misc 5.jpg Misc.jpg Tail & Steady.jpg
 
MrFixIt,

That steady rest is the strongest, heaviest one I have ever seen! :encourage:
I like the adjustment method on it too.
I have been looking to build one, and will use this for ideas.
Thanks for posting!
-brino
 
It is a beast, if you need any more pics or info on it let me know.
That tail stock is no lightweight either!
 
Made some more progress, got a lot of the garage sorted out so the displaced stuff has a new place.
Installed a new shop light today, much better in that corner now. Began disassembling the cross-slide so I can clean and oil it. May paint a few parts while I'm at it.
There were some chips in there that might have seen the Roosevelt administration! Teddy that is.
 
I'm thinking somewhere down the road I'd like to upgrade this lantern tool post to a quick change, any gotchas if I buy one of those sets off of ebay as long as I get the proper one for my lathe's swing? Thanks!
 
I bought a new quick-change style from my local King dealer.

http://www.kingcanada.com/SearchResults.htm?SS=5&PG=1
http://www.kingcanada.com/Products.htm?CD=238&ID=21451

This was for my 1937 Southbend 9". It fits and works great.
The only thing I would like is a couple more tool holders for it, with a slightly larger capacity.
I got a few carbide insert tools that have shanks too big to use.
Another project for the list.......
I may also make a handle so I do not need to pick up a wrench for the top nut.
Oh, and I had to make a t-nut for it, not a big deal, just a heads up.

-brino
 
Got it back together yesterday (apron & controls) and played with it for a little bit, but still have some issues.
One is mostly operator error, I don't think I'm experienced enough to get along with that lantern tool post; with no adjustments other than a 360 radius everything else is about angle and shims.

Other is speed. I checked the RPMs this afternoon. My 'fast' speed is 83 rpm. Yes, that's right, 83.
Didn't bother to check the slower speeds...

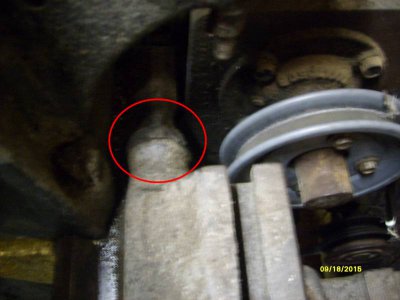
Started looking at the pulley's, thought about stepping the motor up to a larger pulley, but while inspecting it I had would could be an excellent idea. As mentioned previously I cannot move the carriage all the way to the far left, it hits the pulley on the gear box. So I lose almost an 1 1/2" of travel there.
Looking at the setup I realize I could go to a smaller pulley at the gear box and gain ground in two areas, speed up the input to the gear box and allow clearance for the carriage for its full travel!

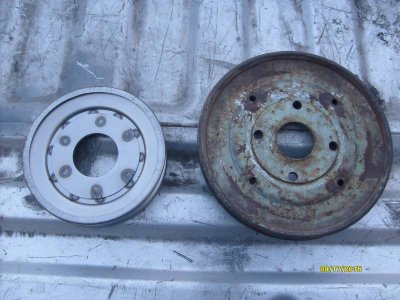
Measured it out, it had a 7" pulley in it, I would need a pulley no larger than 5.5", but 5" would be fine if I couldn't find it in 1/2 sizes. Looked around on line, didn't find what I needed, basically a flat stamped-steel pulley with no mounting hub. Got to looking at the old one thinking "that sure looks like something off an old tractor" and that gave me the idea; Tractor Supply Co! Needed some 20w oil anyway.

Tooled on down there and sure enough, a whole variety of plain stamped pulleys! Got a 5" for $10.

Pulled the old one, mocked up the new, gained my carriage travel back! The tool holder can now touch the chuck; something it had no prayer of before.

Tomorrow I drill, may have to pick up a transfer punch if I can't find one. Even if this doesn't increase my speed significantly it's still a needed fix and I can look to my motor pulley later if need be. I probably should check amperage draw while I'm playing with these pulleys, don't want to fry the motor. May be no concern, but better safe than on fire.
S6305978.JPG
 
Success! Installed the new pulley and stepped up the motor as well. I'm now spinning away at 195RPM! Maybe not screaming, but a 135% increase in speed is a major plus.

Still have some work to do on it, the motor pulley has 3 steps, the tensioner has 2, so I was able to step the motor up one okay, but now it's not in align with the new pulley on top. Plus the belt I had that fit was rotten and starting to fray already.
I'm going to see if I can install the new pulley on the back side of the hub and if that's enough to line everything all up.

If anyone's bothering to follow this, here's a picture to explain the situation. The gear box is right behind the head stock and the motor below that. This picture is looking towards the chuck from the bed. You see that nub of the carriage that I circled in red? Now look at where that pulley is, when it was a 7" pulley the carriage, where circled, came in firm contact with the pulley and obviously stopped right there. Now it can travel to where it is in the picture.

New Pulley.jpg
 
Back
Top