My first steam engine

Jul 20, 2019

I thought my little flywheel really needed spokes but without a mill I couldnt think of a cool way so I just drilled some holes'
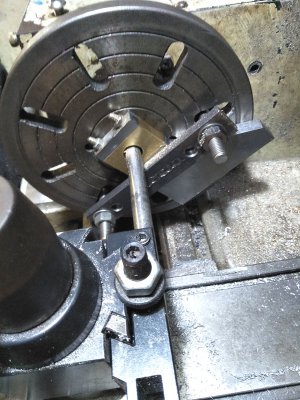
First off I used my simple indexer to place 8 marks.
cshaft5.jpg

I used the sharp tool bit to scribe a cross line
cshaft6.jpg

Then remove from the lathe and centre popped then set up on the drill press with my nice strong clamps and drill the holes.
Completely forgot to take a photo of this.
so only the final shot.
cshaft7.jpg
 
Aug 8, 2019

I decided to have a go at making a con-rod for the crankshaft I made earlier.
This took all day today.
I started with a wedge of Swiss cheese,
conrod-1.jpg

and faced it into a block of Swiss cheese
conrod-2.jpg

I cut the block in half and soft soldered it back together, drilled it through the cut, thinned it down, drilled two holes in the end and bolted it to a 10mm flat steel plate with a keeper plate. I got the keeper idea from here
Build a Mini Steam Engine Plans
and as it now looks like I am going to build a steam engine I will probably steal the Stephenson's link design from here as well.
Then back in the chuck between centres and turned down
conrod-3.jpg

then flat in the 4 jaw to bore the big end out.
I was given a set of telescoping gauges a couple of years ago and this is the first time they have been used.
I like them.
conrod-4.jpg

I was able to bore the big end to around a thou under size so its a very tight fit on the crankshaft.

conrod-5.jpg

so I gave it some wellie to run it in, tightening it down after a while.
conrod-6.jpg

This worked very well and didnt flap around, the blue stuff is chain saw bar oil.
Its still too tight so tomorrow I think some plastic for the rod to slide on and leave it running.
An expanding reamer would be nice but I dont have one.
The keeper plate and the corresponding part on the end of the rod will be thinned down to what looks right.
My theory on the swiss cheese is the holes will hold some oil helping this along.
Now I have to think of how I will make the little end
 
Sep 3, 2019

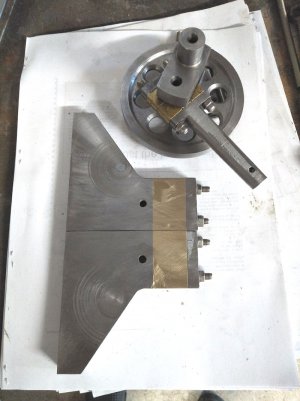
Milled a couple of side plates for the maybe future steam engine.

main-bearing-plates.jpg


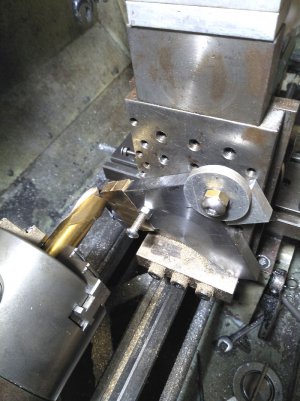
I swiveled the milling slide to get the diagonal cut horizontal then swiveled it the other way to cut the vertical.

main-bearing-plates2.jpg


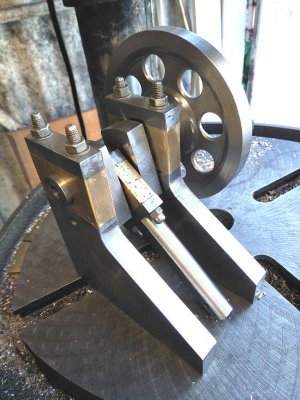
The c/shaft sitting on top. The bearing caps will be split then bolted back and bored approximately where the hole is in the side of the plates..

main-bearing-plates3.jpg


I'm having a problem about whether to just keep the bearing steel on steel or copy what I did for the big end and make it from brass.
 
Now I'm up to date.
The brass rod I ordered for the bearings arrived so I made a set of split bearings.
As the supports are 10mm wide and the brass bar was 12mm square I had to remove a 1mm from each side.

main-bearing-plates4.jpg

After watching Clickspring's video on filing tips I felt I had to put them to the test so the ends of the brass bars were hand filed to size.
Hard work but very satisfying.
main-bearing-plates5.jpg

I think I should have filed the sides rather than milled so they ended up smoother.
Next job (when there is a hiatus in the bino project) is bore for the main bearing size.
 
Outstanding work. I don't think that con rod bearing is swiss cheese. It looks like your homemade version of sintered bronze to retain lubricant.
Robert
 
Thanks for that excuse Robert I will use that from now on. :laughing:
 
Quoting an old software manual ... it's not a bug; it's a feature!
 
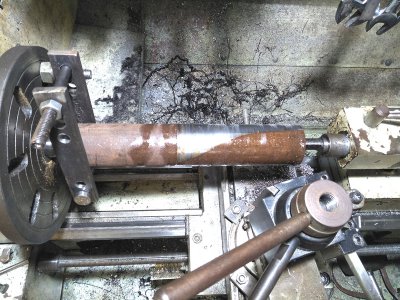
Found this chunk of steel of some kind.
This is the look when the manually placed centers are not centered
main-cylinder-1.jpg
That spiraled around the bar.
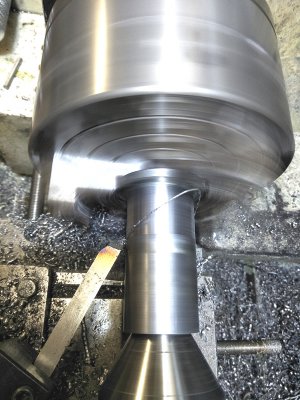
Eventually it reduced to a smooth bar where upon I cut one bit off and turned it down and bored it out.
(this bits for Bob, heaps of stickout)
main-cylinder-3.jpg
I had to do that to sneak up under the jaws. Around the middle a harmonic struck up that I dampened with a wood stick.
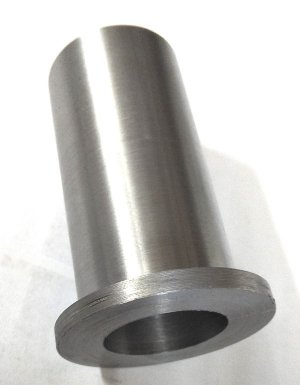
but a quick rub with some 1000 grit wet and dry removed the look.
main-cylinder-2.jpg
This is not the cylinder of the engine, that will appear later.
 
Back
Top