Marvel Draw Cut Saw No 1 not a restoration (more of a resurrection)

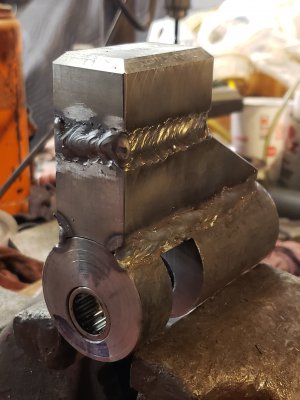
This is the intermediate riser block. I'm using a carbide tipped router bit. They work great for aluminum and mild steel.
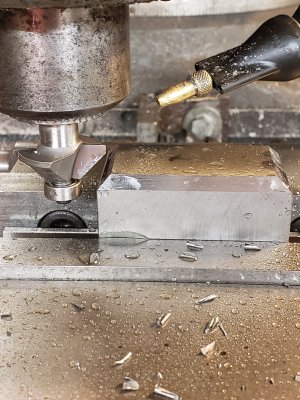
20210117_191217.jpg
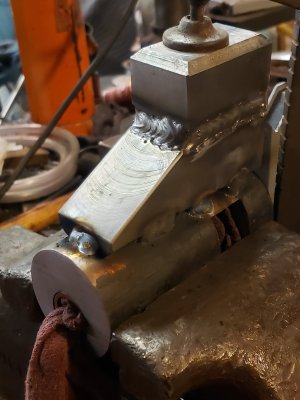
I got these parts tacked together, hopefully enough so there will be no warping of the pivoting part with the bearings in it. I used shop rags soaked in koolmist to protect the bearings.
20210118_121157.jpg
This part of it is all welded. After it cools I will put the shaft thru it to make sure that it didn't warp.20210118_121926.jpg20210118_122020.jpg
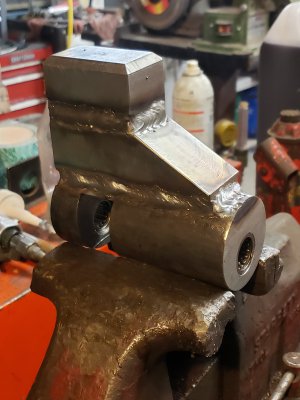
It's not as tall as it looks, but it does have to clear the crankshaft.
 
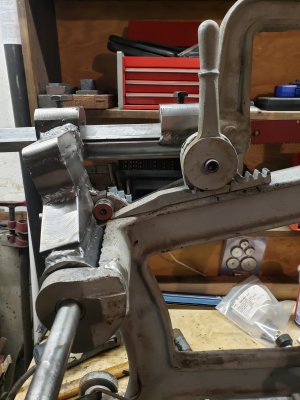
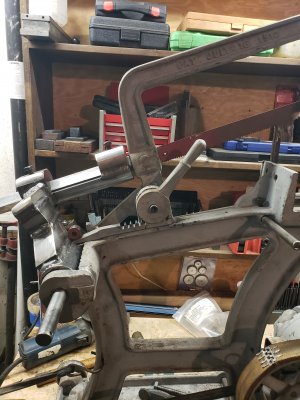
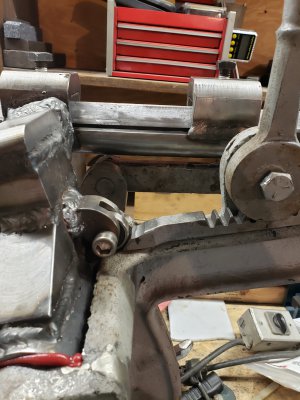
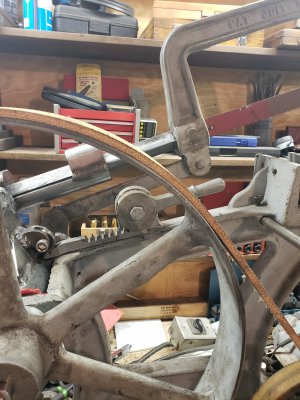
So, I have all the important bits all welded together, and I am very pleased with the alignment. Now, I have to get the geometry right for the lift lever. I want the blade to lift 5", which it turns out is a lot to ask from this little ramp. I cut 4 more teeth into the rampy part to give me more choices of what to do next. The closer I can get to the fulcrum, the higher the blade will lift. If I don't get the part that rides on the ramp up to the flat part, I think the saw will fall.
This is the best solution to a fairly complicated puzzle that I could come up with. If I were to use these bearings, I would have to cut the tip of the ramp back, but that shouldn't be a problem as long as I don't take too much off of it.
1613522901154749866778374979235.jpg16135229742086793561446915953092.jpg
The ramp would go in much further with the tip gone.
 
Last edited:
I forgot to mention that it recently dawned on me why you even need a lowering lever on one of these. Doh!
 
John,

You have done such a great job here.

I am not exactly sure how I'd approach building such an odd-shaped piece.....but I guarantee it would be much slower and much less precise than yours..........and the welds would be much, much uglier.......

I really appreciate you sharing this build.

-brino
 
Thanks brino, Its a winter project with no time constraints, so I can take my time and enjoy working on it between snow storms and other emergencies.
Thank you guys for all of the nice comments!
 
Holy crap, do I have a lot of irons on the fire right now! I finally found some time to work on the saw. Ok, mostly because I want this thing off my bench so that I have a place to rebuild a carborator.
My lifting handle arrangement worked out well enough so that I didn't have to make a new sliding wedge. Just a minor modification is all that was needed. I wanted a detent on it, so that it couldn't fall and break any of this fragile old cast iron.
16214403515045533805114097736366.jpg16214404136216963645148506049836.jpg
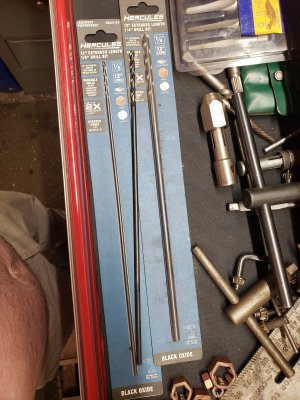
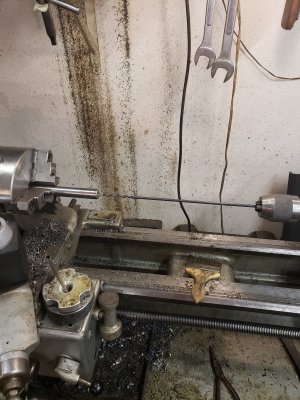
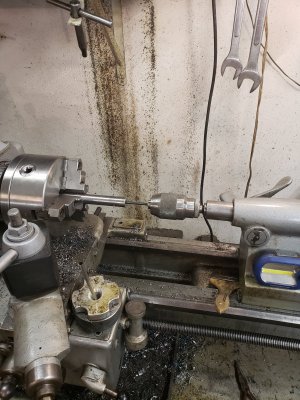
Drilling the grease hole in the shaft was uneventful. It was a 3/16" hole drilled to a depth of 9", and has four out holes for the 4 Torrington bearings. I was very pleased with this Harbour Freight drill.
16214407013563327147344027418769.jpg20210518_230209.jpg20210518_230217.jpg20210518_232348.jpg
Somehow the drill went right down the middle.
There are some issues with the v-blocks and the sliding arm. There are some unevenly worn spots from its past life. I am thinking of putting some lapping compound on it to mate the parts together. Whats left are to replace some modern fasteners with square head fasteners and rig up a stop switch, and paint. Here's a quick vid!
View attachment 20210519_003908_001.mp4
 
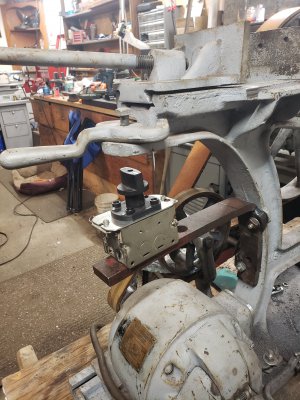
A little more progress has been made. After staring at the saw for way too long (possibly 2 hours total), and looking around to see what I have on hand. I finally decided to go with a rotary switch mounted directly below the kick off lever.
Here's what I have so far.
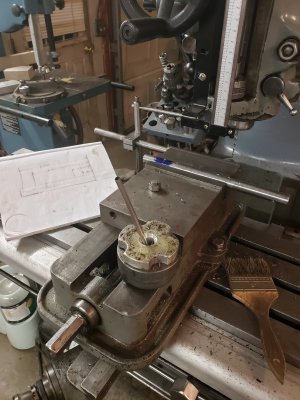
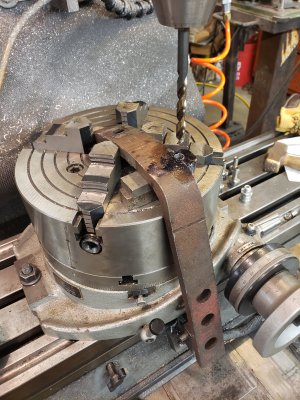
I'm glad my rotary table was already on my other mill. If not this would have been a wonky setup just to drill two holes.
20210611_014338.jpg
20210611_021722.jpg
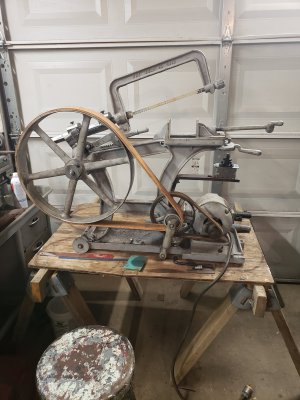
I have been using this thing often, and the only problem that I had was the blade that I first put on it was way too course (6tpi). I put a regular "12 hacksaw blade on it and it cuts very nice. Slow and steady wins the race I guess.
It takes about twice as long to cut something compared to the band saw, there are some great things about the power hacksaw. It makes very nice cuts, you can buy high quality blades cheap, and you can change a blade in just a few seconds. That makes it way more likely for someone lazy like me to put the right blade on to cut something. When I finish this and it is well tested, I will disassemble most of it, pressure wash it, and give it a nice coat of paint. I want the stuff that I cobbled together to blend in.1623393487483248918310786027492.jpg
 
Back
Top