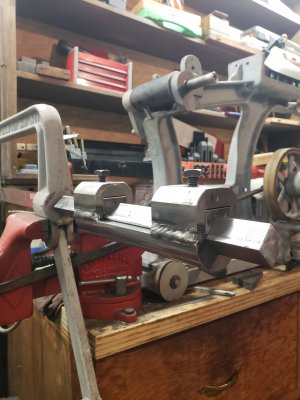
Marvel Draw Cut Saw No 1 not a restoration (more of a resurrection)

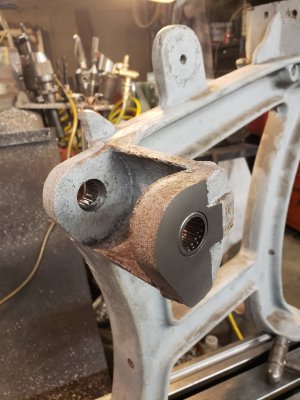
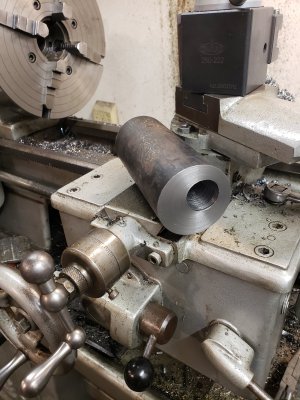
After poking at this all week, and cutting what seemed like just dust out of the bore holes, I got it to .998 and change, and then used a brake hone to dial it in to .9995. I used my caliper just to verify the snap guage and micrometer readings.
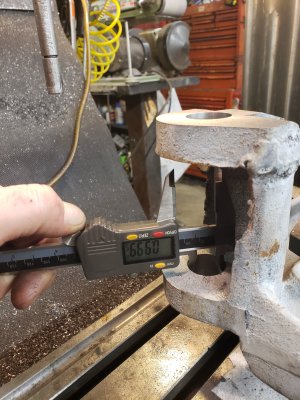
20201221_221042.jpg
Then pressed the bearings in with this nut and bolt.
They pressed in so perfectly! I'm glad that I looked up the specs for these bearings.
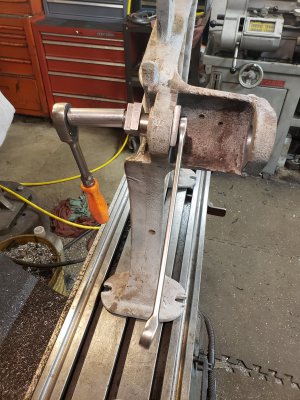
20201221_222525.jpg20201221_224123.jpg
 

Attachments

  • 20201221_222929.jpg
    20201221_222929.jpg
    1.8 MB · Views: 8
Last edited:
Slow progress, but I managed to drill and ream a very long and straight 1" hole for 2 more of those Torrington bearings.
16094455776551251494612890535092.jpg
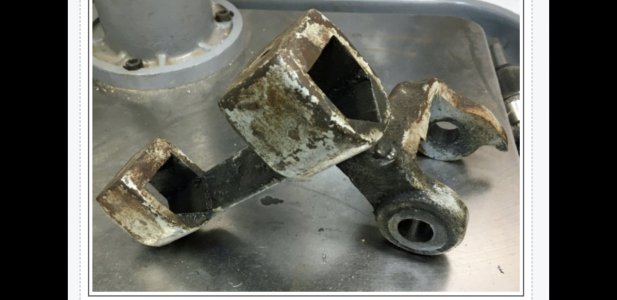
This is what I will be attempting to make.
From the net.
Screenshot_20201227-113847_Gallery.jpg
Some milling will be next, then some welding, and then more milling.
 
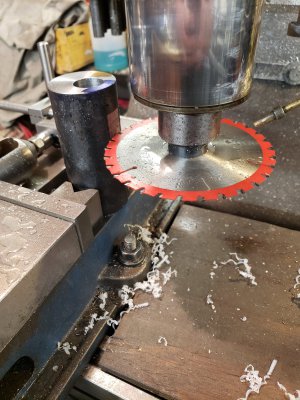
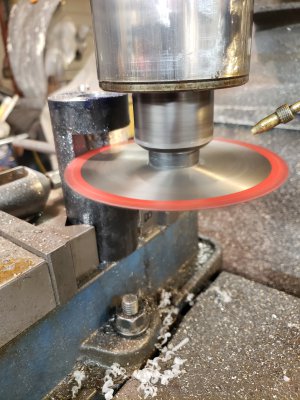
Going to be slow going. I have a 4" Niagara blade, but it wont reach in far enough. We'll have to see if this HF Diablo blade will be tough enough .
16094541045775789254549419787148.jpg
 
This is working better than I expected. I'm using the power feed and taking off .025 per pass.
20201231_181342.jpg
I have the stops set so that it is just bumping back and forth in the cut.
16094566468401799426663043981266.jpg
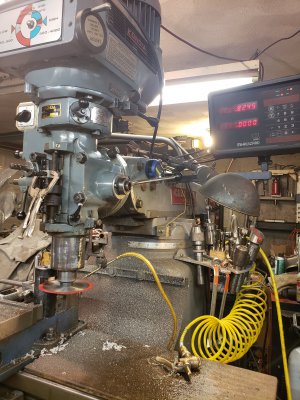
The DRO is counting down to my target depth.
16094567325893157139907273217143.jpg
 
The pivoting part of the arm base is done, with bearings installed.
16098198595104582893977224882926.jpg
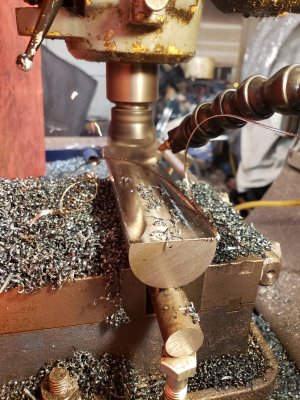
Now I am making the v-block base from 2" rod stock. This is a .050" doc @ 600 rpm's with a Shars 2" indexing endmill. This might be the first time that I have actually heard my mill laboring.
16098204927782147530129907206735.jpg
This setup involved a bit of welding.
 
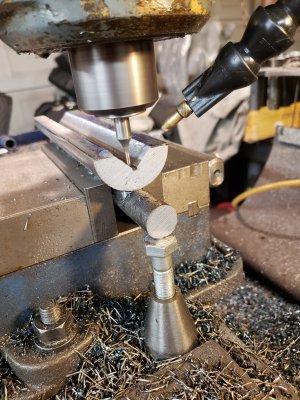
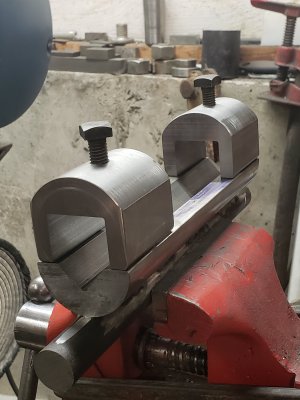
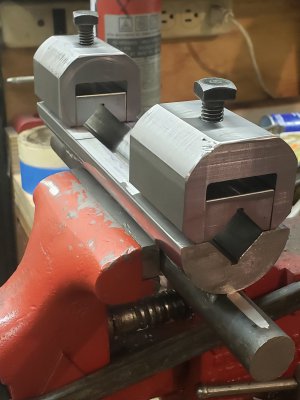
Tonight, I got the top part of the v-block guide done.
20210106_231855.jpg20210106_232014.jpg20210106_232316.jpg
They will get welded on in position like this.
20210106_233217.jpg
I will leave the fixture rod on the bottom for now. It may help prevent warping when this all gets welded.
Next will be the adjustable v-blocks that will put a little tension on, and align the guide rod for the bow.
 
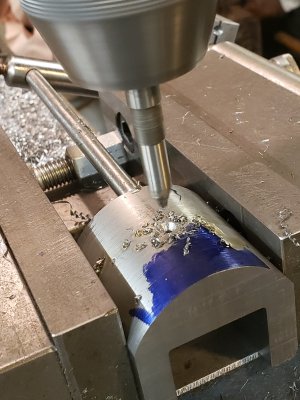
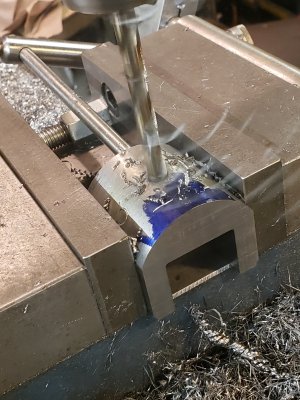
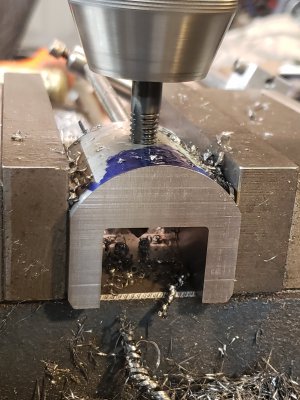
The v-block guide is ready for welding. I decided that the top was a bit thick, so I too 1/4" off with my 2" indexing endmill. One of them moved in the vise and we had a little crash. Luckily it moved enough to get out of the way. I still had to replace my inserts.
20210113_225215.jpg
 
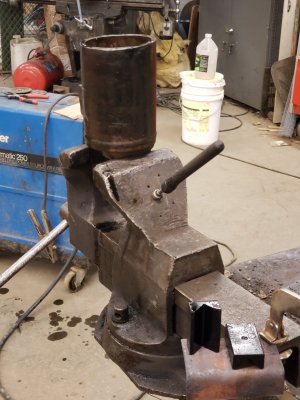
A little heat treating at work today with a torch, a magnet, and some waste oil. Although, it did make a difference, but it's not as hard as was expecting. It will do.
20210114_134338.jpg
 
Back
Top